


QUICK START GUIDE
PN
:
320-0205
REV: P02
2 / 8
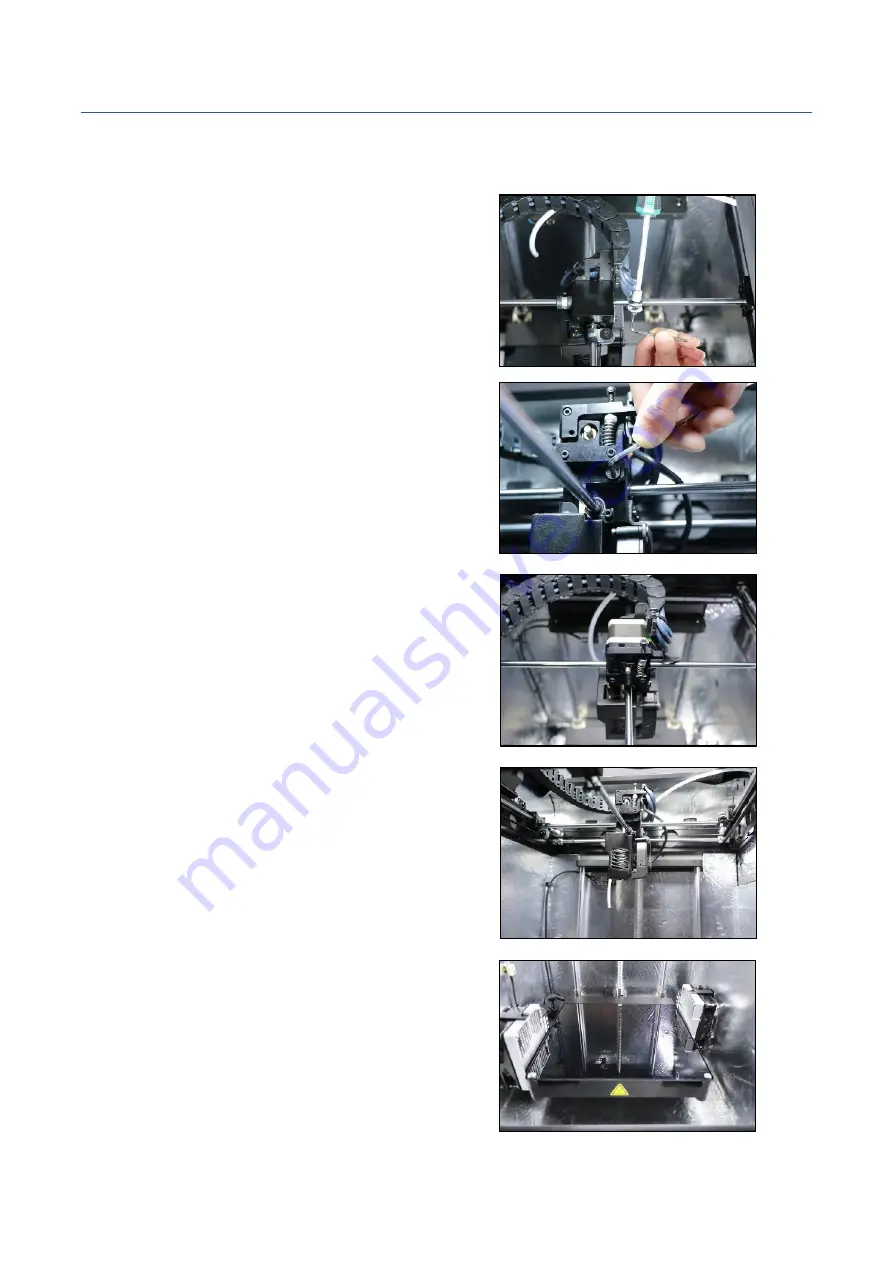
Install The Printer
STEP 1:
Power off the printer. Use the Allen
key and socket wrench to remove the four
screws to free the X & Y axis.
STEP 2:
Install the motor on top of the
extruder, and ensure the upper PEEK tube is
securely inserted into its position.
STEP 3:
Disassemble the nozzle set cover,
connect the motor connector to P7 on the
pin board. and fix the cables with a cable
tie.
STEP 4:
Assemble the nozzle set again.
STEP 5:
Open the front door to put the
glass plate onto the platform. Align the
three magnets on the glass plate to the
magnet holders on the platform.


