SwitchLinc Dimmer 1000W User’s Guide
Page 16 of 36
HOW TO SET UP SWITCHLINC DIMMER TO BE REMOTELY
CONTROLLED BY AN INSTEON CONTROLLER
Linking an INSTEON Controller to SwitchLinc Dimmer
To remotely control SwitchLinc Dimmer using another INSTEON Controller, follow these steps to link
SwitchLinc Dimmer and the INSTEON Controller together. Refer to your INSTEON Controller’s User’s
Guide for detailed instructions on how to properly install it and link it to SwitchLinc Dimmer. The following
will work for the most common INSTEON Controllers.
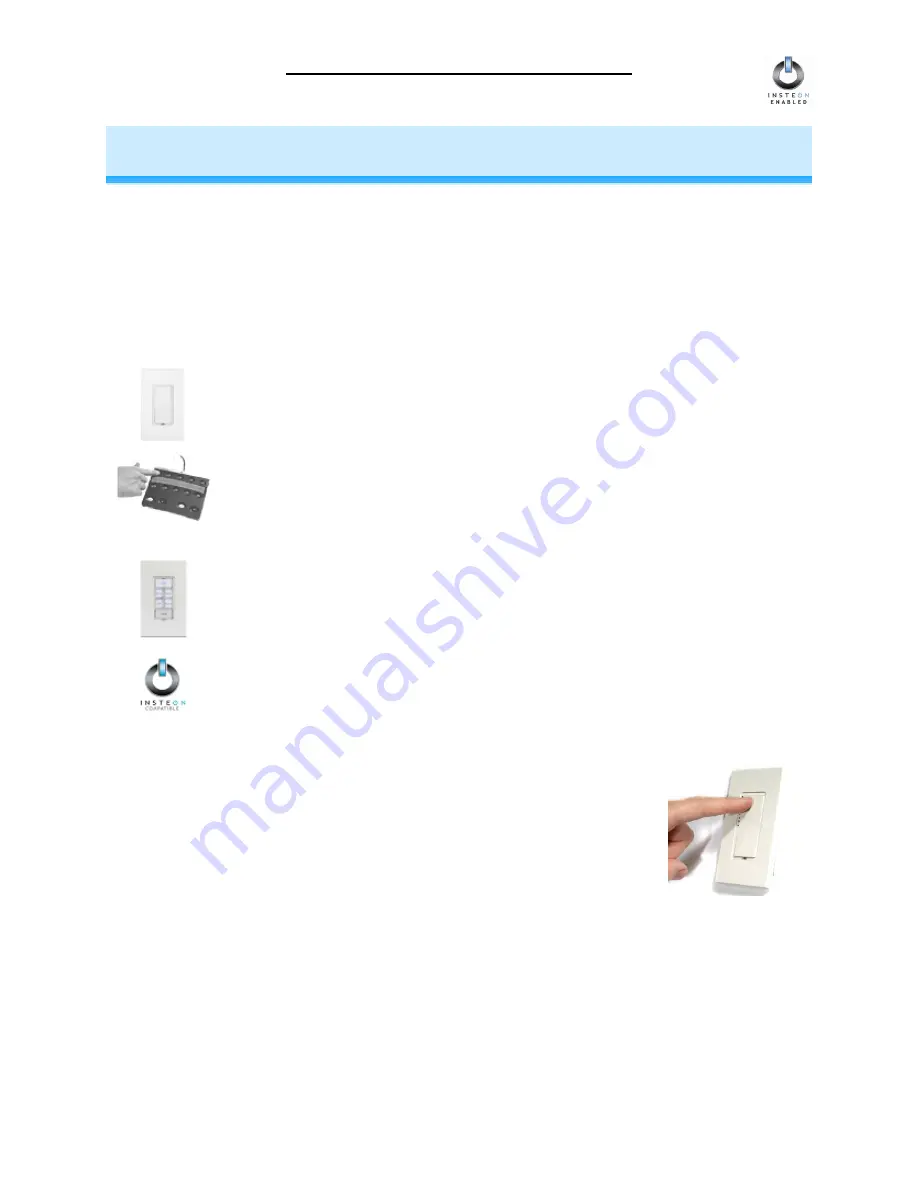
1. Select your INSTEON Controller from the list below and follow the method shown to put it into
Linking Mode
.
A.
A Second SwitchLinc Dimmer
– Press and hold the Second SwitchLinc
Dimmer’s
Paddle Top
for 10 seconds, then release. To confirm that it is in Linking
Mode, the Second SwitchLinc Dimmer will flash the light that it is wired to once and
begin blinking the top LED in its LED Bar.
B.
ControLinc
™
Tabletop Controller
– Choose the ON/OFF Button Pair you want to
use for controlling SwitchLinc Dimmer. Press and hold the
ON Button
of the pair
for 10 seconds. To confirm that it is in Linking Mode, ControLinc’s Status LED will
begin blinking.
C.
KeypadLinc
™
– Choose the ON Button you want to use for controlling SwitchLinc
Dimmer. Press and hold the
ON Button
for 10 seconds. To confirm that it is in
Linking Mode, KeypadLinc will flash the light that it is wired to once and begin
blinking the ON Button that you pushed.
D.
Other INSTEON Controllers
– See the INSTEON Controller’s User’s Guide.
2. Press and hold the
Paddle Top
for 10 seconds on the SwitchLinc Dimmer
that is being controlled. To confirm linking, the SwitchLinc Dimmer will blink
the top LED in its LED Bar and flash the light that it is wired to. Depending
on the INSTEON Controller, you have about 4 minutes to perform this step
before Linking Mode times out automatically.


