— 15 —
GETTING UP AND RUNNING
The Main Menu
Push the
BACK
button until
you see the Main Menu on
the OLED display. This is
the ‘gateway’ for setup and
operation.
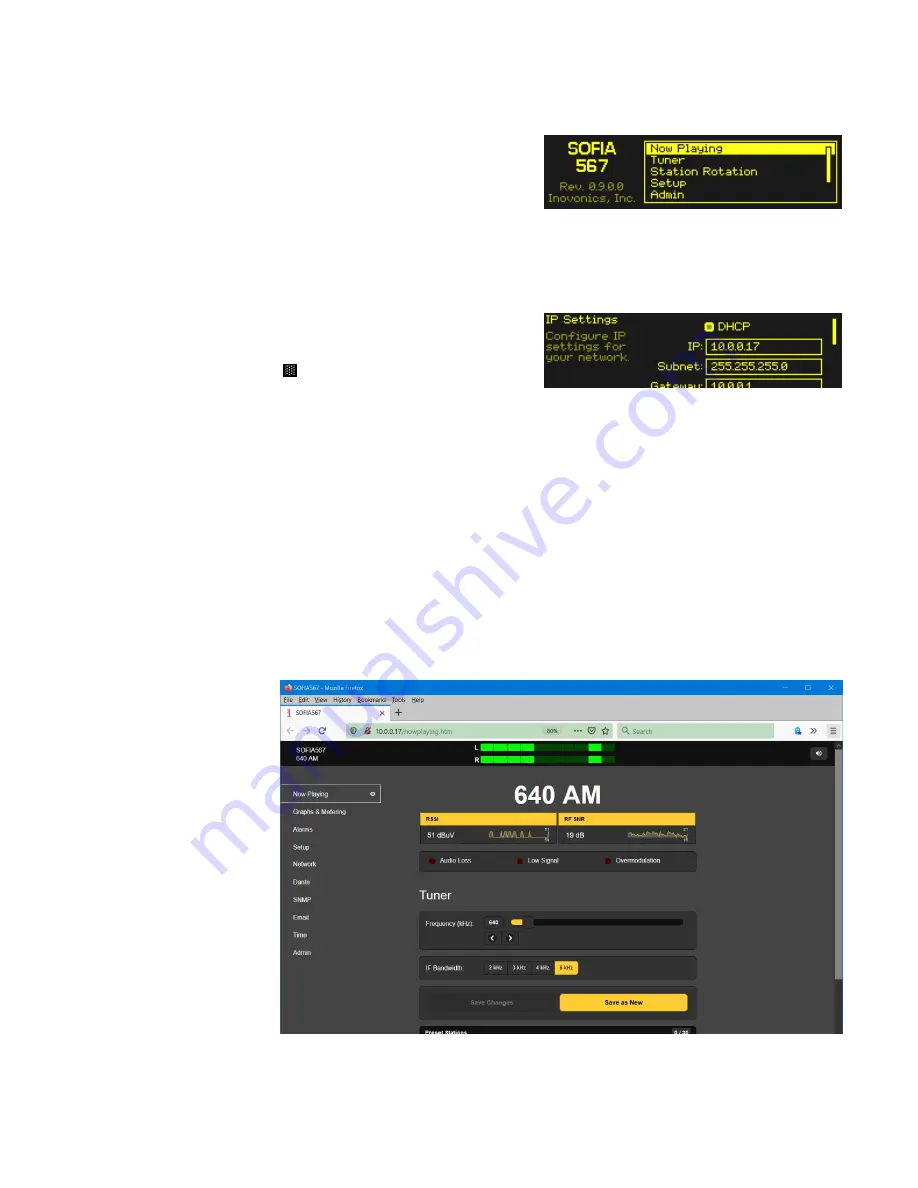
With the SOFIA 567 connected to your local network (LAN), use
the jog wheel to navigate from the Main Menu to:
Setup / Network
/ IP Settings
.
Finding the
SOFIA 567’s
IP Address
This image is typical of
what your unit should now
display. Under the default
DHCP
control selection,
your router should have as-
signed the SOFIA 567 an IP address. In this example the DHCP
assignment is
IP: 10.0.0.17
. Note that this menu screen holds
more IP address information; turn the knob to scroll down.
Assigning a
Fixed IP
Address
To assign the SOFIA 567 a fixed IP address, clear the
DHCP
box and then navigate through the various fields on this screen,
entering the called-for information manually in each. Be sure
to execute a
Save
after entering the IP data in the appropriate
fields.
Connecting to
the SOFIA 567
On your computer connected to the same network, open a
browser window and enter the SOFIA 567 IP address into the
address bar using the
IP:
displayed on the front-panel OLED
screen. The
Now Playing
screen should pop-up like the one
shown here.
The ‘responsive’ design of the SOFIA 567 Web interface pro-
vides an optimal viewing experience across a wide range of de-
vices, such as desktop computers, tablets, and mobile phones.
Summary of Contents for AM SiteStreamer+ SOFIA 567
Page 1: ...SOFIA 567 AM SiteStreamer Installation User Guide www inovonicsbroadcast com...
Page 2: ......
Page 4: ...2...
Page 36: ...34...
Page 38: ......


