13
6. SETTING
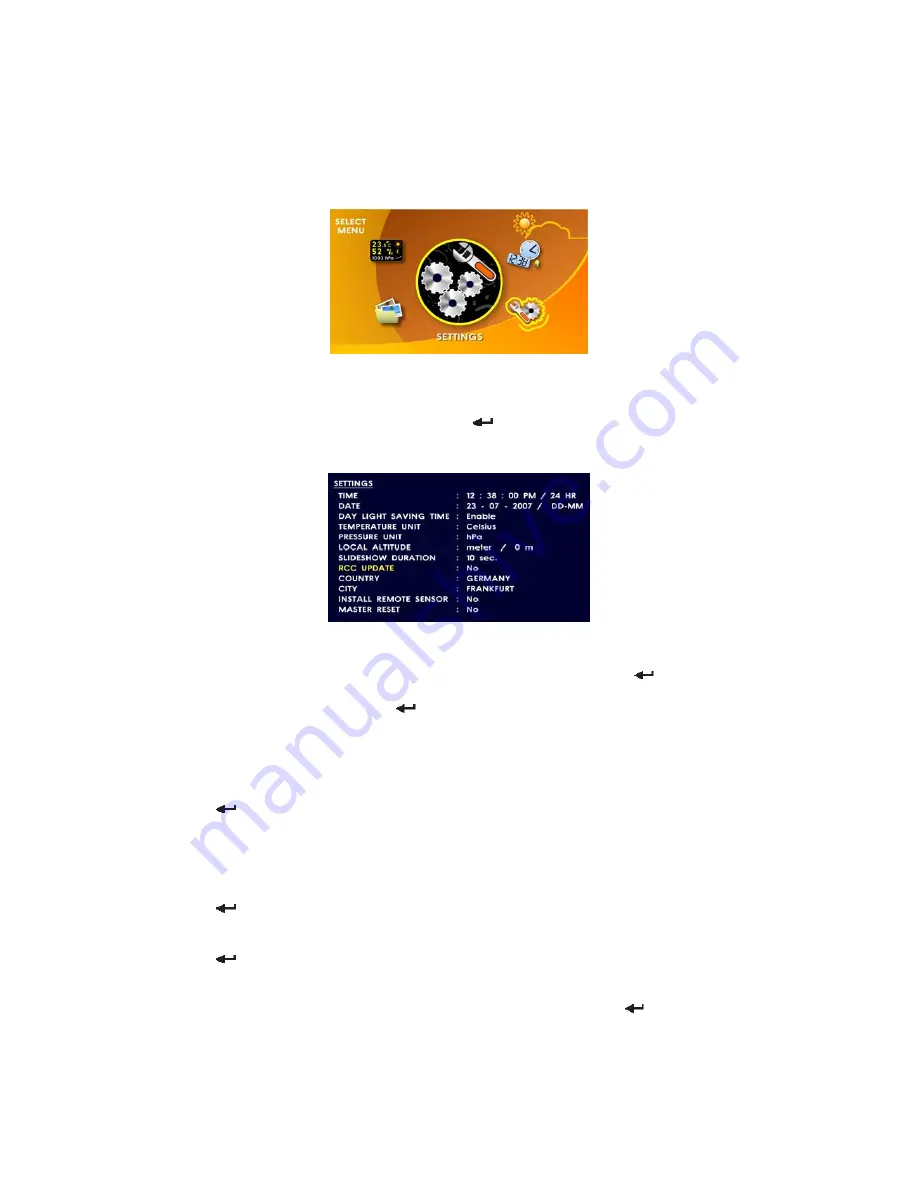
The Setting icon is located on the lower right hand corner of the Main Menu. Once the icon has
been highlighted (see the above image) press the [
] button to confirm your selection. You are
then taken to a screen similar to the below image.
There are 12 different sections in the Settings main screen. Hit the
“/\”
or
“\/”
arrows to navigate
through the sections. Once the curser has highlighted a desired section hit the [
] button to
confirm the selection. Use the 4 direction keys to make the appropriate changes to the setting. When
you are finished with a setting hit the [
] button to confirm the change made and to continue
making changes in another section. Once you have completely finished making changes press the
[
Esc
] button to return to the main menu.
6.1 How to adjust the clock time and the time format
- Press
“/\”
or
“\/”
arrows to scroll up/down the list for TIME
- Press [
] button to confirm and the Hour digits turn into yellow, toggle
“/\”
or
“\/”
arrows to
change the hour setting;
- Press
[>]
button to highlight the MIN digits; toggle
“/\”
or
“\/”
arrows to change the minute
setting;
- Press
[>]
button to highlight the SEC digits; Toggle
“/\”
or
“\/”
arrows to change the second
setting
- Press [
] button to complete adjusting the clock time and the time format digits turn into
yellow
- Press
“/\”
or
“\/”
arrows to change for 12HR or 24HR;
- Press [
] button to confirm and the clock time will display according the selected time format.
.
6.2 How to adjust the date and the date format
• Press
“/\”
or
“\/”
arrows to scroll up/down the list for DATE, press [
] button to
confirm and the MONTH digits turn into yellow (If it is in MM-DD format), toggle
“/\”
or
“\/”


