40
C o n f i g u r i n g t h e Z e n M u s i c P l a y e r
Preparing the backup drive
Please note that the Zen requires a dedicated USB drive, preferably one matching the storage size of
the Zen.
1.
Connect the USB drive to the Zen as instructed in the Basic Connections section
2.
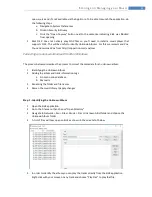
Go to the Zen Web UI and click on the Backup icon
3.
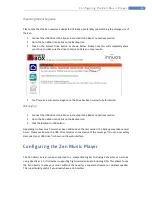
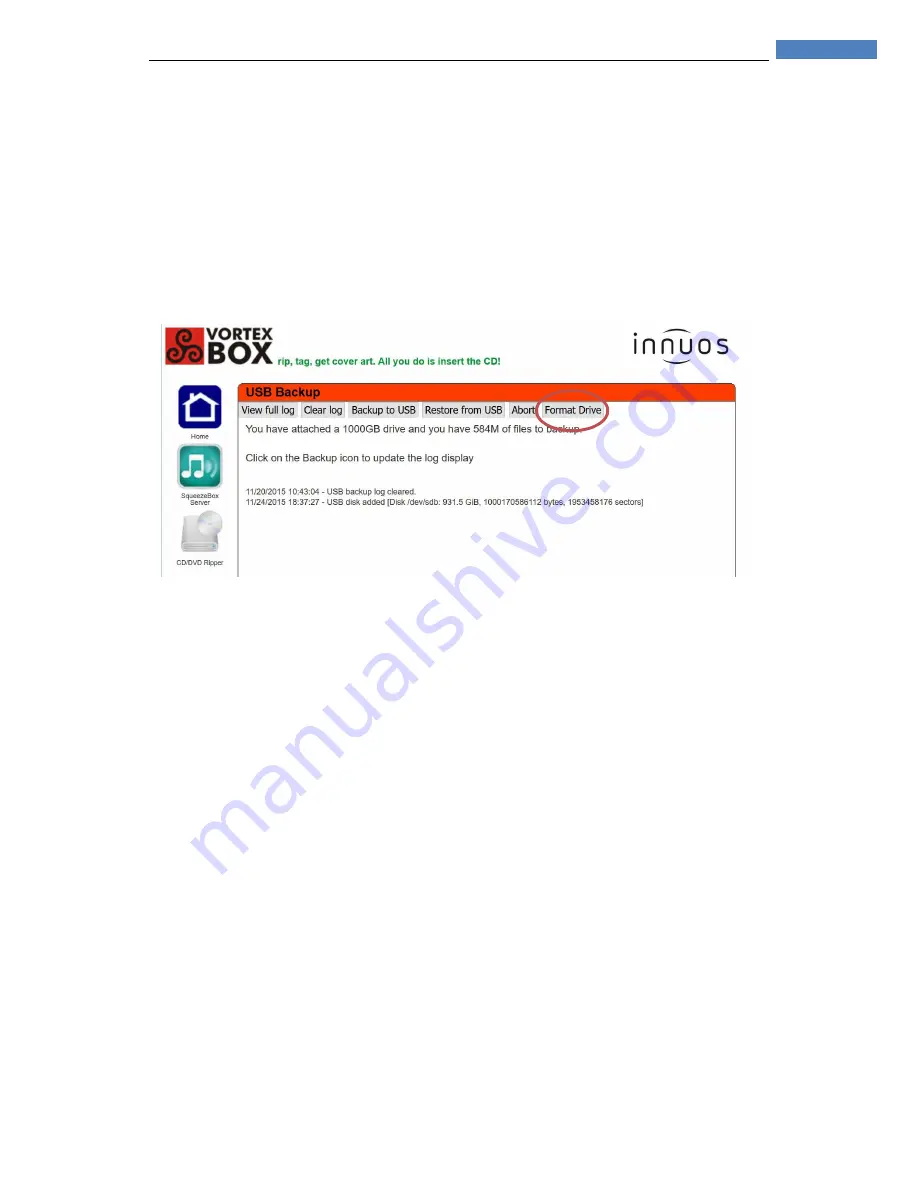
Click on the Format Drive button as shown below. Please note this will completely erase
your drive so make sure the drive contains no data you may require.
4.
You’ll receive a success message once the drive has been successfully formatted.
Backing up
1.
Connect the USB drive to the Zen as instructed in the Basic Connections section
2.
Go to the Zen Web UI and click on the Backup icon
3.
Click the Backup to USB button.
Depending on how much music has been added since the last session, the backup may take several
hours. Please make sure the USB drive remains connected until the message “You can now safely
disconnect your USB drive” is shown on the web interface.
Configuring the Zen Music Player
The Zen Music Server, when connected to a compatible Digital to Analog Converter, can also be
using directly as a hi-fi streamer supporting high-resolution audio including DSD. This allows to use
the Zen directly to play your music without the need for a separate streamer or wireless speaker.
This is particularly useful if you already have a Hi-Fi system.

