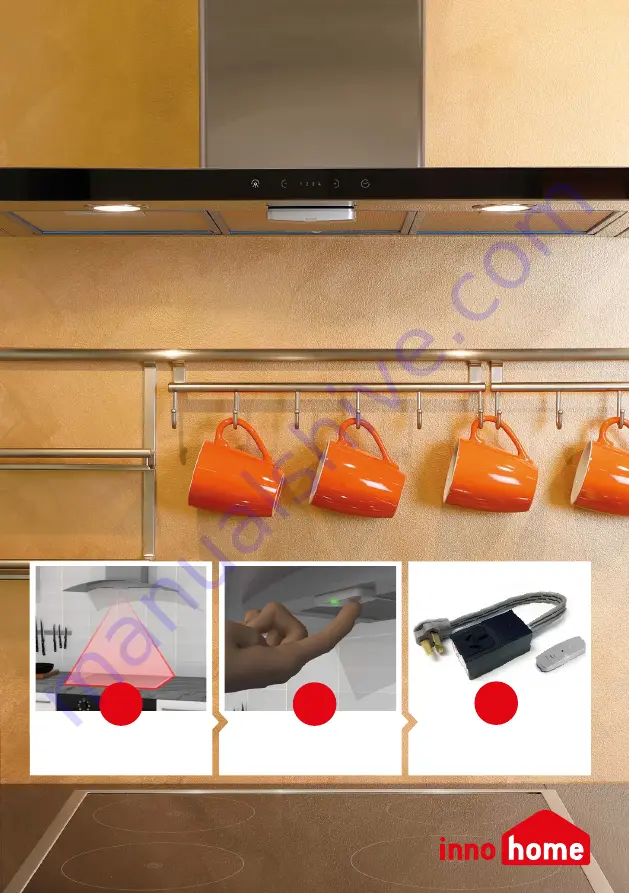
background image

For indoor use only.

Do not use in a professional kitchen.

The Control Unit must be installed by 

an authorised electrician.

REFERENCE AND
INSTALLATION
MANUAL

INSTALLATION P. 4–13

USER GUIDE P. 14–21

TECHNICAL SPECIFICATIONS

P. 22–24

1

2

INNOHOME

STOVE GUARD

SGK4030

3

770-00041-

A2

Summary of Contents for SGC430-1U3-50

Page 1: ...rofessional kitchen The Control Unit must be installed by an authorised electrician REFERENCE AND INSTALLATION MANUAL INSTALLATION P 4 13 USER GUIDE P 14 21 TECHNICAL SPECIFICATIONS P 22 24 1 2 INNOHO...

Page 2: ...re increase The Stove Guard will not completely isolate the cooker It must never be used to turn off the cooker s power supply for service repair Do not short circuit charge open or heat the batteries...

Page 3: ...voiding false alarms 16 After alarm Cookers with mechanical controls 16 After alarm Cookers with touch controls 16 Dislocation alarm 16 Action in the event of an alarm 17 Other settings 18 19 Changing...

Page 4: ...STALLATION 1 Installing the Stove Guard To install correctly follow the instructions STEP 1 Installation of the Heat Sensor p 5 11 STEP 2 Installation of the Control Unit p 12 STEP 3 Function test p 1...

Page 5: ...iling Follow these instructions for correct installation Installation plate with adhesive tape Heat Sensor Optional IR lens extension black INSTALLATION LOCATIONS 1a Installation under cooker hood 1b...

Page 6: ...cating that it is not properly placed on the installa tion plate As this happens no further action is required If there is a metal mesh grease filter on the cooker hood make sure it is greaseless and...

Page 7: ...18 alternatively watch the film on sensitivity configuration 3 4 7 DISTANCE FROM COOKER TO HEAT SENSOR MOUNTING LOCATION SENSITIVITY LEVEL CONFIGURATION 0 24 0 60cm wide cooker 25 36 61 90cm wide cook...

Page 8: ...plate As this happens no further action is required Press at least for a minute while attaching adhesive Carefully remove the protective film from the installation plate Attach the Heat Sensor with t...

Page 9: ...lease refer to the table underneath together with the information on page 18 alternatively watch the film on sensitivity configuration DISTANCE FROM COOKER TO HEAT SENSOR SENSITIVITY LEVEL CONFIGURATI...

Page 10: ...above the center point of the cooker Make sure that the surface is clean and dry Mount the Heat Sensor The Heat Sensor might beep at this stage indicating that it is not properly placed on the install...

Page 11: ...y configuration DISTANCE FROM COOKER TO HEAT SENSOR SENSITIVITY LEVEL CONFIGURATION Mounting height above the cooker 0 36 0 90cm wide cooker Sensitivity Number of beep s 64 80 160 200cm Recommended Im...

Page 12: ...ion Disconnect the power Switch off the power at the consumer unit Note Do not turn on the Consumer unit before the Heat Sensor is set and ready for a function test Connect to the Control Unit Unplug...

Page 13: ...sor will also emit a test alarm after a few seconds Note Check that there is no power going to the cooker Reset the alarm It is important to reset the alarm after a function test to ensure power to th...

Page 14: ...2 USER GUIDE...

Page 15: ...at it is not a dangerous situation The Heat Sensor has then learned more about your cooking habits and you can continue cooking Please note When installing the Heat Sensor on the ceiling the learning...

Page 16: ...all cooker controls to 0 then press the Heat Sensor button once After this the cooker can be used nor mally With ceiling installation reset button is needed to return the power Touch controls If the S...

Page 17: ...No power The cooker is too hot for the power to be turned back on Make sure that the controls are set to 0 Wait until the cooker has cooled down and the Control Unit starts emit ting a short ring with...

Page 18: ...correct sensitivity level it is important the process is not rushed Ensure the sensor button is pressed firmly down each time holding for a period of 1 second before releasing Ensure to pause for 1 s...

Page 19: ...must be placed on the mounting plate during pairing 1 Switch off the power for 15 seconds and switch it back on 2 Within one minute from the power reset sweep the side of Control Unit with the bottom...

Page 20: ...or if it is covered by dirt or grease It can also be triggered by a problem with the radio connection or malfunction of the Control Unit ANSWER 2 Make sure that the Heat Sensor is firmly attached to t...

Page 21: ...s the use of all cookware on an induction cooker available from many retailers or an induction suitable cooking vessel Place the adapter plate on a cooker and perform a heat test by turning on the pla...

Page 22: ...FICATIONS IR lens Lens extension for high installations Button Battery lid Battery 1 x CR2032 Signal LED should face towards use 3 Voltage 250 VAC Extremely low energy use approx 1 W Automatic electri...

Page 23: ...license exempt RSS standard s Operation is subject to the following two conditions 1 product may not cause harmful interference and 2 product must ac cept any interference received including interfer...

Page 24: ...ood installation 56 80 140 200cm ceiling installation 32 80cm wall installation recommended Maximum rated current A 50 A Rated voltage or rated voltage range in volts 250 V for SGC430 1U3 50 Nature of...

Reviews:

Related manuals for SGC430-1U3-50