Installation and Programming manual
Powering up the system
23
Chapter 8
Powering up the system
1. Connect the batteries.
The green ON LED will light to indicate that the power supply station is operative.
The CPU LED will blink to indicate that the board is stabilizing.
2. The power supply station will start working after several seconds and the display will show the
Language selection screen.
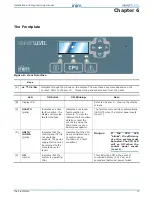
Figure 16 - Selecting the language
The CPU LED goes Off.
3. Power up the power supply station from the mains.
If the power supply station is not powered up within two minutes, the display will show the “
Mains
fail.
” message and the FAULT LED will go On solid. When the fault clears, the LED will blink to indi-
cate that the fault has been saved to the memory.
4. Check for the presence of faults. If the fault persists, check all wiring sections thoroughly (refer to
Chapter 11 - Troubleshooting
).
5. Clear all fault events.
6. Access the main menu (refer to
Chapter 9 - Viewing the display screens
) and, using the scroll keys,
select “
Reset station
” and press
Ok
.
7. After reset operations, all the LEDs should go OFF, with the exception of the green ON LED.
8. The display will show the presentation screen.
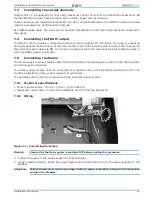
Figure 17 - Presentation screen
9. Press
Ok
to view the Main menu. Using the scroll key
T
, select the “
Test LEDs
” option from the
menu. Press and hold
Ok
and ensure that all the LEDs go On.
S e l e c t l a n g u a g e
O k t o c o n f i r m
S P S 2 4 1 . 0 . 0
1 1 / 1 1 / 1 1 0 8 : 0 8


