Set up ReadyNAS 1100
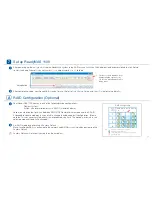
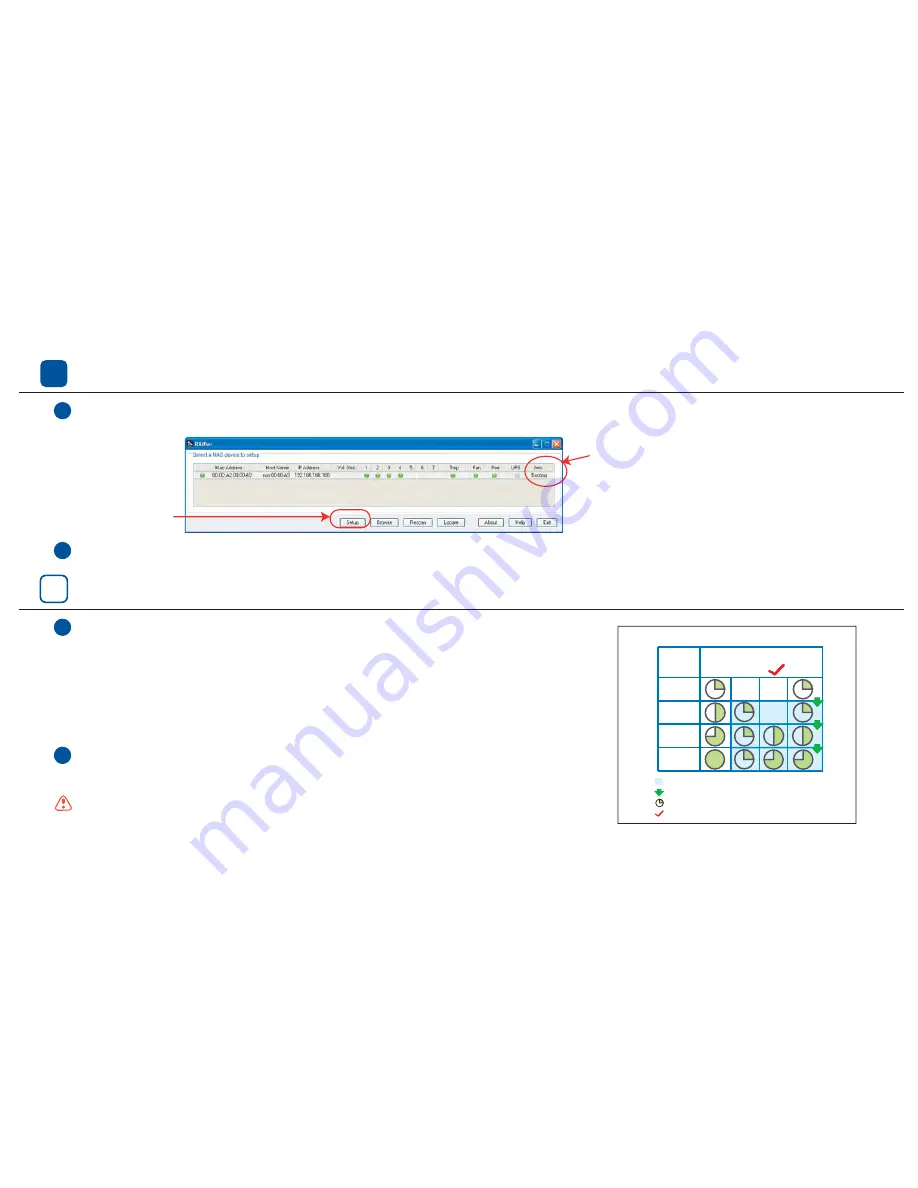
After powering up the unit, you will see the ReadyNAS system in the RAIDar scan list. When the Setup button becomes clickable, click Setup
to start the Setup Wizard. Use user name
admin
and password
infrant1
to login.
After completing setup, your ReadyNAS is ready for use. (Refer to
Quick Setup Guide
and
Users Guide
for setup details.)
The Info column displays boot
and installation status, or the
OS version when ReadyNAS is
ready to use.
Setup Button
1
2
p5
7
A
1
2
1
2
3
4
X-RAID
RAID RAID
RAID
0
1
5
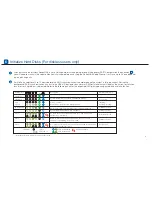
RAID Configuration (Optional)
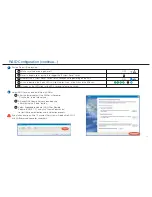
Follow the steps below to switch between RAID 0/1/5 Flexible Volume mode and the X-RAID
Expandable Volume mode only if you wish to change the above default configuration. (Please
note that it is not necessary to perform this procedure every time. The device will remain in the
selected mode until explicitly changed.)
Factory Default will erase all your data on the hard disks.
Make sure ReadyNAS is connected to the network and RAIDar is running when performing the
Factory Default.
Your ReadyNAS 1100 comes in one of the following three configurations:
- Diskless system
- System with pre-installed disks in RAID 5 (Flexible Volume)
RAID Configuration
Legend:
Redundancy against single disk of failure.
Storage capacity (base on single volumn configuration).
Default RAID setting.
X-RAID auto volume expansion.
Number
of disk
Installed
Set RAID mode by performing a Factory Default.


