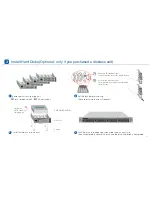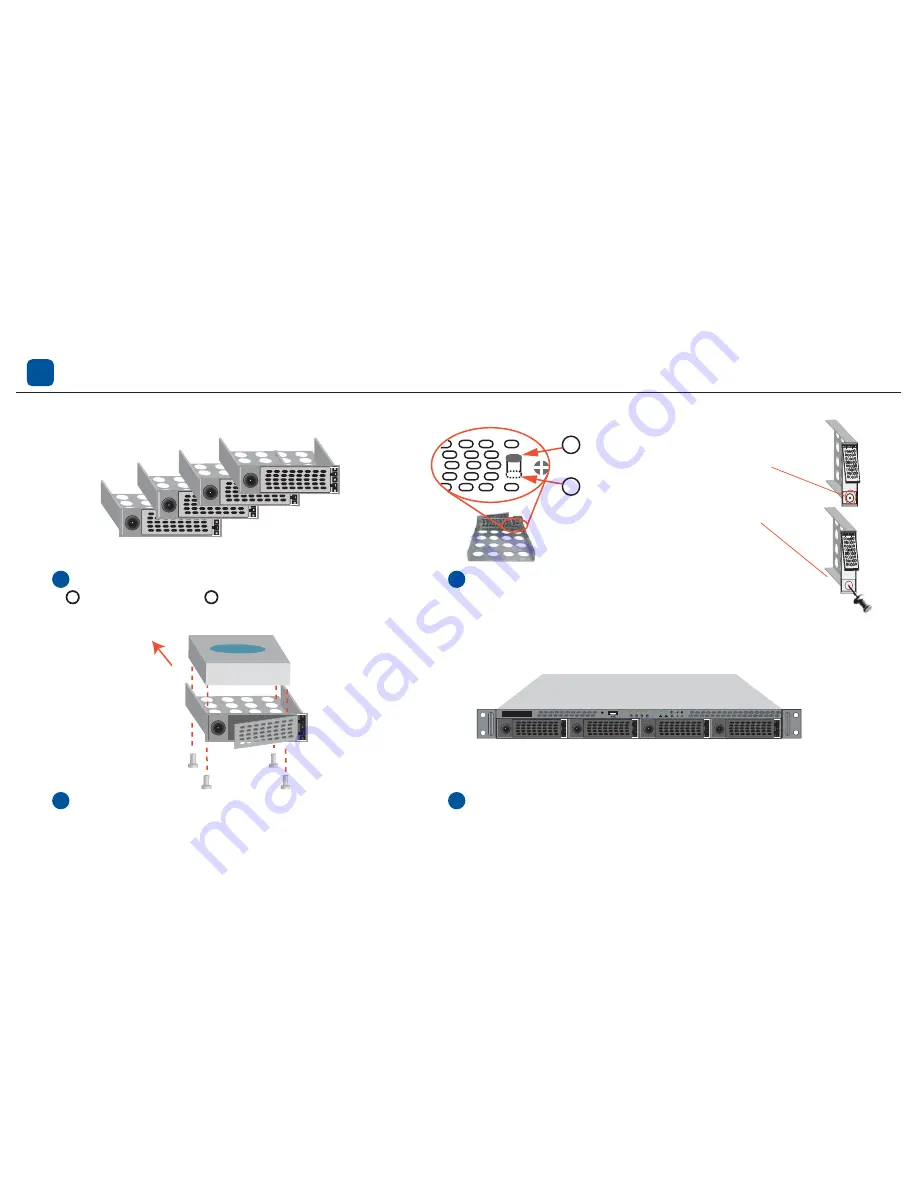
Install Hard Disks (Optional - only if you purchased a diskless unit)
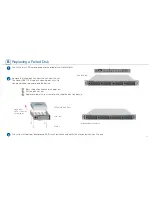
Remove disk trays from the unit:
Press to release latch. Pull the tray out.
Hard disk
SATA connector
facing away
SATA Hard Disk Drive
Disk Tray
Set the lock before installing
the hard disk into the tray. (Optional)
Unlocked (Default position)
To open the tray, press the round button.
Locked (the lower position)
Use a push-pin to release the latch and
open the tray.
With the latch in the open position, slide the disk trays into
the unit completely, secure the latch and the disk installation is completed.
Install hard disks into the trays.
Screws
3
1
2
1
2
3
4
A
B
p2
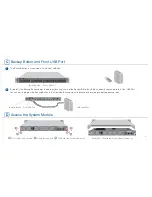
ReadyNAS
Act
USB
Backup


