


32
U
s
i
n
g
t
h
e
P
r
o
j
e
c
t
o
r
Using the Disk Mouse
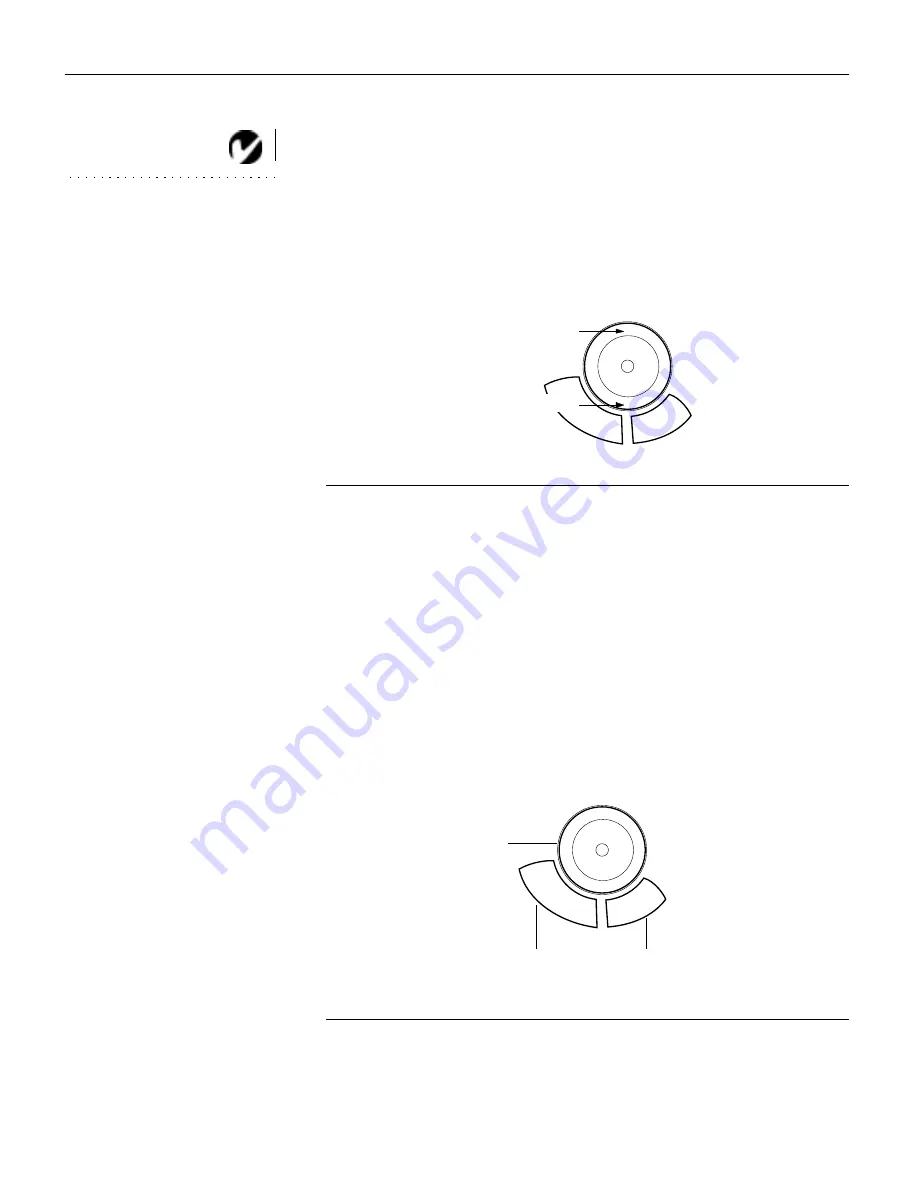
NOTE: Using a light touch on the
disk mouse often gets the best
results.
Press anywhere on the edge of the disk mouse to move the cursor
on the screen. For example, if you press the top edge of the disk,
the cursor moves up the screen; if you press the bottom edge, the
cursor moves down (Figure 28). You can move the cursor at any
angle by pressing the corresponding edge of the disk.
F
IGURE
28
Using the disk mouse
Using the On-Screen Menus
The projector
has four on-screen menus that allow you to make
image adjustments and change a variety of settings. Most of these
adjustments aren’t available directly from the remote or keypad.
To open the on-screen menus, press the
menu
button on the
remote or keypad. Press
menu
again when you want to close the
menus.
To select a menu, use the disk mouse to move the cursor to the
tab for the menu you want, then click either mouse button.
F
IGURE
29
Disk mouse and mouse buttons
press here to move the cursor up
press here to move the cursor down
disk mouse
left mouse
right mouse
button
button
Summary of Contents for LitePro 210
Page 1: ...USER S GUIDE...
Page 2: ...User s Guide...
Page 3: ...Copyright 1996 by In Focus Systems Inc Wilsonville Oregon All rights reserved...
Page 11: ...Introduction...
Page 16: ...Setting up the Projector...
Page 36: ...Using the Projector...
Page 53: ...Maintenance...
Page 61: ...Troubleshooting...
Page 67: ...Appendix...
Page 79: ...Index...
Page 86: ...Part Number 010 0102 02...