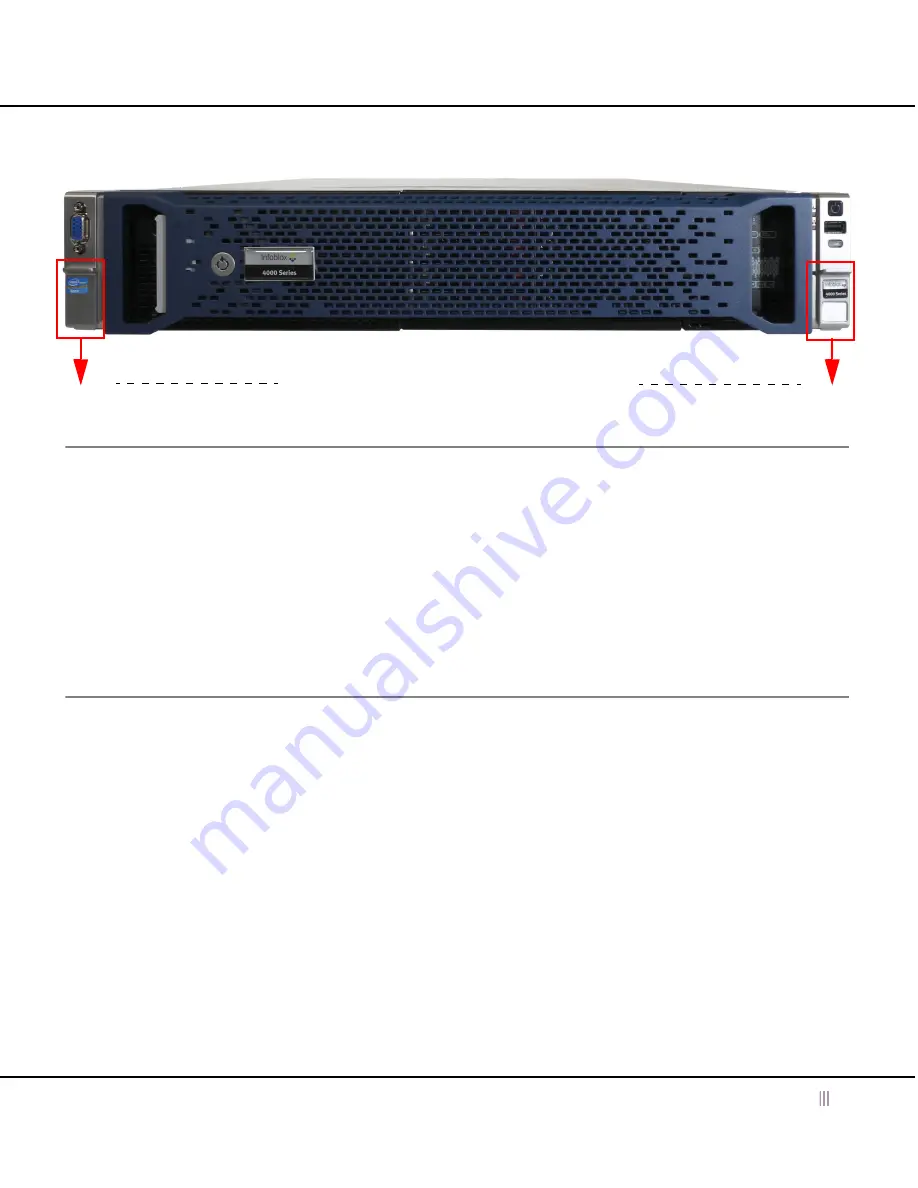
For the Network Automation NT-4000 Appliance
14
Figure 6
Pulling Down the Retention Levers on Front Panel for Retainer Screw Installation
Powering On the Appliance
The Network Automation NT-4000 ships with two (2) hot-swappable redundant AC power supply modules. Infoblox
recommends using the power cables shipped with the appliance to connect each power supply to separate power
circuits. In the event of a power failure on one circuit, the appliance can then operate on the other.
To power the appliance:
•
For each power supply, connect a power cable between the power connector on the back of the appliance and
a properly grounded and rated power circuit that meets the provisions of the current edition of the National
Electrical Code, or other wiring rules that apply to your location. Make sure that the outlet is near the
appliance and is easily accessible.
Cabling the Appliance to a Network
Use one or more Category 5/6 Ethernet cables to connect the Network Automation NT-4000 appliance to the
network.
The Network Automation NT-4000 appliance does not need a monitor, keyboard, or mouse for normal operation. It
only needs an Ethernet connection. Follow these steps to connect the appliance to your network:
1.
Configure the appliance to use one port
(same port for both system administration and network analysis):
Using a straight-through RJ45 Ethernet cable, connect from the LAN1 Ethernet connector on the rear of the
appliance to an available Ethernet connection on the network (as labeled in
Figure 4
).
or
Configure the appliance to use two ports
(the MGMT port for system administration and the SCAN port for
network analysis):
Using straight-through RJ45 Ethernet cables:
a.
Connect from the MGMT Ethernet connector on the appliance rear panel (as labeled in
Figure 4
) to the
network supporting your management systems.
Pull retention levers down to install retainer screws
(one each side)


