background image

S125E

Operating Manual

6

2.5 

Repair Work, Maintenance Activities, and Default Repair on the Job Site

Mechanical Service Work

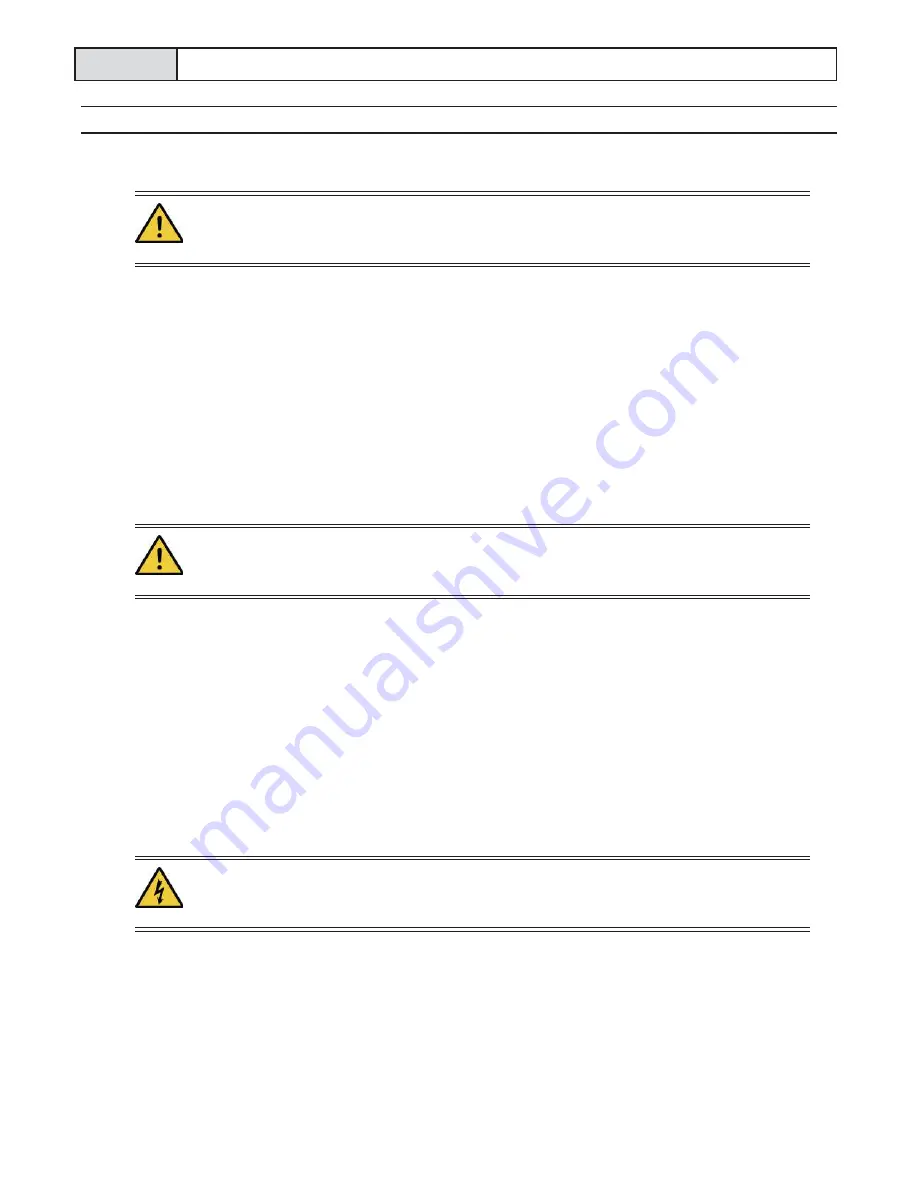
These activities can only be undertaken by qualified personnel. Please follow any 
special safety instructions in the various chapters on servicing the machine (see 
Chapter 7).

Before starting any servicing work on the machine, put the machine in the Safety off position (as 
described in Chapter 2.6) in order to prevent the machine from being switched on accidentally.

Adjustments, servicing, and inspection work and inspection intervals specified in these Operating 
Instructions as well as any information on the replacement on parts and systems of the machine must 
be undertaken and/or complied with.

The operator must be informed of any maintenance or repair work done to the machine.

Startup and shut off procedures must be done in accordance with the Operating Instructions during 
all work related to the use, repair, and adjustment of the machine. The repair personnel must also be 
aware of the safety devices during inspection, maintenance, and repair.

The machine must be shut off completely for repair or maintenance work. Please 
disconnect the main plug in order to prevent the machine from being switched on 
accidentally.

The dust collector bin must be emptied before transportation. Please handle in accordance with the 
regulation how to dispose the dust and make sure that you meet the local regulations. Do not use any 
aggressive cleaning materials! Use only lint-free cleaning cloths.

Always remember to tighten any screw connections that are undone during servicing and 
maintenance work!

If safety devices need to be dismantled during setting up, servicing, or repair work, these safety 
devices must be reinstalled and inspected immediately after completion of the service.

Make sure that process materials and replacement parts are disposed of safely and in an 
environmentally-friendly manner.

Work on the electrical parts of the equipment may only be undertaken by a skilled 
electrician or by a trained person under the guidance and supervision of a skilled 
electrician in accordance with the electrical engineering regulations.

Make sure that electrical components used for replacement purpose comply with the original parts 
and are correctly adjusted if necessary.

Summary of Contents for STREAMER S125E

Page 1: ...Operating Manual S125E Your Partner for Mobile Surface Preparation IMPACTSamericas com...

Page 2: ...nce 23 8 0 Electrical System 29 9 0 Error Diagnostics 30 10 0 Spare Parts 32 IMPACTS Americas 1384 Bungalow Rd Morris IL 60450 USA 815 941 4800 815 941 4600 Fax www IMPACTSAmericas com April 2018 Plea...

Page 3: ...ector optional DC2003P Length 20 in 500 mm 32 in 810 mm Width 7 in 170 mm 25 in 645 mm Height 14 in 350 mm 60 in 1524 mm Weight 17 5 lb 8 kg 183 lb 83 kg Connected loads of the electrical system Power...

Page 4: ...ation of the machine it may be possible to exceed the acceptable noise levels of 85 dB A This is dependent on various locations and circumstances When the noise level is 85 dB A or more the machine op...

Page 5: ...y Follow these instructions and take special care in these circumstances In addition to these instructions the general safety precautions and the local accident prevention guidelines also should be fo...

Page 6: ...and be repaired before starting work again Changes add ons or conversions which might have an influence to the safety of the machine must not be undertaken without the permission of the manufacturer T...

Page 7: ...s In the event of operational malfunctions the machine must be shut down immediately and secured The error must be rectified before starting the machine again Secure the work area around the machine i...

Page 8: ...ion maintenance and repair The machine must be shut off completely for repair or maintenance work Please disconnect the main plug in order to prevent the machine from being switched on accidentally Th...

Page 9: ...perating authority is responsible for compliance with the safety regulations during operation and maintenance of safety devices supplied with the machine as well as the provision of appropriate additi...

Page 10: ...ng From time to time check voltage seekers to ensure that they are operationally efficient 2 9 For Special Attention Use only proper and default free tools for your work Damaged tools have to be repai...

Page 11: ...reatment of horizontal and vertical surfaces The bouncing impact of metallic abrasive onto the surface thoroughly removes surface contaminants coats of paint sealants and thin coatings A suitable filt...

Page 12: ...ir current separator In this location dust and other contaminants are removed from the abrasive so that only abrasive containing a very small amount of dust is falling back into the abrasive storage h...

Page 13: ...ter of the blast wheel shows a pre accelerator called an impeller 1 feeding dosed quantities of abrasive onto the blades of the turning blast wheel The abrasive has to pass the opening at the Control...

Page 14: ...ACTS abrasive IMPACTOR is a very high quality blast media It has the right rebound power to use the S125E blast machine very efficiently The selection of the blast media is very important consideratio...

Page 15: ...he best abrasive for your blast cleaning work 3 10 Care and Maintenance Special attendance and regular maintenance of the machine and its parts are imperative for functioning and safety In order to pr...

Page 16: ...Transportation of Machine If you transport the machine make sure that there cannot be any damage through unprofessional handling Make sure that the machine is fixed in the vehicle The best way to tra...

Page 17: ...s given in this manual Check whether all machine parts are assembled safely and correctly Check all screws and other fasteners for tight seat Check the abrasive storage hopper the feed spout and the b...

Page 18: ...h the site supply or filter unit Make sure that the correct electric supply is available 110v 60Hz 5 Make sure the dust filter unit bin is empty Comply with local waste treatment regulations consideri...

Page 19: ...d the valve is opened deep grooves are blasted into the concrete surface within seconds WARNING when the blast head is lifted from the floor abrasive will spurt out of the sides of the blast head at h...

Page 20: ...lever 1 should be in the position as shown 7 Make sure the machine sealings 2 are completely straight on the surface 8 To start the wheel move the switch downward 3 as shown and push the switch to adj...

Page 21: ...connected correctly Use only a dust collector which that has the right suction power and offers an optimal dust separation Treat all plugs cables hoses and operating devices with special care Avoid a...

Page 22: ...y source 2 Connect blast machine and filter with the dust hose 3 Place the blast machine near to the filter unit and spread out the hose as shown in the illustration 4 Carry out blast operation in par...

Page 23: ...d period of time pull out the main plug Store the machine and cover by a tarp in a dry area 6 5 Safety Shutdown The machine must be set into its Safety Off Position before starting any kind of mainten...

Page 24: ...ose fitting protective clothing Please consider special regulations in VBG 4 and VDE 0701 These regulations describe the necessary considerations and actions after repairing and changing electrical Eq...

Page 25: ...nd service life of the machine depend among other things on proper maintenance The time indications are based on uninterrupted operation When the indicated number of working hours is not achieved duri...

Page 26: ...e Check the separator parts for wear and defects Remove foreign bodies and dust deposits Check the level of abrasive in the storage hopper Refill to bottom of wire mesh if necessary Check the magnetic...

Page 27: ...ion and HOT ZONE of the blast pattern Correct adjustment of the control cage and thus of the blast pattern is the most important factor for optimum working with the S125E blast machine Incorrect adjus...

Page 28: ...following adjustment standard value is important to know the control cage opening is set approximately opposite to the throwing angle The abrasive grain size plays an important role in this situation...

Page 29: ...he blast result shows strong blasting on the right hand side R and weak blasting on the left hand side shadows turn the upper edge of the control cage clockwise CW for 2 4 mm If the blast result shows...

Page 30: ...hub for the wheel and replace if necessary Fitting of the Wheel Kit 1 Clean the threads of the motor shaft 2 Bring the wheel through the housing opening put the motor with the motor mounting plate ag...

Page 31: ...thin this chapter If there is any doubt you need to call your local IMPACTS service technician The electrical parts must be inspected regularly Please note in particular the specified recurring inspec...

Page 32: ...ther sections of the machine Remove all broken parts Unusual Noise Low clearances or bad adjustments of turning parts Check parts adjustments Blast wheel and Control Cage Loose or lost screws Check sc...

Page 33: ...n the machine or its drives the machine has to be secured against unintentional switching on Put the machine to its Safety off position as described in Chapter 2 Work on the electrical parts of the eq...

Page 34: ...S125E Operating Manual 32 Chapter 10 0 Spare Parts 10 1 Machine Overview 10 2 Wheel Drive 10 3 Housing Assembly 10 4 Valve Actuator Assembly 10 5 Base Seal Assembly 10 1 Machine Overview...

Page 35: ...Operating Manual S125E 33 10 2 Wheel Drive...

Page 36: ...S125E Operating Manual 34 10 3 Housing Assembly...

Page 37: ...Operating Manual S125E 35 10 4 Valve Actuator Assembly...

Page 38: ...S125E Operating Manual 36 10 5 Base Seal Assembly...

Page 39: ......

Page 40: ...IMPACTS Americas 1384 Bungalow Rd Morris IL 60450 USA 815 941 4800 815 941 4600 Fax www IMPACTSAmericas com...

Reviews: