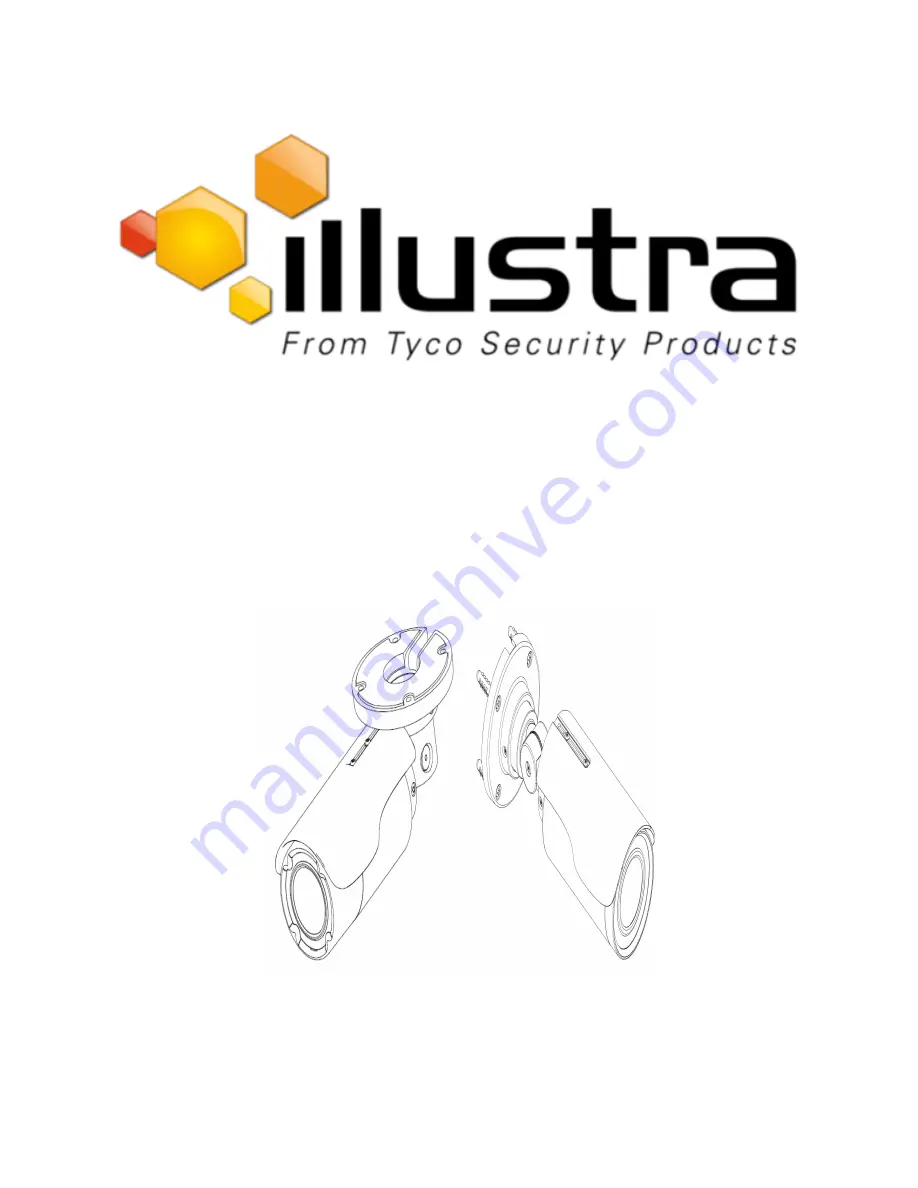
Illustra Flex Series 3MP and 8MP Outdoor
Bullet Cameras Quick Start Guide
Page 1: ...Illustra Flex Series 3MP and 8MP Outdoor Bullet Cameras Quick Start Guide ...
Page 2: ...ugh whom you originally purchased this product is your point of contact if you need service or support Our dealers are empowered to provide the very best in customer service and support Dealers should contact American Dynamics at 800 507 6268 or 561 912 6259 or on the Web at www americandynamics net Trademarks The trademarks logos and service marks displayed on this document are registered in the ...
Page 3: ...s 1 Product features 1 Product overview 1 Installation 5 System requirements 10 Network Connection 11 Default IP Address 11 DHCP 12 Managing cameras with the Illustra Connect tool 13 Network Topology 15 Appendix A Technical Specifications 16 Appendix B Stream Resolutions 20 ...
Page 4: ...to PoE networks without routing to the outside plant The power supply shall be approved for ITE NEC Class 2 or LPS with a rating of 24VAC 550mA minimum and 50 degrees Celsius Video Out connection should be intra building only Avoid operating or storing the unit in the following locations Extremely humid dusty or hot cold environments Recommended operating temperature is 40 C to 50 C 40 F to 122 F ...
Page 5: ...ter explains the features and installation of the Illustra Flex Bullet cameras Product code and description of the camera is provided in the table below Table 1 Product code and description of the Illustra Flex Bullet cameras Product Code Model Name Description IFS03B1BNWIT Illustra Flex 3MP IK7 Bullet Illustra Flex 3MP Bullet 2 8 12mm outdoor non vandal white TDN w IR TWDR IFS08B2ONWIT Illustra F...
Page 6: ...ns and physical properties of the units as well as a pictorial index of the camera connectors Descriptions of these connectors are available in Table 5 on Page 3 Note The connector cable of the Outdoor Bullet Camera should be contained in a conduit suitable for outdoor use Figure 3 3MP Camera IFS03B1BNWIT dimensions mm and pictorial index ...
Page 7: ...Output devices 2 Power Connector Connection to the external power source at AC 24V only 3 BNC cable Connection for a BNC cable for analog out 4 RJ 45 Ethernet Connector Power over Ethernet PoE Connection for the RJ 45 cable for network connection as well as PoE The input and output cables of the Illustra Flex Bullet cameras are labeled with icons that designate their usage Input Output connector d...
Page 8: ...ut Audio In Audio Out Power Ground You can find the interior buttons and ports on the base of the Illustra Flex Bullet camera Remove the two screws to open the cover for access to these pins Refer to Figure 7 on page 4 and Table 8 on Page 5 for descriptions of these buttons and ports Figure 7 Interior buttons and ports of the Illustra Flex Bullet cameras ...
Page 9: ...nals Installation In the box Check everything in the packing box matches to the order form and the packing slip In addition to this guide items below are included in the packing box 1 Network Illustra Flex IR Bullet Camera 1 printed Quick Start Guide 1 printed Regulatory document 4 31mm screws and anchors 1 installation template sticker 1 Torx 10 and 20 Security L Key 3MP IK7 Bullet camera 1 T10 T...
Page 10: ...er you drill the holes knock in 4 plastic anchors and then lock in the 4 self tapping screws to fasten the camera to the surface Figure 9 Mounting the Illustra Flex 3MP IFS03B1BNWIT Bullet camera to a ceiling Figure 10 Mounting the Illustra Flex 3MP IFS03B1ONWIT and 8MP Bullet cameras to a ceiling 2 Mount the unit onto the ceiling and fasten it securely as seen in Figure 9 on page 6 and Figure 10 ...
Page 11: ...plied with the product may be required To prevent the unit from falling off the surface ensure that it is mounted to a firm location ceiling slab or channel using a safety wire strong enough to withstand the total weight of the unit Be aware of the finishing at the end of the wire CAUTION Safety wire should be connected if supplied or ordered seperately with one end the wall or ceiling and the oth...
Page 12: ...cable to the RJ 45 terminal of a switch Refer to Input Output connector descriptions on page 4 for further information regarding wiring Note The power source needs to be NEC Class 2 or LPS The PoE connection should be provided by a UL Listed product and the connections shall be made in accordance with Article 800 of the NEC or local regulations End Procedure 3 Adjusting the camera position Step Ac...
Page 13: ...on End Procedure 4 Adjusting the sun shield hood Step Action 1 Move the sun shield hood forward and backward to adjust the position of sunshade CAUTION Ensure to adjust the sun shield hood in coordination with lens in case of sunshade problems To avoid damage to the housing of the unit do not adjust the sun shield position excessively End ...
Page 14: ...tware Browser Microsoft Internet Explorer 9 or above Firefox Safari Chrome Unit Power Supply AC 24V PoE Networking Wired 10 100BASE T Ethernet RJ 45 connector NOTE A switch is required for surveillance on multiple units NOTE All the installation and operations should comply with your local electricity safety rules CAUTION To avoid damage to the unit never connect more than one type of power supply...
Page 15: ... enabled the camera first reboots for approximately 30 seconds and then remains accessible at its Static IP until it connects to a DHCP server Connect to a PC directly Directly connect the camera to a PC using a standard Ethernet cable This requires POE switch or injector Connecting a camera to a Local Area Network LAN To add the camera to an existing LAN connect the camera to the POE hub or switc...
Page 16: ...DHCP Step Action 1 Select Setup on the Web User Interface banner to display the setup menus 2 Select the TCP IP tab in the Basic Configuration menu 3 Select the Enable DHCP check box to enable DHCP and disable manual settings 4 Select Apply to save the settings The camera searches for a DHCP server If one is found it connects to that server If no connection is made to a DHCP server within two minu...
Page 17: ... cameras on the LAN It can help you find multiple network cameras set the IP addresses show connection status manage firmware upgrades bulk configuration Procedure 8 Connecting to the camera using Illustra Connect Note Illustra Connect can only discover devices on the same subnet as its host computer Therefore the camera and the computer being used to configure it must be on the same subnet Step A...
Page 18: ...rname is admin 3 Enter the password in the Password text box The default password is admin 4 Select Log in Note The first time that you access the camera or after a factory reset the following two pop up windows are visible A pop up window that requests the user to Define a Host ID and a pop up window that requests the user to select a Security Type Please refer to the user manual for further info...
Page 19: ...eliver video images and audio in real time using the Internet and Intranet It is equipped with an Ethernet RJ 45 network interface The following images illustrate the network topology of the cameras Figure 17 Illustra Flex Bullet Camera Network Topology Type I Figure 18 Illustra Flex Bullet Camera Network Topology Type II ...
Page 20: ...K9 8MP IFS08B2ONWITA IK10 Mechanical Features Dimensions 3MP IK7 Ø70 x 223 mm 3MP IK10 and 8MP IK9 IK10 Ø77 5 x 235 mm Weight approximately 1 1kg Pan Rotation Angle 360 Tilt Angle 90 Z axis Rotation 360 Housing Material Aluminum Alloy Other Housing Material PC Video Processor ROM Flash Size 256 Mbytes RAM Size 512 Mbytes RTC Hold Up Time 24 hours Image Sensor Format 3MP IK7 IK10 1 2 8 CMOS 8MP IK9...
Page 21: ...stance 25m Smart IR Yes When Smart IR is ON AE luma target will be reduced slightly and applies some dWDR Adaptive IR Yes Adaptive IR refers to lens position to adjust the IR intensity of both narrow and broad IR LEDs to have better exposure balance Number of IR LED devices 14 PCS Power Supply Power Requirement AC 24V PoE IEEE 802 3af class 3 Current Draw Amps 0 66mA Wattage 11 52W Line Frequency ...
Page 22: ...s Network Green LED Reset Buttons Reboot and Return to Defaults Environmental Operating Temperature Range 40 50 C Start up Temperature Range 40 50 C Water Dust Intrusion IP66 IP67 IP68 Client Interfaces Browsers supported IE 9 or above Firefox Safari Chrome Networking Languages supported English default Arabic Czech Danish German Spanish French Hungarian Italian Korean Japanese Netherlands Polish ...
Page 23: ...n DHCP RFC2131 Zeroconf RFC3927 Static IP address LLDP Time Synchronization NTP RFC1305 IETF NTP Working Group i minute poll rate E mail SMTP RFC5321 Authenticated SMTP RFC4954 Authentication and Security IEEE 802 1x TLS PEAP HTTPS HTTP over TLS RFC2818 WS Security Multi level password protection IP address filtering HTTPS encryption User access log Streaming RTP RFC3550 RTSP RFC2326 Unicast Strea...
Page 24: ...cs Frame Rates fps Stream Resolution Codecs Frame Rates fps Stream Resolution Codecs Frame Rates fps TWDR Support Stream 1 Stream 2 Stream 3 2048x1536 H264 H264 IntelliZip H265 H26 IntelliZip 1 30 1280x720 H264 H264 IntelliZip H265 H26 IntelliZip MJPEG 1 30 640x360 MJPEG 7 15 Yes 2x 1920x1080 H264 H264 IntelliZip H265 H26 IntelliZip MJPEG 1 30 1024x576 H264 H264 IntelliZip H265 H26 IntelliZip MJPE...
Page 25: ... H264 IntelliZip H265 H26 IntelliZip MJPEG 1 15 480x360 MJPEG 7 15 No 1280x720 H264 H264 IntelliZip H265 H26 IntelliZip MJPEG 31 60 640x360 H264 H264 IntelliZip H265 H26 IntelliZip MJPEG 1 15 384x288 MJPEG 7 15 No 480x360 H264 H264 IntelliZip H265 H26 IntelliZip MJPEG 1 15 No 384x288 H264 H264 IntelliZip H265 H26 IntelliZip MJPEG 1 15 No Note A maximum of 5 concurrent streams are supported by the ...
Page 26: ...2 is limited to a maximum of 15 FPS when Stream 1 is set to 2048x1536 or above Stream 1 is set to 1920x1080 or above with FPS greater that 30 Note Stream 2 automatically reconfigures to a maximum of 15 FPS if Stream 1 FPS is 30 or greater Note Stream 2 supports 1 30 FPS when Stream 1 is set to 1920x1080 or below with FPS set to a maximum of 30 Note Codec MJPEG is not supported when the resolution ...