12
10.
IE Web Client
Tool Bar
In IE address column input DVR Server’s Domain Name or IP address (Default is
http://192.168.1.100
). At first time running you need change IE security setting in Internet Options
to enable “download and install unsigned ActiveX Control”. After finish installing ActiveX Controls, the login dialog interface show up. Input proper ID to login. For example: ID
“Admin”, default password is 888888 and Port is 5050 (Caps Lock sensitive).
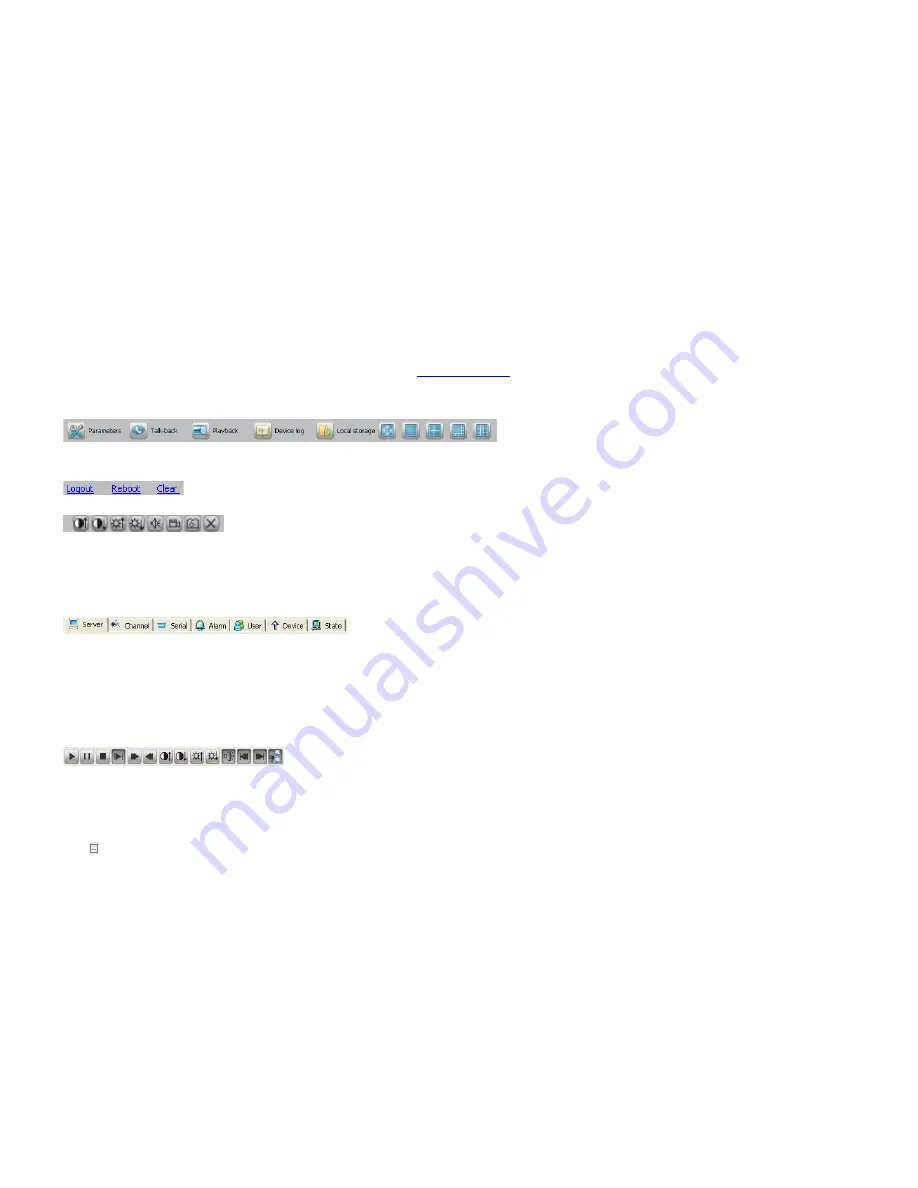
From left to right: Remote setup, Remote Chat, Remote Search(playback), Remote View Log, Local Record Setup (default folder name is “Webclient2”), Change screen viewing
mode.
Log-out, restart DVR, Clear alarm
From Left to right: Adjust image contrast up/down, Adjust brightness up/down, Start/stop audio spy, Start/stop local record, Grab image(save to default folder “Webclient2”), Stop
preview.
For your attention: web client local record only supports manual record.
Device Parameters Settings
Some disruptions may be a little bit different from DVR local interface but exactly the same meaning. The button <synchronize > is used for synchronizing DVR time with your PC
time.
Remote Talk
Click talk-back button to begin remote chat with DVR site.
(DVR audio input 1 support remote voice talk)
Playback
From left to right: Play, Pause, Stop, Next frame, Speed up (click to double by 2X, 4X, 8X, and 16X), Speed down (click to half by X1/2, X1/4, X1/8, and X1/16), Enhance contrast,
Reduce contrast, Enhance brightness, Reduce brightness, Open/close audio, Go to previous file, Go to next file (only available when multiple files are selected), Grab image.
File Download
Click to set saving path. Click <Download> to start download.


