


KINO-AH612
Page 52
Step 1:
Identify the audio plugs
. The plugs on your home theater system or speakers
may not match the colors on the rear panel. If audio plugs are plugged into the
wrong jacks, sound quality will be very bad.
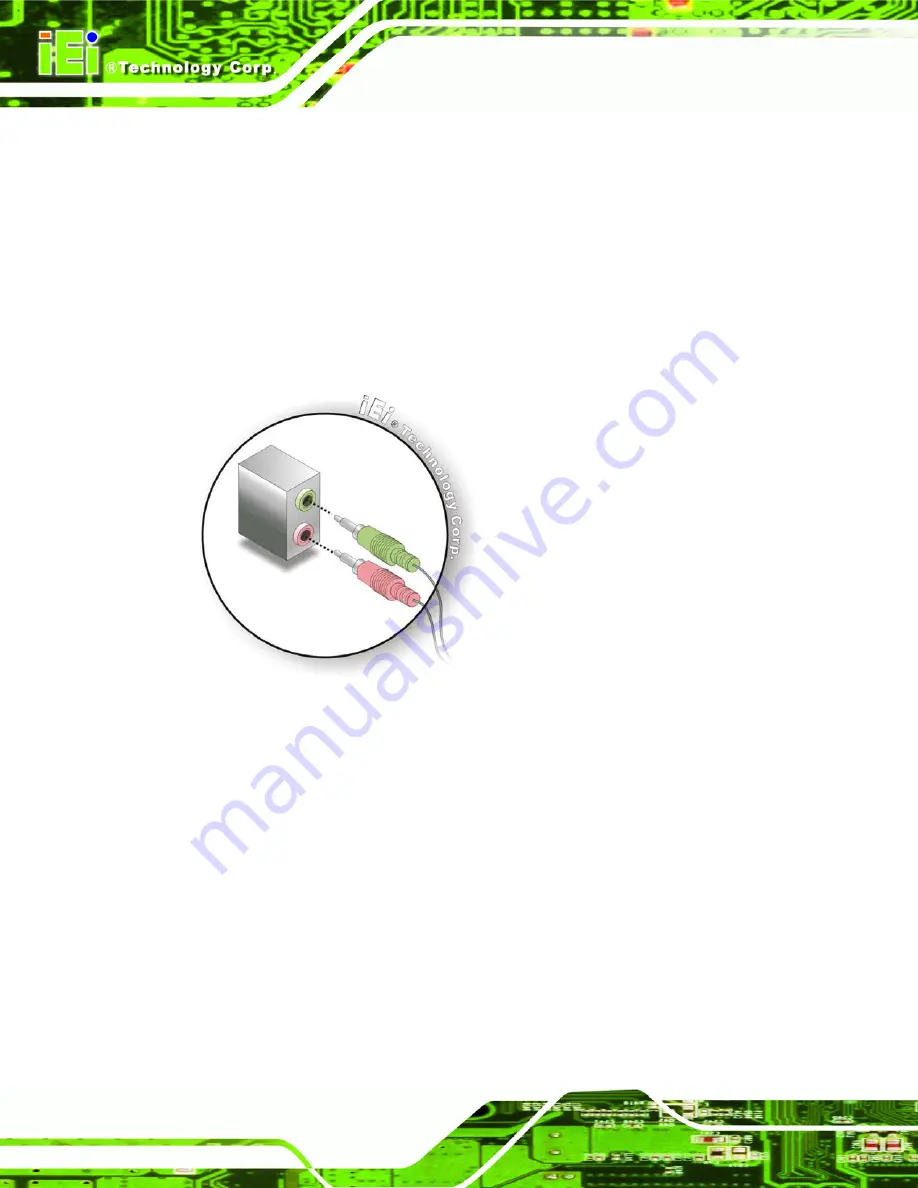
Step 2:
Plug the audio plugs into the audio jacks
. Plug the audio plugs into the audio
jacks. If the plugs on your speakers are different, an adapter will need to be used
to plug them into the audio jacks.
Line Out port (Lime):
Connects to a headphone or a speaker.
Microphone (Pink):
Connects to a microphone.
Figure 4-13: Audio Connector
Step 3:
Check audio clarity
. Check that the sound is coming through the right speakers
by adjusting the balance front to rear and left to right.
4.6.2 DVI Connection
The KINO-AH612 has a single female DVI-I connector on the external peripheral interface
panel. The DVI-I connector is connected to a digital display device. To connect a digital
display device to the KINO-AH612, please follow the instructions below.
Step 1:
Locate the DVI-I connector
. The location of the DVI-I connector is shown in
another chapter.
Summary of Contents for KINO-AH612
Page 12: ...KINO AH612 Page 1 1 Introduction Chapter 1...
Page 19: ...KINO AH612 Page 8 2 Unpacking Chapter 2...
Page 24: ...KINO AH612 Page 13 3 Connectors Chapter 3...
Page 49: ...KINO AH612 Page 38 4 Installation Chapter 4...
Page 68: ...KINO AH612 Page 57 5 BIOS Screens Chapter 5...
Page 106: ...KINO AH612 Page 95 6 Software Drivers Chapter 6...
Page 109: ...KINO AH612 Page 98 Appendix A A BIOS Menu Options...
Page 112: ...KINO AH612 Page 101 Appendix B B One Key Recovery...
Page 120: ...KINO AH612 Page 109 Figure B 5 Partition Creation Commands...
Page 154: ...KINO AH612 Page 143 Appendix C C Terminology...
Page 159: ...KINO AH612 Page 148 Appendix D D Watchdog Timer...
Page 162: ...KINO AH612 Page 151 Appendix E E Hazardous Materials Disclosure...


