Part 2 - Getting Started
26
•
If the NVR is on a network connected to a
DHCP server, selecting
Auto Configuration
retrieves the LAN settings such as IP and DNS
addresses automatically. Selecting
Manual
Configuration
, on the other hand, lets you
specify the settings manually.
•
No Device supporting UPnP.
If this error
message is displayed, check to see if the IP
router (or NAT) supports UPnP and if UPnP
has been enabled. For more information
about the router's UPnP function, refer to the
router's operation manual.
5
If you chose "No" when asked whether the system
has network connection, select
Finish
after the
test completes to exit from Network Setup Wizard.
If you chose "Yes", select
Next
to configure FEN
settings.
6
Enter in the
Device Name
field the NVR name you
wish to register on the FEN server.
This is a unique NVR name that will be registered
on the FEN server. Once registered, the name
can be used to search for the NVR directly from
clients on systems such as the IDIS Center.
Check the name's availability to complete the
registration process. The "Finish" button will then
become activated.
7
Select
Finish
to exit from Network Setup Wizard.
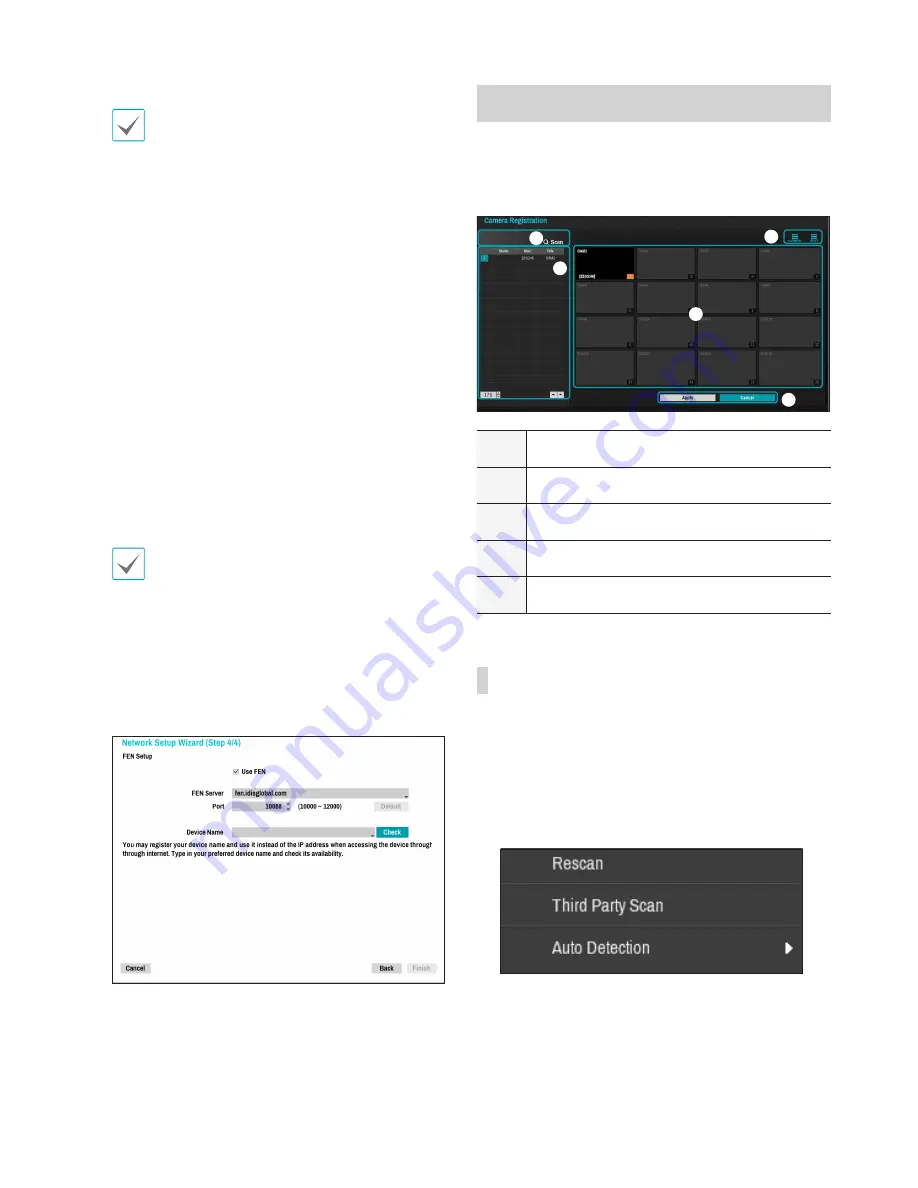
Camera Registration
Once Network Setup Wizard is complete, the system
will automatically enter Camera Registration mode and
scan for cameras connected to the NVR.
1
2
3
4
5
1
Camera Scan Button
2
Camera View Menus
3
Camera List Area
4
Video Display Area
5
Apply/Cancel Buttons
Camera Scan Button
You can scan and search and register cameras
that were not detected automatically or third party
cameras.
1
Pressing the
Scan
button displays the following
submenu.


