Part 1 - Getting Started
17
1
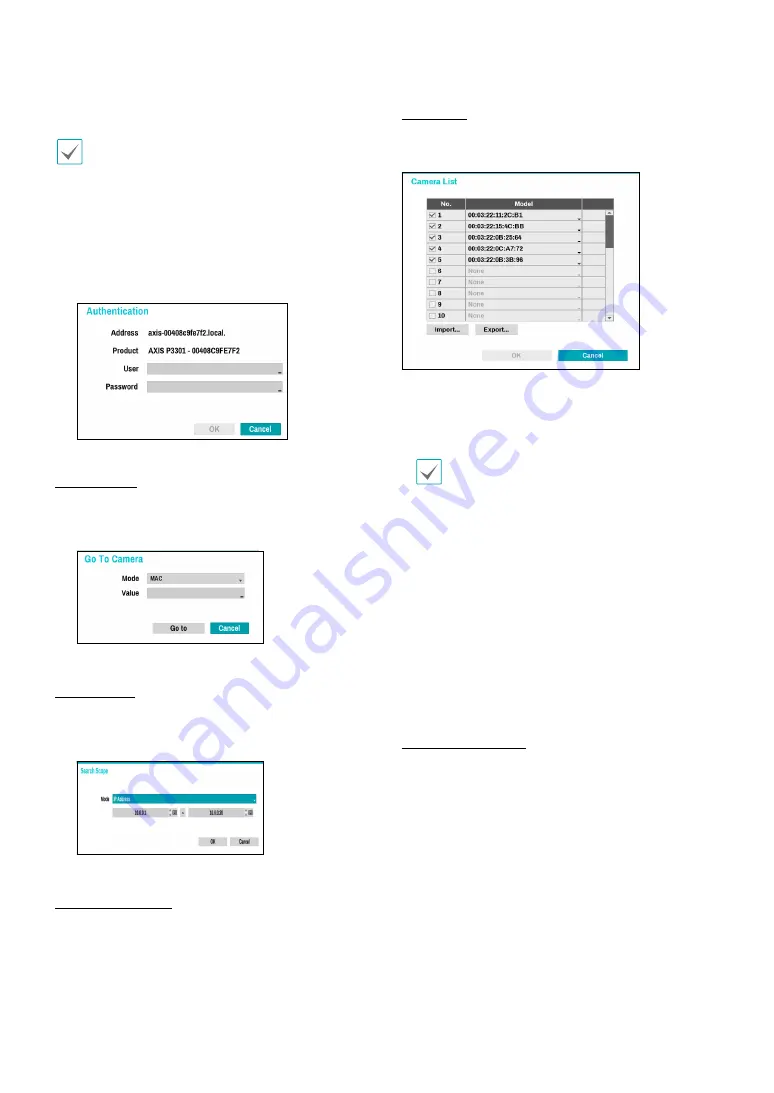
Select
Scan
to commence scanning.
Only cameras that are connected to the NVR via VIDEO
IN ports can be scanned and registered.
2
Select a camera from the scan list and then select
Add Camera
. The device login window will appear.
3
Enter a
User ID
and a
Password
for the selected
camera.
Go To Camera
Moves the focus automatically to the camera using the
MAC addressa and model of camera in the camera list.
Search Scope
Filters the cameras in the camera list depending on the
search scope such as specified IP address range.
Screen Auto. Assign
Assigns the detected cameras on the video display area.
Camera list
By using the camera information file, .csv, the user can
register the cameras easily.
●
Export :
Button : Exports the list of camera
information on USB as a .csv file
●
Import :
Button : Imports a camera information file,
.csv file. The user can edit a csv file directly.
•
A column indicates camera number, B
column the camera MAC address, C column
the Video In port of the video encoder in the
.csv file. C column indicates only for video
encoders. If camera information displays
as follows: 5,00:11:22:18:30:20,3, 5 = CAM 5,
5,00:11:22:18:30:20 = MAC address, 3 means video
encoder.
•
Before using this feature, the cameras must be
scanned first. If the cameras to be registered
do not exist in the list, the camera cannot be
registered.
•
This feature is not supported for the third-party
cameras.
Scan Refresh Interval
Configures the refresh interval to scan the camera. If
the interval is short, camera scan results are refreshed
more frequently. However, if the interval is long, it is
advantageous to scan cameras on a wide network.


