7
ICE i20NB / i20NBT / i20NBT-OB / i24BT
OPERATOR MANUAL
uncRatInG macHIne
Be sure and check packing carton for any damage.
Immediately report any damage to carrier. Check
the contents of package to ensure that the
following items are included:
•
Machine
•
2-12V Batteries
•
Squeegee assembly
•
Battery Charger
•
Pad Driver
InStallInG BatteRIeS
The batteries are already in the machine upon
delivery; However you will need to connect the
cables to the battery posts.
WaRnInG: Batteries emit hydrogen gas.
Explosion or fire can result from hydrogen
gas.Keep sparks and open flames away! Keep
battery compartment open when charging.
1. Turn the Main power key switch off.
2. Open recovery tank to gain access to battery
compartment.
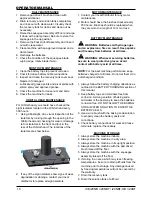
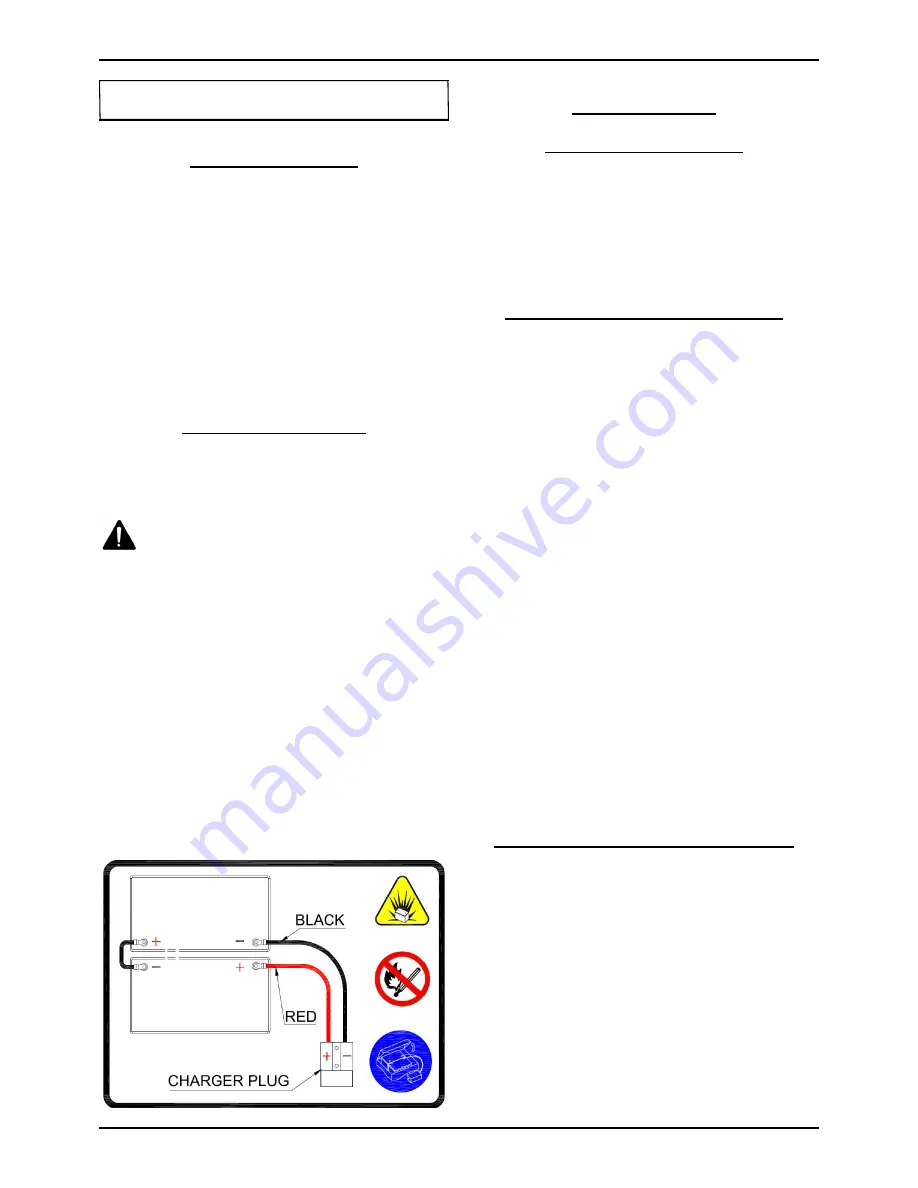
3. Carefully place the two batteries into the
compartment as shown in figure below. Place
the battery brace at the rear of the two batteries.
do not dRop BatteRIeS Into
compaRtment!
4. Connect battery cables to posts in numbered
order as shown in drawing below.
Red to poSItIVe and BlacK to neGatIVe.
macHIne Set up
pRe-opeRatIon cHecKS
1. Sweep or dust mop the surface to be cleaned.
2. Check battery meter to make sure batteries are
fully charged. (See BATTERY CHARGING)
3. Check that squeegee is properly installed.
4. Check that brush / pad is properly installed.
InStallInG pad dRIVeR oR BRuSH
1. Ensure that the machine is turned off.
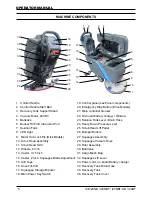
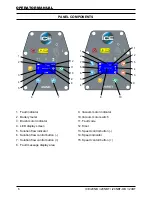
2. Step down on the scrub head lift pedal (see
machine components, item #25) to raise the
scrub head off the floor.
3.
If using a Pad Driver, first attach the appropriate
pad to the pad driver surface.
4. Turn the brush motor hub until the slot with the
spring clip is visible through the scrub head
window.
5. Mount the pad driver or brush to the brush
motor hub by lining up the three studs with the
three holes in the brush motor hub. Once in the
holes, rotate the driver toward the spring clip to
lock the pad driver into place.
If necessary, press down on the motor hub lock
pin (see machine componts, item # 9)to lock
motor hub in place.
6. For Orbital head Model i20NBT-OB, you need to
attach a rectangular, 20in(508mm)×14in(356mm)
Pad to the Orbital Pad driver. align the pad to the
Orbital pad driver, press from front-to-back and
side to side to alignment.
mountInG tHe SQueeGee aSSemBly
1. Lift the squeegee lift lever (see machine
components, item #32)to the upward position.
2. Mount the squeegee assembly to the squeegee
pivot bracket. make sure the knobs are
completely seated into the slots before securing
knobs.
3. Connect the vacuum hose to the squeegee
assembly. Loop the hose by using the hose clip
provided.
4. Check the squeegee blades for proper
adjustment.
MACHINE SET UP & INSTALLATION
Summary of Contents for i20NB
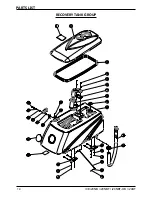
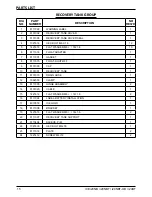
Page 14: ...14 ICE i20NB i20NBT i20NBT OB i24BT PARTS LIST RECOVERY TANK GROUP...
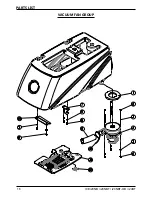
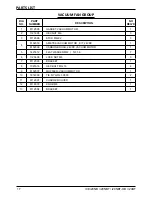
Page 16: ...16 ICE i20NB i20NBT i20NBT OB i24BT PARTS LIST VACUUM FAN GROUP...
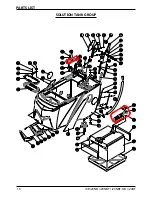
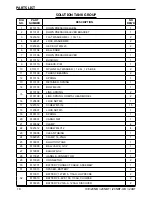
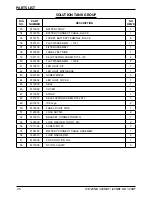
Page 18: ...18 ICE i20NB i20NBT i20NBT OB i24BT PARTS LIST SOLUTION TANK GROUP...
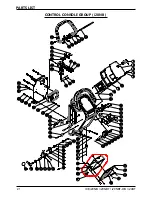
Page 21: ...21 ICE i20NB i20NBT i20NBT OB i24BT PARTS LIST CONTROL CONSOLE GROUP i20NB...
Page 24: ...24 ICE i20NB i20NBT i20NBT OB i24BT PARTS LIST CONTROL CONSOLE GROUP i20NBT i24BT...
Page 27: ...27 ICE i20NB i20NBT i20NBT OB i24BT PARTS LIST FRAME WHEEL GROUP i20NB...
Page 29: ...29 ICE i20NB i20NBT i20NBT OB i24BT PARTS LIST FRAME TRANSAXLE GROUP i20NBT i24BT...
Page 31: ...31 ICE i20NB i20NBT i20NBT OB i24BT PARTS LIST SCRUB HEAD GROUP i20NB i20NBT...
Page 33: ...33 ICE i20NB i20NBT i20NBT OB i24BT PARTS LIST ORBITAL HEAD GROUP i20NBT OB...
Page 35: ...35 ICE i20NB i20NBT i20NBT OB i24BT PARTS LIST SCRUB HEAD GROUP i24BT...
Page 37: ...37 ICE i20NB i20NBT i20NBT OB i24BT PARTS LIST SCRUB HEAD LIFT GROUP i20NB i20NBT...
Page 39: ...39 ICE i20NB i20NBT i20NBT OB i24BT PARTS LIST ORBITAL HEAD LIFT GROUP i20NBT OB...
Page 41: ...41 ICE i20NB i20NBT i20NBT OB i24BT PARTS LIST SCRUB HEAD LIFT GROUP i24BT...
Page 43: ...43 ICE i20NB i20NBT i20NBT OB i24BT PARTS LIST SQUEEGEE GROUP...
Page 45: ...45 ICE i20NB i20NBT i20NBT OB i24BT PARTS LIST SOLUTION GROUP...


