If the green
Ready Status
Light is...
And the amber
Fault Status
Light is...
And the
Encryption
Status Light
is...
And the SCD is...
And the SCD
dot is...
Meaning
Off
On
Off
Flashing
Off
The drive is requesting a cartridge to be loaded.
Off
Flashing (twice
per second)
Off
Off
On
There is a drive memory dump in flash memory.
1
Power must not be removed from the drive until the microcode update is complete. The drive indicates that the update is complete by resetting and completing POST.
Unload button
The Unload button completes several functions.
) is used to rewind cartridges, utilize Maintenance mode, force a memory dump, or reset the drive.
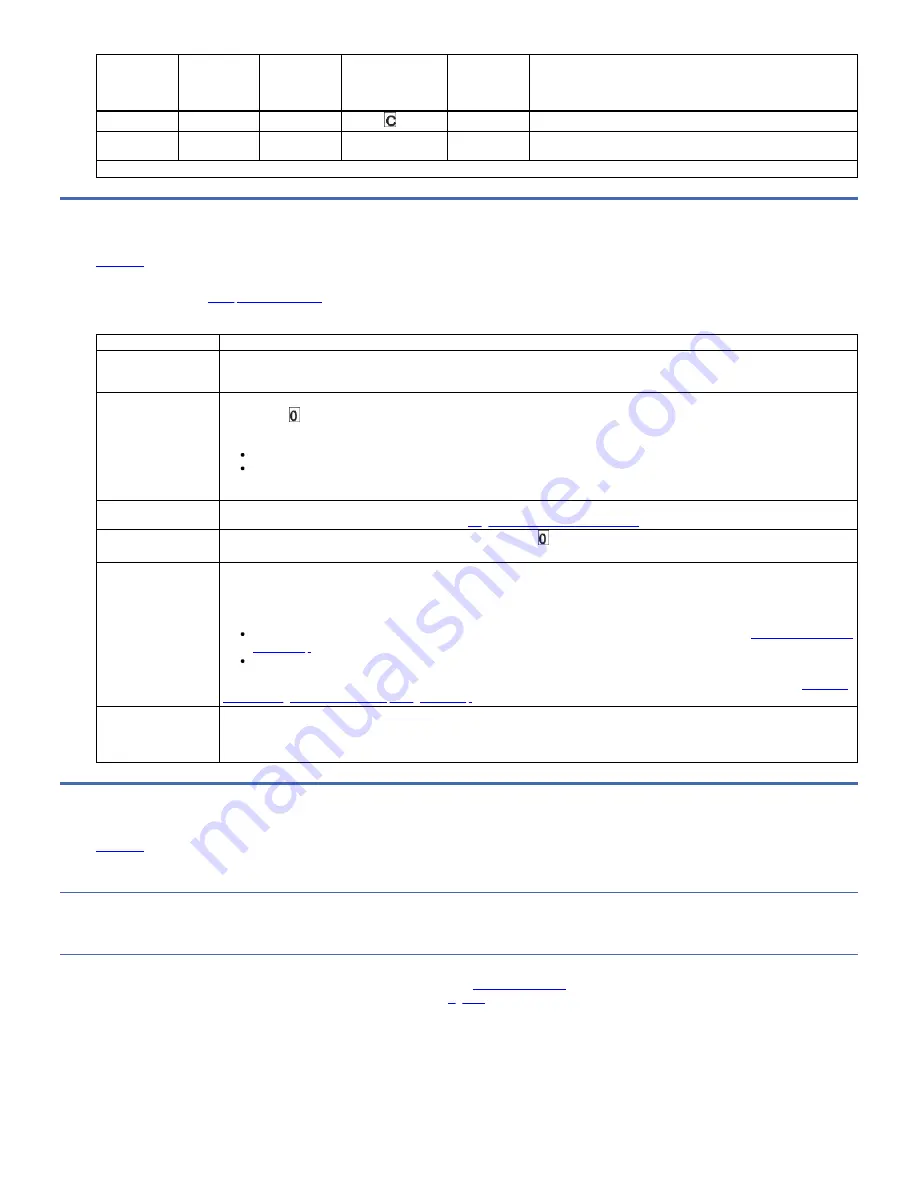
Table 1. Functions that the Unload button completes
Unload Button Function
How to Initiate the Function
Rewind the tape into the
cartridge and eject the
cartridge from the drive
Press Unload. The Ready light flashes while the drive is rewinding and unloading.
Note: During a rewind and eject operation, the drive does not accept host interface commands.
Place the drive in
Maintenance mode
Ensure that the drive is unloaded. Then, within 2 seconds, press Unload three times. The drive is in Maintenance mode when the Ready light
is flashing and displays in the SCD.
Notes:
While in Maintenance mode, the drive does not accept host interface commands.
If you attempt to enter Maintenance mode with a cartridge in the drive, the drive rewinds and ejects the cartridge. Remove the
cartridge and repeat the steps for entering Maintenance mode.
Scroll through the
Maintenance functions
While in Maintenance mode, press Unload once per second to increment the display characters by one. When you reach the character of the
diagnostic or maintenance function that you want (see
Diagnostic and maintenance functions
), press and hold Unload for 3 seconds.
Exit Maintenance mode
Press Unload once per second to increment the display character until displays. Then, press and hold Unload for 3 seconds. Maintenance
mode is exited when the Ready light is On and the SCD becomes blank.
Force a drive memory
dump (part of the
Maintenance mode)
Attention: If the drive detects a permanent error and displays an error code, it automatically forces a drive memory dump (also known as a
save of the firmware trace). If you force a drive memory dump, the existing memory dump is overwritten and data is lost. After you force a
drive memory dump, do not turn off the power to the drive or you might lose the memory dump data.
Choose one of these procedures:
If the drive is in operating mode (Ready light is On or flashing), press and hold Unload for 10 seconds.
1: Determining firmware level and capturing drive dump
Reset the drive
Press and hold Unload until the drive begins the reset procedure (Fault light turns On when reset starts).
Note: If a tape cartridge is loaded in the drive, it unloads the tape.
Repeat the "Reset the drive" procedure after the tape is unloaded. The drive saves a memory dump of the current drive state, then reboots to
allow communication. Do not cycle power as this action erases the contents of the memory dump.
Inserting a tape cartridge
About this task
To insert a tape cartridge:
Procedure
1. Ensure that the drive is powered-on.
2. Ensure that the write-protect switch on the tape cartridge is properly set (see
).
3. Grasp the cartridge so that the write-protect switch faces you (see 1 in
).
4. Slide the cartridge into the tape load compartment.
Notes:
a. If the cartridge is already in an ejected position and you want to reinsert it, remove the cartridge, then insert it again.
b. If the cartridge is already loaded and you cycle the power (turn it off, then on), the tape reloads.
c. Do not attempt to load a cartridge when the drive is in Maintenance mode until the drive requests it.
Figure 1. Inserting a cartridge into the drive
16
IBM TS22xx - TS2290, TS2280, and TS2270