background image

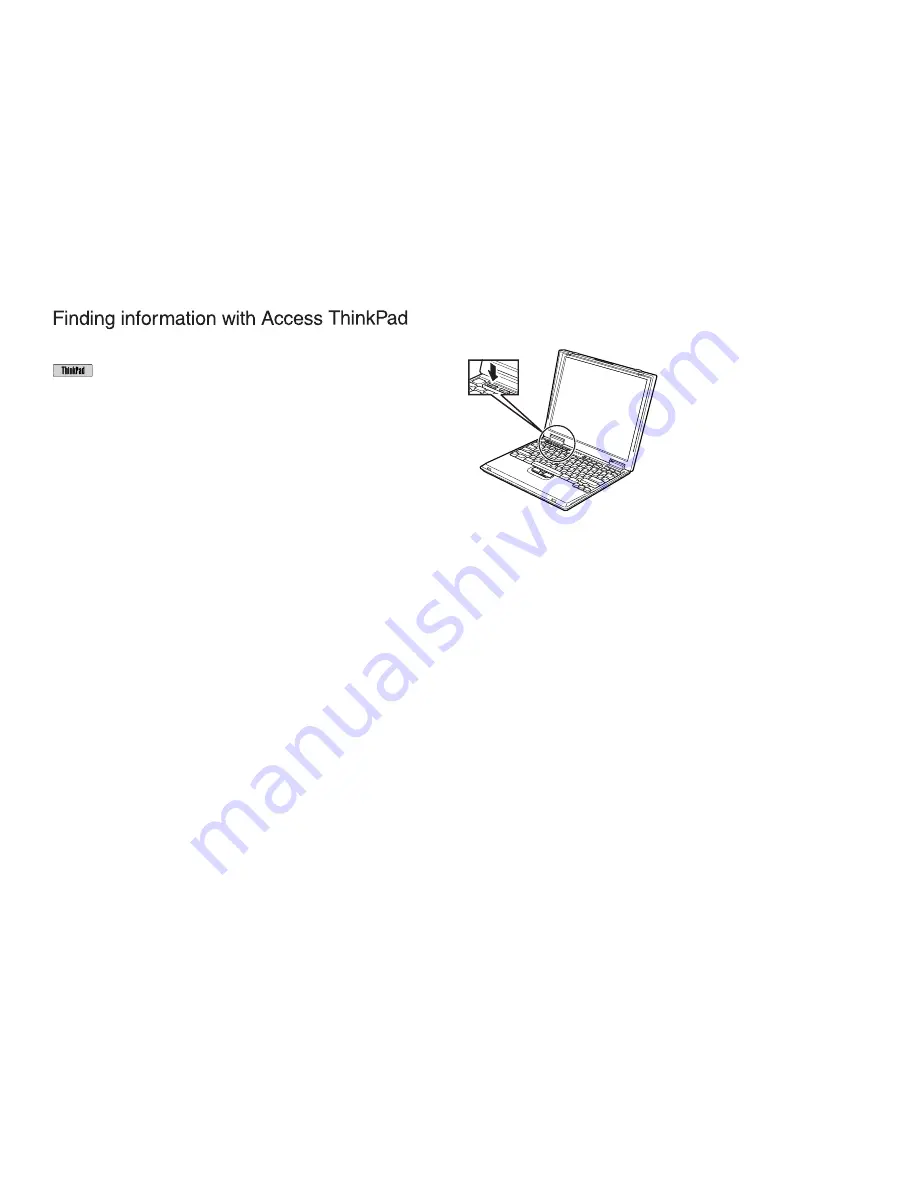
Your computer features the unique ThinkPad Button.

Whenever you have a question about your computer, or wish to view
IBM web sites, simply press the ThinkPad button to open Access
ThinkPad.

Access ThinkPad is the comprehensive, on-board help and information
center for your computer. It travels with you, eliminating the need to
carry reference manuals.

Find information about your ThinkPad computer and its features by
using Search function. For direct access to help and support, tips from
other mobile users, and information about accessories, software, and
upgrades, visit the IBM Web site.

6

Summary of Contents for ThinkPad X20

Page 1: ...ephone cable h Power cord h Books v Service Troubleshooting Guide v Setup Guide v Manual Package for Microsoft Windows Notes 1 Some models may contain additional items that are not listed 2 Your compu...

Page 2: ...ttery lock 1 to the unlocked position 2 Insert the battery pack into the battery compartment 2 Note Depending on the battery option you ordered your battery may appear different from the figure 3 Swit...

Page 3: ...Turning on the system 1 Open the computer display Slide the latches 1 and open the display 2 Then position the display so that it is convenient for viewing 2 1 1 2 Press the power switch 3...

Page 4: ...gently with your left or right index finger in the direction you want to move the cursor To select and drag an object press and hold one of the click buttons with either thumb as required by your soft...

Page 5: ...ress the Volume up or Volume down button When you press one of these buttons the volume indicator appears on the screen for a few seconds For more details on volume control see the on board help syste...

Page 6: ...s ThinkPad is the comprehensive on board help and information center for your computer It travels with you eliminating the need to carry reference manuals Find information about your ThinkPad computer...

Page 7: ...omputer the computer beeps and the system does not start You can purchase the appropriate memory option from your IBM reseller or IBM marketing representative Attention Before you start installing a m...

Page 8: ...Find the notch on the side of the DIMM Attention To avoid damaging the DIMM do not touch its contact edge 6 With the notched end of the DIMM toward the right side of the socket insert the DIMM into th...

Page 9: ...urn the computer over again To make sure that the DIMM is installed correctly do as follows 1 Turn the computer on 2 While the Press F1 for IBM BIOS Setup Utility message is displayed at the lower lef...

Page 10: ...Service _______________________________ IBM Service Website _______________________________ IBM Service Number _______________________________ The following terms in this publication are trademarks o...

Reviews: