4.
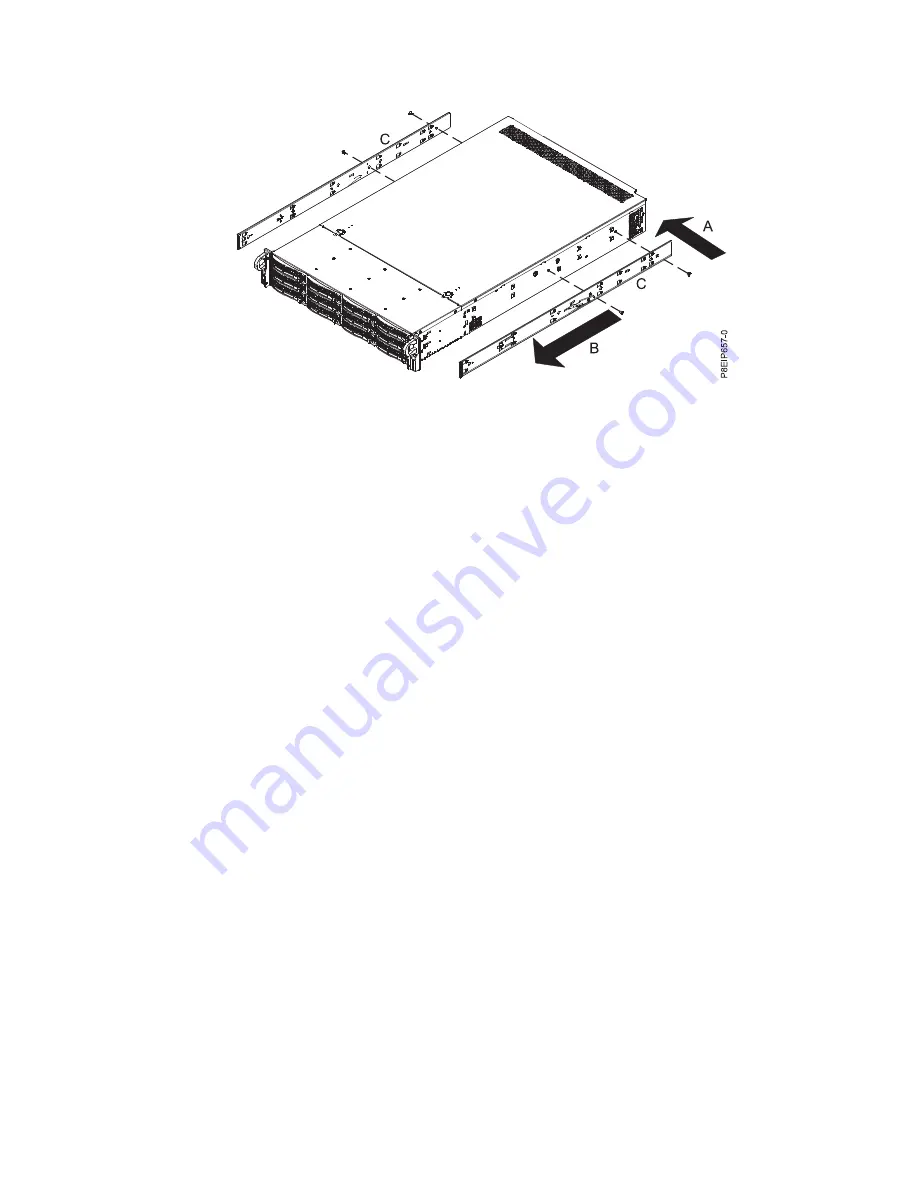
Move to the front of the rack. Align the left rack rail inside the rack cabinet by resting the rail
bracket hooks on the rack flange holes that you previously marked. The rail hooks should be located
in the flange hole in the middle of each EIA rack unit.
5.
With the rail bracket hooks resting on the rack flange holes, press down on the rack rails until the
rail pins click into place.
6.
Repeat these steps for the right rack rail.
7.
Move to the rear of the rack. Extend the left rack rail inside the rack cabinet until it hooks the rack
flange holes that you previously marked.
8.
Press down on the rack rails until the rail pins click into place.
9.
Repeat these steps for the right rack rail.
10.
Secure each rail to the rack by fastening one screw through each hole in each rail and through the
EIA support flange.
11.
Move to the front of the rack. Secure the rails to the rack by fastening one screw through each hole
in each rail and through the EIA support flange.
Installing the system into the rack and connecting and routing power
cables
After you install the system onto the rails in the rack, connect and route power cables.
About this task
Note:
This system requires three people to install the system into the rack.
Procedure
1.
Remove the protective plastic film from the top of the system chassis.
2.
Move to the front of the rack.
3.
Extend each rail until it clicks into the extended position.
4.
Using three people, lift the system and align the system chassis rails on each side of the chassis with
the rack slide rails.
5.
While one person is supporting the weight of the system, have the second person gently push the
system into the rack, until you hear each slide rail click into place.
6.
Simultaneously depress the slide rail latches on each side of the slide rail and push the system
toward the rear of the rack until the system clicks into place.
7.
Secure the system to the rack by screwing a screw through the handles on each side of the front of
the system chassis.
Installing and configuring the system
5
Summary of Contents for Power Systems 8001-22C
Page 1: ...Power Systems Installing the IBM Power System S822LC for Big Data 8001 22C IBM...
Page 2: ......
Page 3: ...Power Systems Installing the IBM Power System S822LC for Big Data 8001 22C IBM...
Page 16: ...xiv Power Systems Installing the IBM Power System S822LC for Big Data 8001 22C...
Page 136: ...120 Power Systems Installing the IBM Power System S822LC for Big Data 8001 22C...
Page 137: ......
Page 138: ...IBM Printed in USA...


