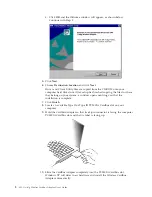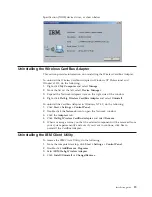
9.
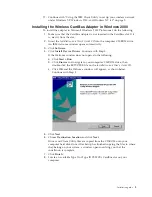
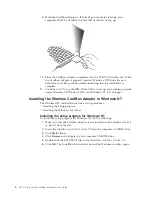
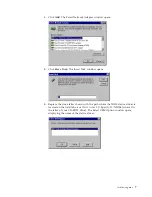
Hold the CardBus Adapter so that its 68-pin connector is facing your
computer PCMCIA CardBus slot and that its label is facing up.
10.
Slide the CardBus Adapter completely into the PCMCIA CardBus slot. When
the CardBus Adapter is properly inserted, Windows 2000 finds the new
hardware and a beep will be emitted indicating that the installation is
complete.
11.
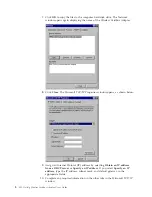
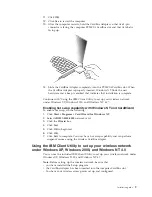
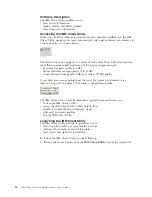
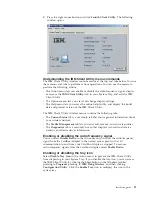
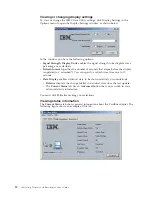
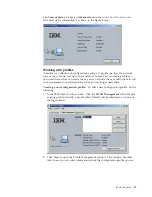
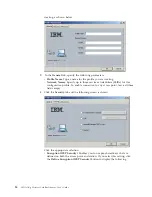
Continue with “Using the IBM Client Utility to set up your wireless network
under Windows XP, Windows 2000, and Windows NT 4.0” on page 9.
Installing the Wireless CardBus Adapter in Windows NT
The Windows NT installation consists of two procedures:
v
Installing the Setup program
v
Installing the Windows NT driver
Installing the setup program for Windows NT
To install the setup program for Windows NT, do the following:
1.
Make sure that the CardBus Adapter is not inserted in the CardBus slot. If it
is, eject it from the slot.
2.
Insert the
Installation and User’s Guide CD
into the computer CD-ROM drive.
3.
Click
Start
→
Run
.
4.
Click
Browse
and navigate to your computer CD-ROM drive.
5.
Double-click the SETUP.EXE file on the
Installation and User’s Guide CD
.
6.
Click
OK
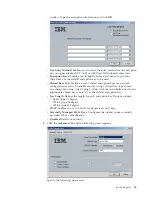
. The InstallShield wizard starts and the Welcome window opens.
4
802.11a/b/g Wireless CardBus Adapter: User’s Guide
Summary of Contents for IBM 802.11a/b/g Wireless CardBus Adapter
Page 1: ...802 11a b g Wireless CardBus Adapter User s Guide...
Page 2: ......
Page 3: ...802 11a b g Wireless CardBus Adapter User s Guide...
Page 6: ...iv 802 11a b g Wireless CardBus Adapter User s Guide...
Page 8: ...vi 802 11a b g Wireless CardBus Adapter User s Guide...
Page 30: ...22 802 11a b g Wireless CardBus Adapter User s Guide...
Page 32: ...24 802 11a b g Wireless CardBus Adapter User s Guide...
Page 36: ...28 802 11a b g Wireless CardBus Adapter User s Guide...
Page 60: ...52 802 11a b g Wireless CardBus Adapter User s Guide...
Page 61: ......
Page 62: ...Part Number 31P9111 Printed in U S A 1P P N 31P9111...


