__
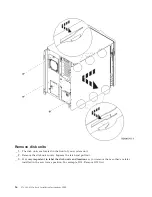
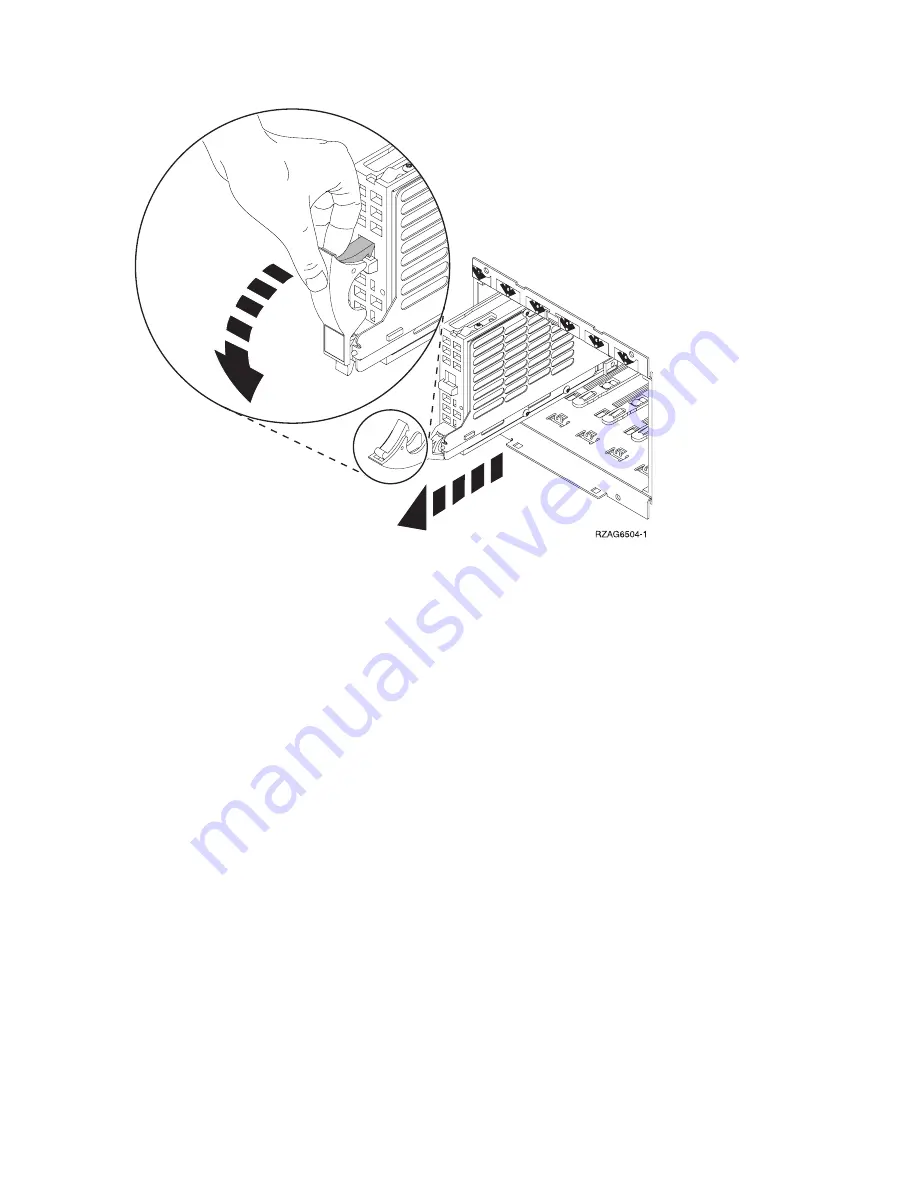
6.
Label
the
disk
unit
and
put
it
in
a
static
protective
bag.
__
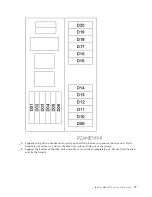
7.
Repeat
the
above
steps
for
each
disk
unit
in
your
system.
__
8.
Continue
with
the
instructions.
Remove
tape,
CD–ROM,
or
DVD
devices
__
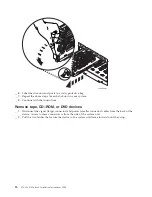
1.
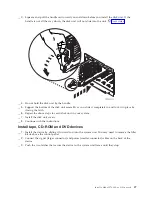
Disconnect
the
signal
(larger
connector)
and
power
(smaller
connector)
cables
from
the
back
of
the
device.
Access
to
these
connectors
is
from
the
side
of
the
system
unit.
__
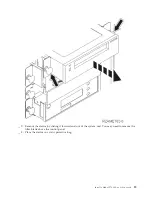
2.
Pull
the
two
latches
that
secure
the
device
to
the
system
unit
frame
forward
until
they
stop.
18
270,
800,
810
In
Rack
Installation
Instructions
V5R3
Summary of Contents for Eserver i Series
Page 1: ...iSeries 270 800 and 810 units in a rack installation instructions Version 5 ERserver...
Page 2: ......
Page 3: ...iSeries 270 800 and 810 units in a rack installation instructions Version 5 ERserver...
Page 6: ...iv 270 800 810 In Rack Installation Instructions V5R3...
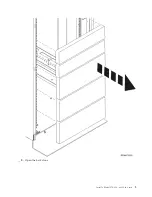
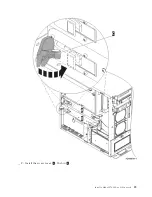
Page 11: ...__ 8 Open the back door Install a Model 270 800 or 810 in a rack 5...
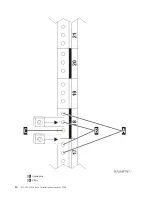
Page 16: ...A Guidepins B Clips 10 270 800 810 In Rack Installation Instructions V5R3...
Page 35: ...__ 2 Install the access cover A Push in B Install a Model 270 800 or 810 in a rack 29...
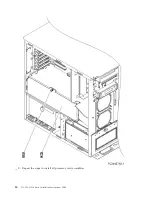
Page 38: ...32 270 800 810 In Rack Installation Instructions V5R3...
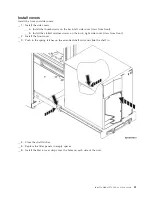
Page 40: ...34 270 800 810 In Rack Installation Instructions V5R3...
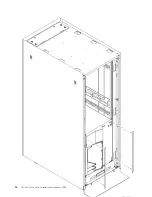
Page 48: ...42 270 800 810 In Rack Installation Instructions V5R3...
Page 49: ......
Page 50: ...Printed in USA...

