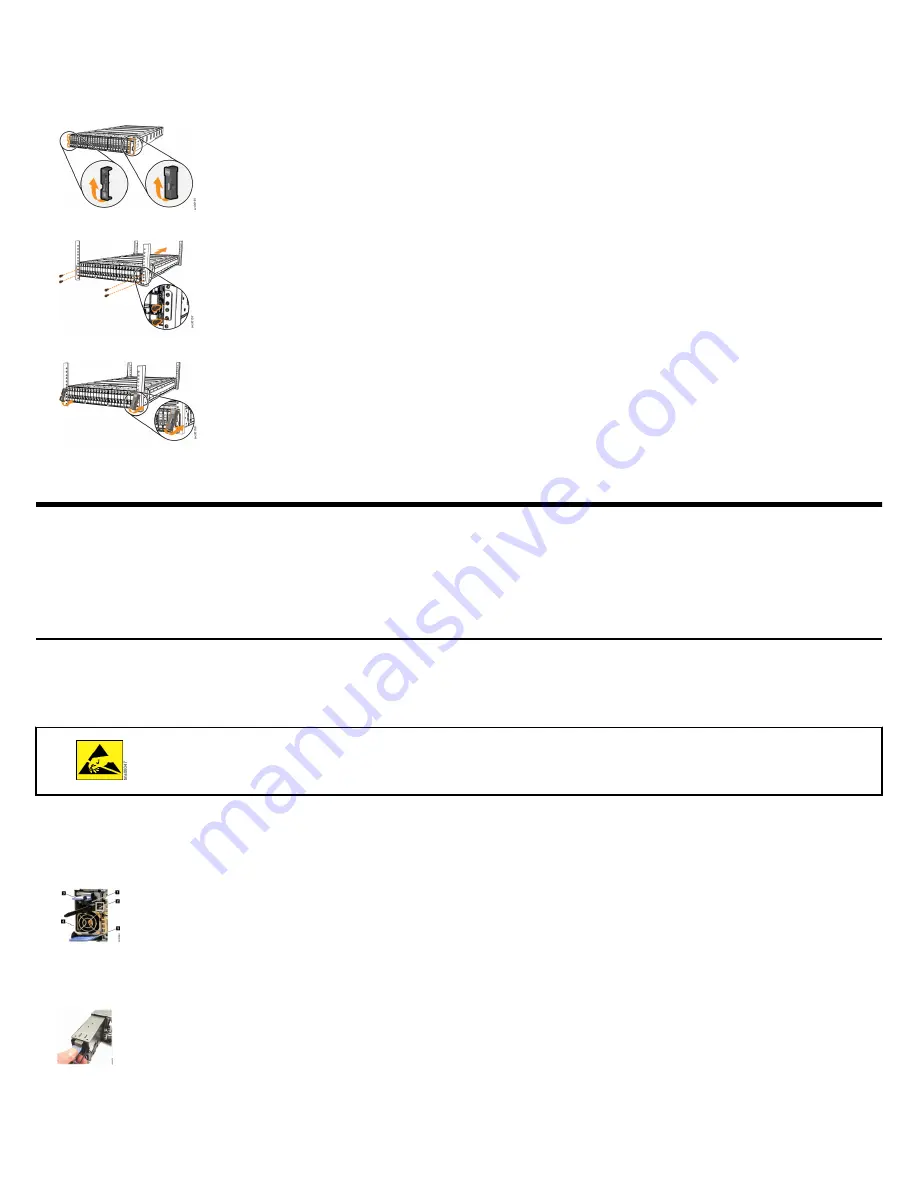
6. Secure the rear of the rail to the rear rack flange with two black M5 screws (5).
7. Repeat Step
on page 2 through Step
on page 3 to secure the opposite rail to the rack cabinet.
8. Remove each end cap from the front of the enclosure. Lift the bottom of each end cap
9. At the front of the enclosure, use two rack mounting screws to secure each side of the enclosure to the rack.
10.Reinstall the left and right end caps to the front of the enclosure.
Removing and replacing parts
If three persons or a lift are not available to install the control enclosure , the weight of the control enclosure must be reduced before it can
be safely lifted. Follow the procedures to remove several parts of thecontrol enclosure . Reinstall the parts after the control enclosure is
installed in the rack. If you did not remove any parts, continue to
on page 5.
Removing and replacing a power supply unit
To reduce weight during the installation procedure, you must remove and replace the power supply units (PSUs) in a control enclosure .
When the system is running, the redundant PSUs operate in parallel; one PSU continues to provide power if the other PSU fails.
About this task
•
Follow recommended procedures for handling electrostatic discharge (ESD)-sensitive devices.
•
No tools are required to complete this task. Do not remove or loosen any screws.
•
Do not insert a PSU if the PSU slot does not contain a power interposer.
Procedure
1. Fold out the handle (3) so that it extends perpendicular to the PSU.
1 Cable retention clip
2 LED indicator
3 PSU handle
4 PSU release tab
5 Power interposer release tab
2. Hold the PSU handle and press the PSU release tab (4). Steadily pull the handle horizontally to slide the PSU from the control enclosure .
Support the PSU with your other hand as it is released.
3. To replace the PSU, fold out the handle so that it extends perpendicular to the PSU.
4. Extend the PSU handle and support the PSU. Slide the PSU into the control enclosure until the release tab engages with a "click".
3


