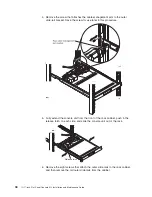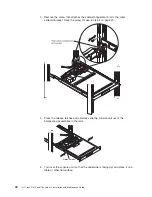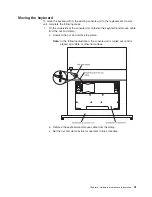
2.
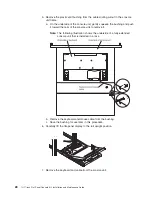
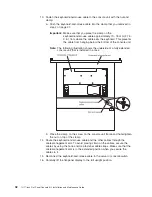
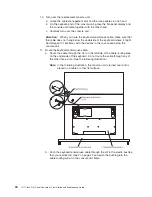
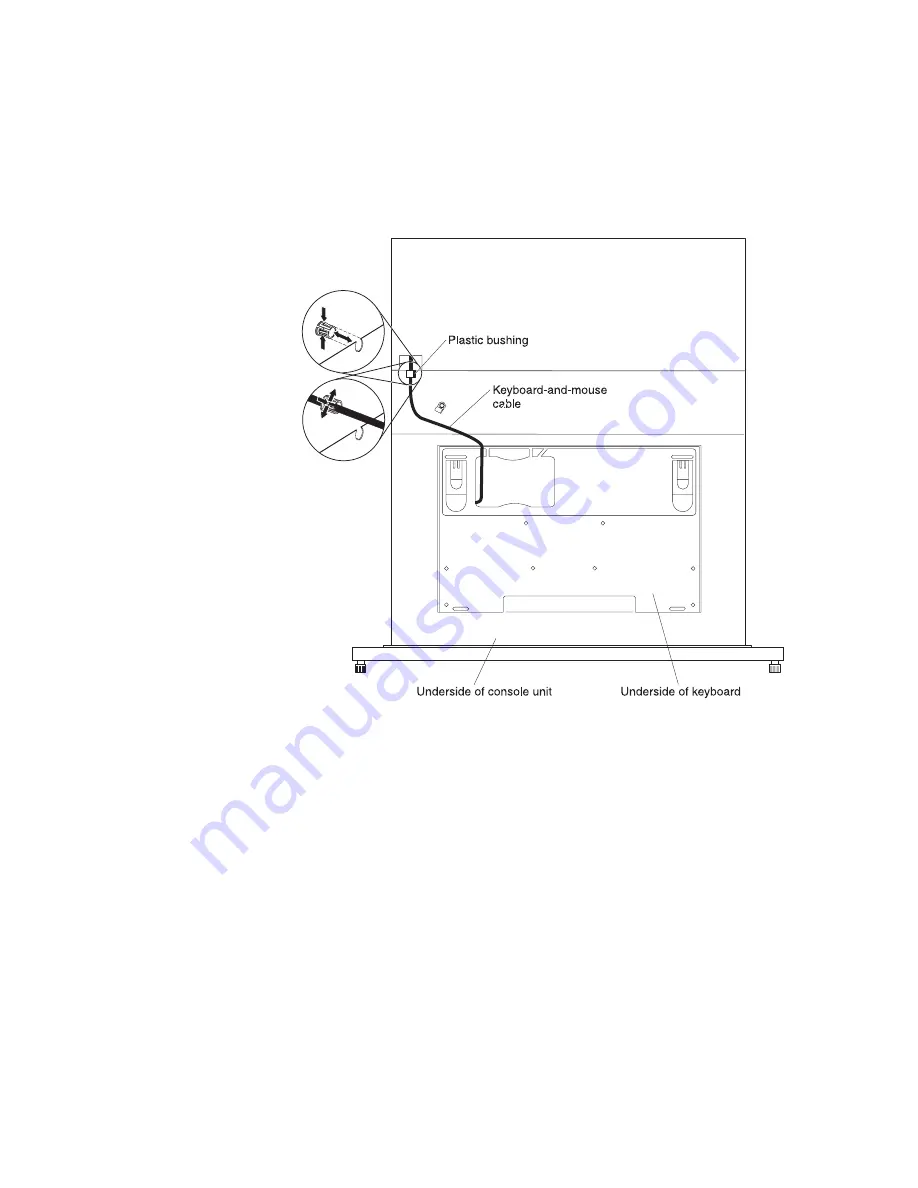
Remove
the
plastic
split
bushing
from
the
cable-routing
cutout
in
the
console
unit
frame:
a.
Gently
squeeze
the
bushing
and
push
it
toward
the
rear
of
the
console
unit
to
remove
it.
Note:
In
the
following
illustration,
the
console
unit
is
turned
over
and
is
placed
on
a
table
or
other
flat
surface.
b.
Remove
the
keyboard-and-mouse
cable
from
the
bushing.
c.
Save
the
bushing
for
use
later
in
this
procedure.
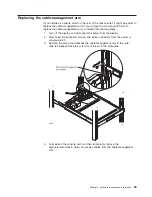
3.
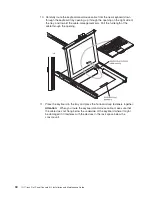
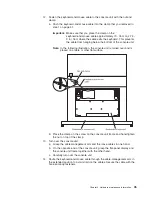
Turn
over
the
console
unit:
a.
Grasp
the
cable-management
arm
and
the
loose
cables
in
one
hand.
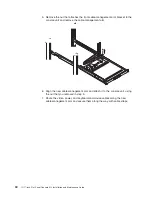
b.
On
the
opposite
end
of
the
console
unit,
grasp
the
flat-panel
display
and
the
console
unit
frame
together
with
the
other
hand.
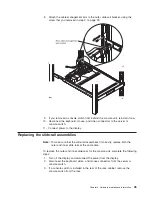
c.
Carefully
turn
over
the
console
unit.
42
1U
17-inch
Flat
Panel
Console
Kit:
Installation
and
Maintenance
Guide
Summary of Contents for 1U
Page 1: ...1U 17 inch Flat Panel Console Kit Installation and Maintenance Guide...
Page 2: ......
Page 3: ...1U 17 inch Flat Panel Console Kit Installation and Maintenance Guide...
Page 32: ...22 1U 17 inch Flat Panel Console Kit Installation and Maintenance Guide...
Page 91: ......
Page 92: ...Part Number 46M1369 Printed in USA 1P P N 46M1369...

