


51
Security Settings
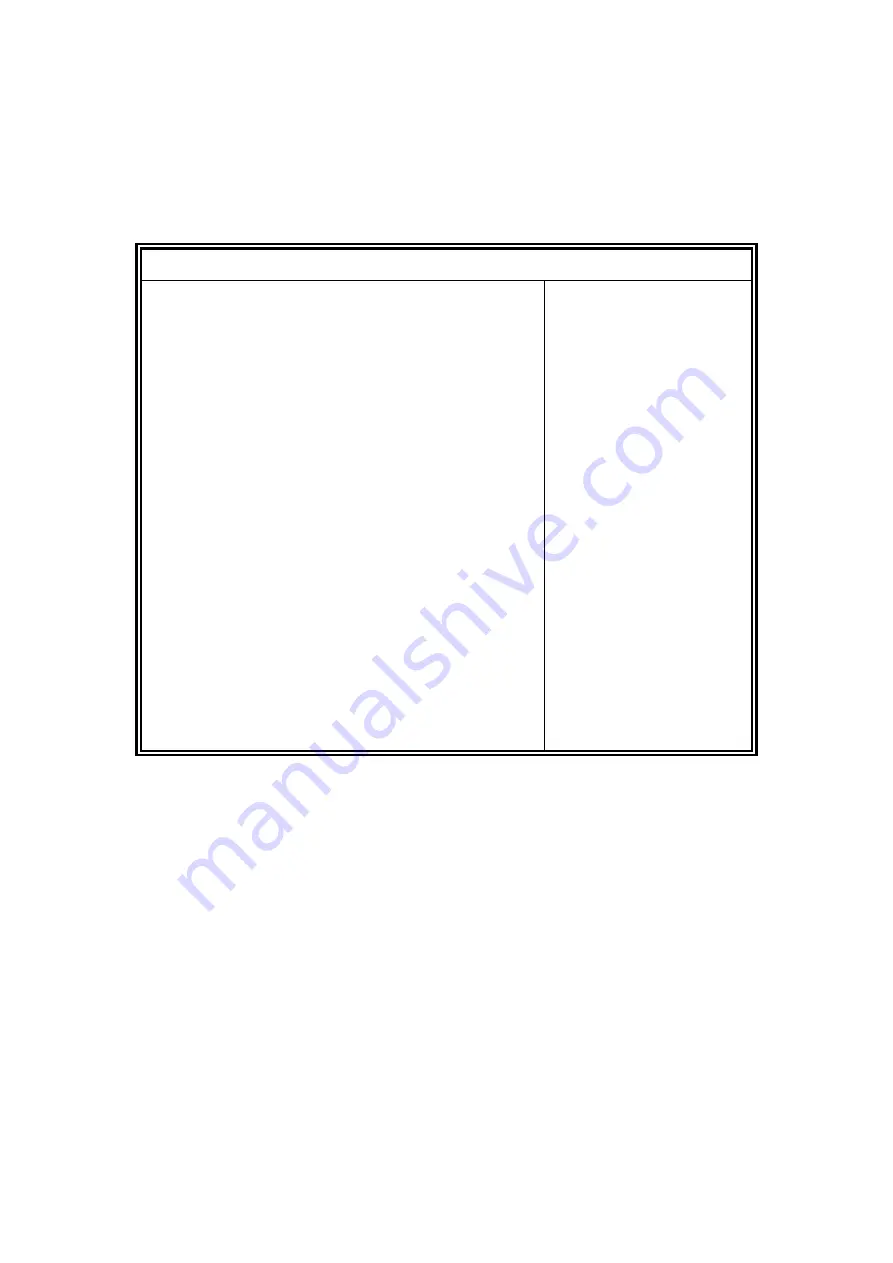
This section allows you to configure and improve your system and allows you to set up some system
features according to your preference.
Aptio Setup Utility
–
Copyright © 2012 American Megatrends, Inc.
Main Advanced
Chipset Boot Security Save & Exit
Password Description
→
←
Select Screen
↑↓
Select Item
Enter: Select
+-
Change Opt.
F1:General Help
F2:Previous Values
F3: Optimized Defaults
F4: Save & Exit
ESC: Exit
If ONLY the Administrator
’s password is set,
then this only limit access to Setup and is
only asked for when entering Setup.
If ONLY the User
’s password is set, then this
is a power on password and must be entered to boot
or enter Setup. In Setup the User will
have Administrator rights.
The password length must be
in the following range:
Minimum length
3
Maximum length
20
Administrator Password
User Password
Administrator Password
Set Administrator Password
User Password
Set User Password
Summary of Contents for SI-60E-M
Page 1: ...1 SI 60E User Manual SI 60E User Manual...
Page 10: ...10 1 2 2 Dimensions...
Page 11: ...11 1 2 3 I O View SI 60E front side SI 60E rear side...
Page 12: ...12 1 3 Exploded View of the SI 60E Assembly...
Page 18: ...18 CHAPTER 2 MOTHERBOARD INTRODUCTION 2 1 Introduction MBD60E Jumpers and Connectors...
Page 19: ...19 MBD60E Board Dimensions...
Page 58: ...58 6 Click Accept to accept the End User License Agreement...
Page 65: ...65 7 When InstallShield Wizard is complete click Finish...
Page 68: ...68...
Page 71: ...71 5 Setup complete Click Finish to restart the computer and for changes to take effect...
Page 77: ...77 7 In the Welcome screen click Next 8 When the Destination Folder screen appears click Next...
Page 86: ...86 Turn on Device List...
Page 90: ...90 Choose AMD Eyefinity Multi Display for Video wall display configuration setting...
Page 91: ...91 Select Create Eyefinity Display Group...
Page 92: ...92 Select 2 x 3 for 4 x 3 Display configuration...
Page 93: ...93 Make the displays arrangement...
Page 94: ...94 Complete the settings...
Page 99: ...99 D 2 x 4 Display configuration 1 Select 2 x 2 Stretch by control centor utility...


