


46
USB Configuration
Main Advanced
Chipset Boot Security Save & Exit
USB Configuration
→
←
Select Screen
↑↓
Select Item
Enter: Select
+-
Change Opt.
F1: General Help
F2: Previous Values
F3: Optimized Defaults
F4: Save & Exit
ESC: Exit
USB Precondition
Disabled
xHCI Mode
Auto
USB Ports Per-Port Disable Control
Disabled
USB Precondition
Precondition work on USB host controller and root ports for faster enumeration.
xHCI Mode
Mode of operation of xHCI controller.
USB Ports Per-Port Disable Control
Control each of the USB ports (0~13) disabling.
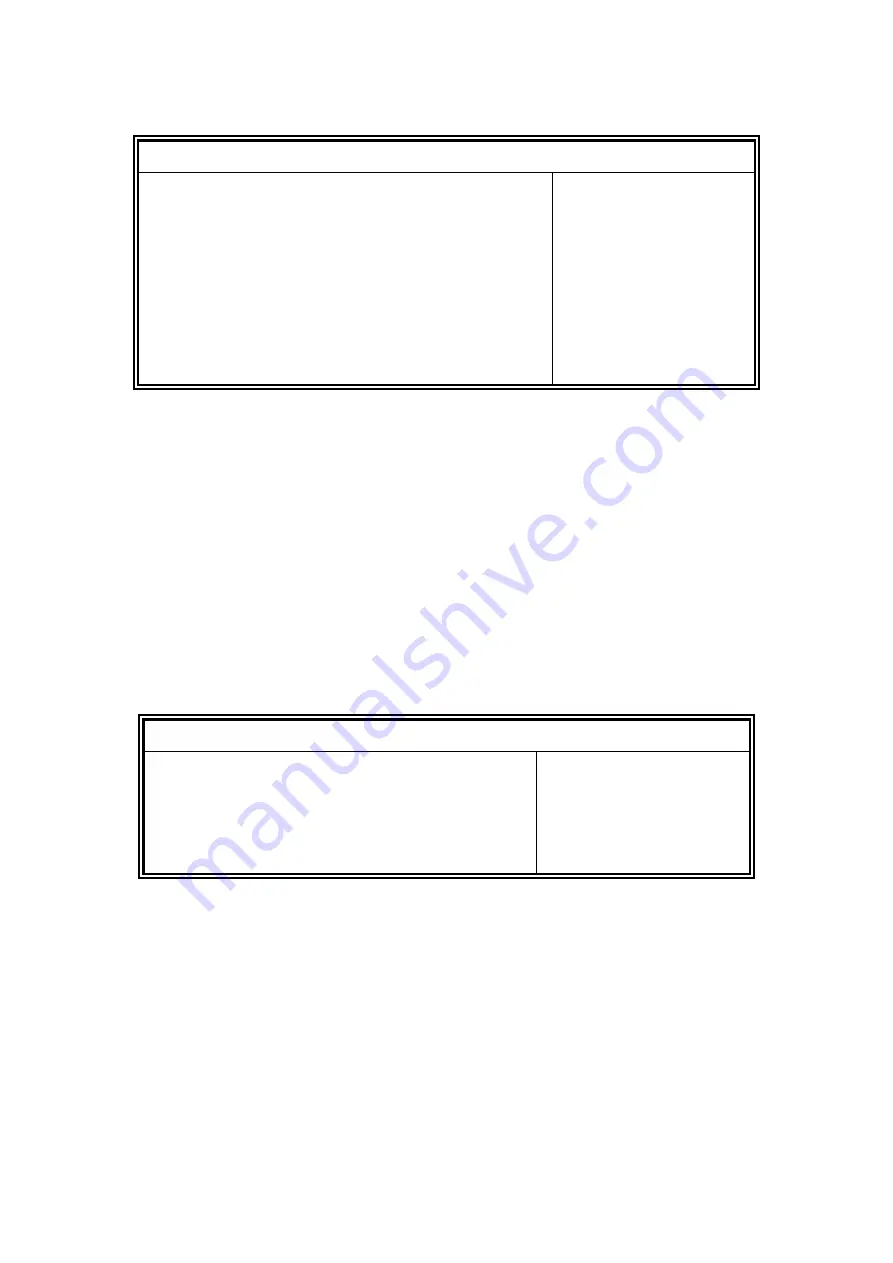
PCH Azalia Configuration
Aptio Setup Utility
–
Copyright © 2012 American Megatrends, Inc.
Main Advanced
Chipset Boot Security Save & Exit
PCH Azalia Configuration
Azalia
Auto
Azalia
Control Detection of the Azalia device.
Disabled = Azalia will be unconditionally disabled.
Enabled Azalia will be unconditionally Enabled.
Auto = Azalia will be enabled if present, disabled otherwise.
Summary of Contents for SI-60E-M
Page 1: ...1 SI 60E User Manual SI 60E User Manual...
Page 10: ...10 1 2 2 Dimensions...
Page 11: ...11 1 2 3 I O View SI 60E front side SI 60E rear side...
Page 12: ...12 1 3 Exploded View of the SI 60E Assembly...
Page 18: ...18 CHAPTER 2 MOTHERBOARD INTRODUCTION 2 1 Introduction MBD60E Jumpers and Connectors...
Page 19: ...19 MBD60E Board Dimensions...
Page 58: ...58 6 Click Accept to accept the End User License Agreement...
Page 65: ...65 7 When InstallShield Wizard is complete click Finish...
Page 68: ...68...
Page 71: ...71 5 Setup complete Click Finish to restart the computer and for changes to take effect...
Page 77: ...77 7 In the Welcome screen click Next 8 When the Destination Folder screen appears click Next...
Page 86: ...86 Turn on Device List...
Page 90: ...90 Choose AMD Eyefinity Multi Display for Video wall display configuration setting...
Page 91: ...91 Select Create Eyefinity Display Group...
Page 92: ...92 Select 2 x 3 for 4 x 3 Display configuration...
Page 93: ...93 Make the displays arrangement...
Page 94: ...94 Complete the settings...
Page 99: ...99 D 2 x 4 Display configuration 1 Select 2 x 2 Stretch by control centor utility...


