26
i3-TRNG-CAMS-Ax46/66.indd
Rev. 130816
6. Click the
Stop Drawing
button to finish.
7. Set the sensitivity of the tamper-proof area. Select
Low
,
Medium
or
High
Click
Clear All
to delete all the tamper proof areas.
After making any setting adjustments, remember to click the
Save
button
to save any changes made.
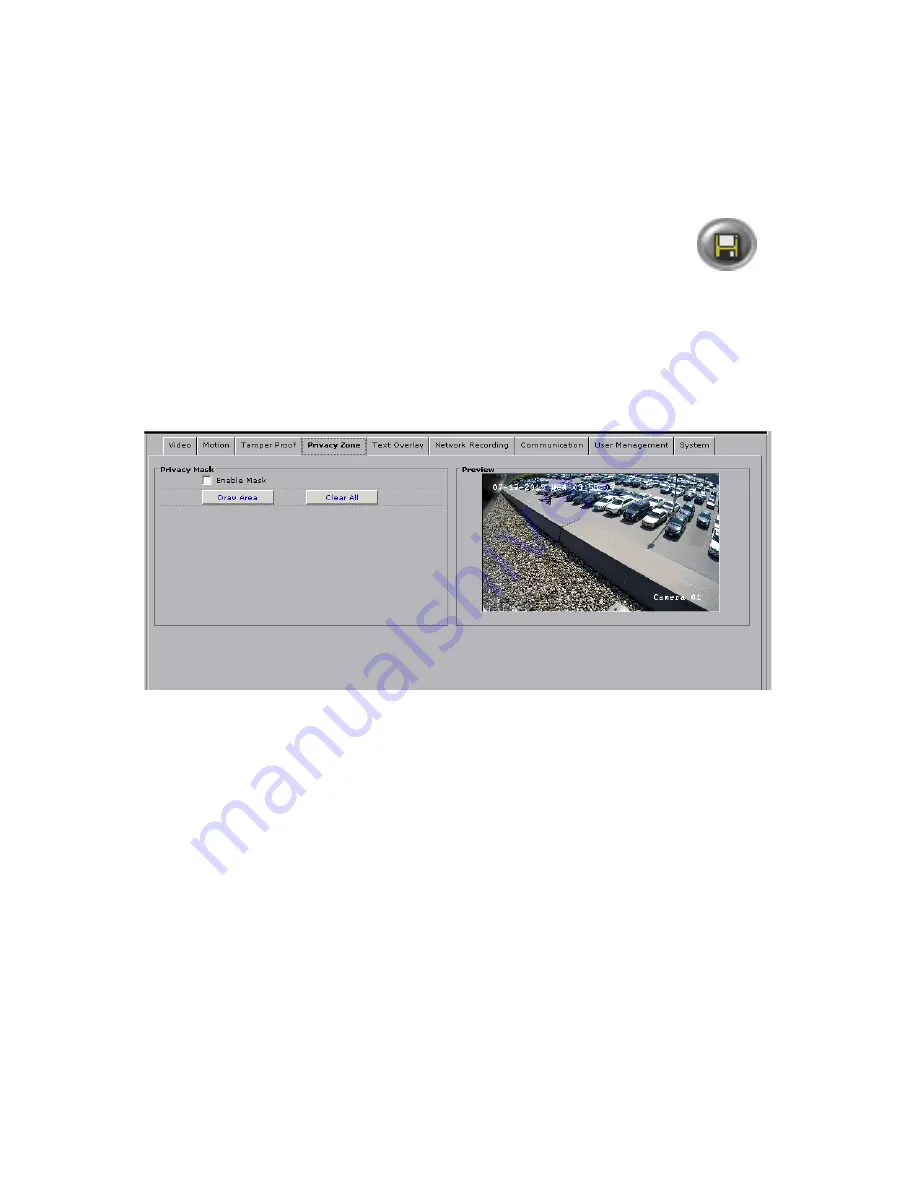
5.5 Privacy Zone (optional)
In the Privacy Zone setup tab, select an area that needs to be blocked off with
a rectangle on Live View and from video recording because of privacy or other
concerns. Up to 4 separate Privacy Zones can be configured.
To draw the privacy zone, follow these instructions:
1. Click
Enable Mask
to activate the feature.
2. Position your mouse cursor over the Preview window, press and hold the left
mouse button.
3. While holding down the left mouse button, drag the cursor to draw a
rectangular area over the zone that needs to be concealed.
4. Release the mouse button. The privacy area rectangle will be the grey shaded
area in the Preview window.
5. If you are not satisfied with the size of the privacy zone, hold down the points
on the corners or edges of the area and drag to the desired size. If you are not
satisfied with the positioning of the privacy zone, move the area by holding the
inside of the area and drag to the desired location.
6. Click the
Stop Drawing
button to finish.


