Advanced Configuration
Thin Client User’s Guide
28
Upgrade using Altiris Deployment Solution
Refer to the Altiris documentation on how to send the firmware update file to the thin client. This can be
done either using the Deployment Server or a USB flash card.
Upgrade using a USB Thumb Drive
1.
Go to the following address ftp://ftp.iocorp.com/Thin_Clients/ProEdge_L16/L16BootUSB/
2.
Download the README L16 Re-Image.txt file as this contains the instructions for re-imaging.
3.
Located in this same folder should be the image file and the required items to perform this function.
4.
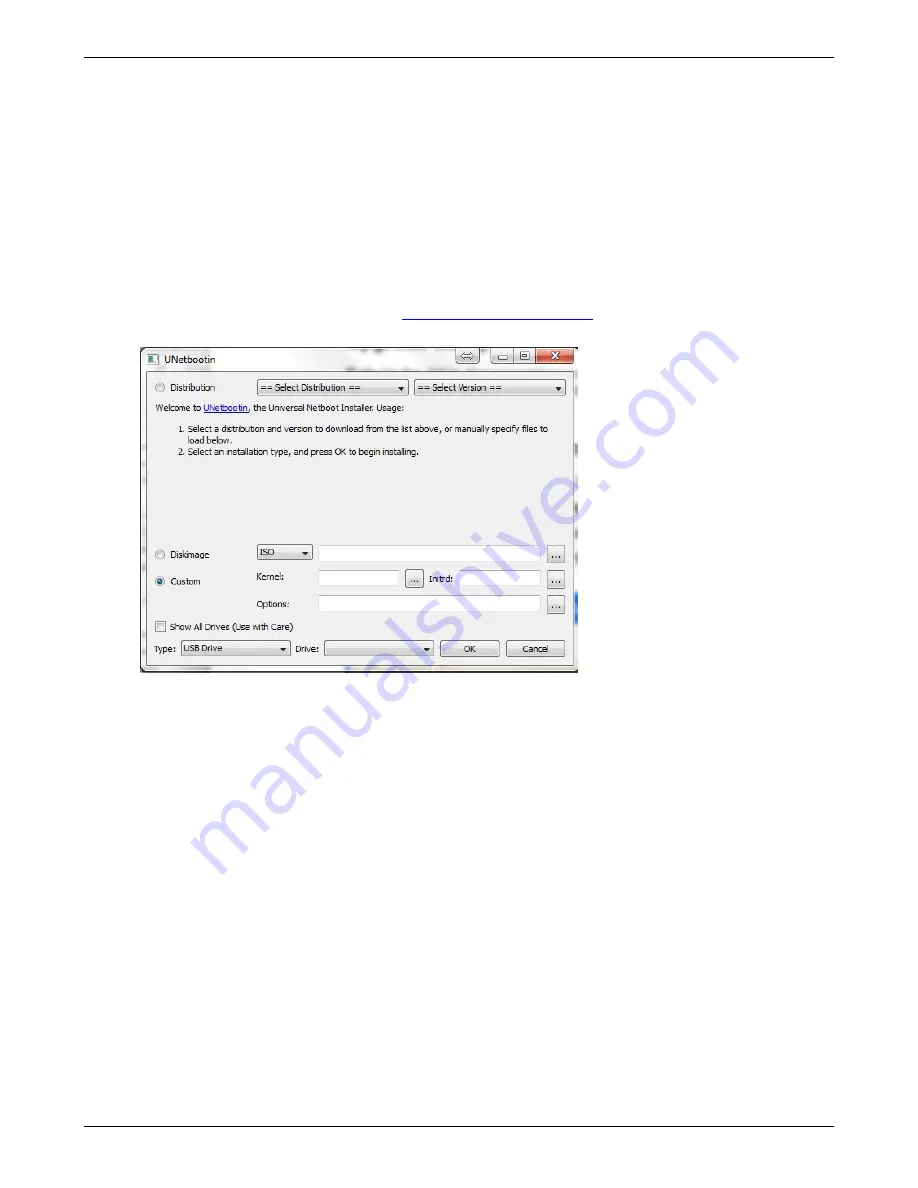
You will also need to download the
unetbootin-windows-419.exe
program located in the same
folder.
5.
Follow the instructions located in the README L16 Re-Image.txt document filling in the Kernel,
Initrd, and Options portions of the UNetbootin program.
6.
After the USB thumb drive has been formatted with the UNetbootin program, you will then copy the
image file onto the USB drive.
7.
Insert this USB drive into the thin client while it is powered off. Press the power button. During start-
up the Dell screen will appear along with two options listed in the lower right corner, F10 to change
boot device and F2 to boot into BIOS. Select F10 once that message comes up and a screen will
come up asking you to choose a drive. Select the USB drive you just created. The unit will then
begin the re-imaging process. Be patient, this process takes several minutes. Once completed, the
unit will re-boot with the new image installed. Go into the
System Information
tab to ensure the
image loaded correctly.
SUDO Upgrade Process
If you have access to a local Web or FTP server, you can take advantage of the SUDO Upgrade
process by placing the downloaded image onto your local server and then following the listed
procedures.
1.
From the desktop, press <ALT><F7> to access the xterm window.


