15
3.7
After a test is started, move the grip probe about slowly at an average speed to
detect the leaking point. When a leaking point is located, the specific data will be
displayed on the screen and the buzzer will start beeping at a certain frequency.
Basically there are 5 levels: once every 5 second upon a value of 10% above the
alarm point; once every 3 second upon 50%; once every second upon 80%; and
once every 0.5 second upon 100%. The maximum testing time for each single
test is 4 minutes.
3.8
During a test, touch the ‘LED’ key on the panel users to turn on the white LED
light on the front end of the handle. This will help the user to detect a leaking
point in a dark environment. Touch the same ‘LED’ key again to turn off the LED
light.
3.9 During the process, if the“Measure” key on the handle trigger is touched, or the measuring
process has lasted for 4 minutes, the instrument will buzz and the measuring process will be
finished. Touch the “Measure” key on the handle trigger again to start another measuring
process.
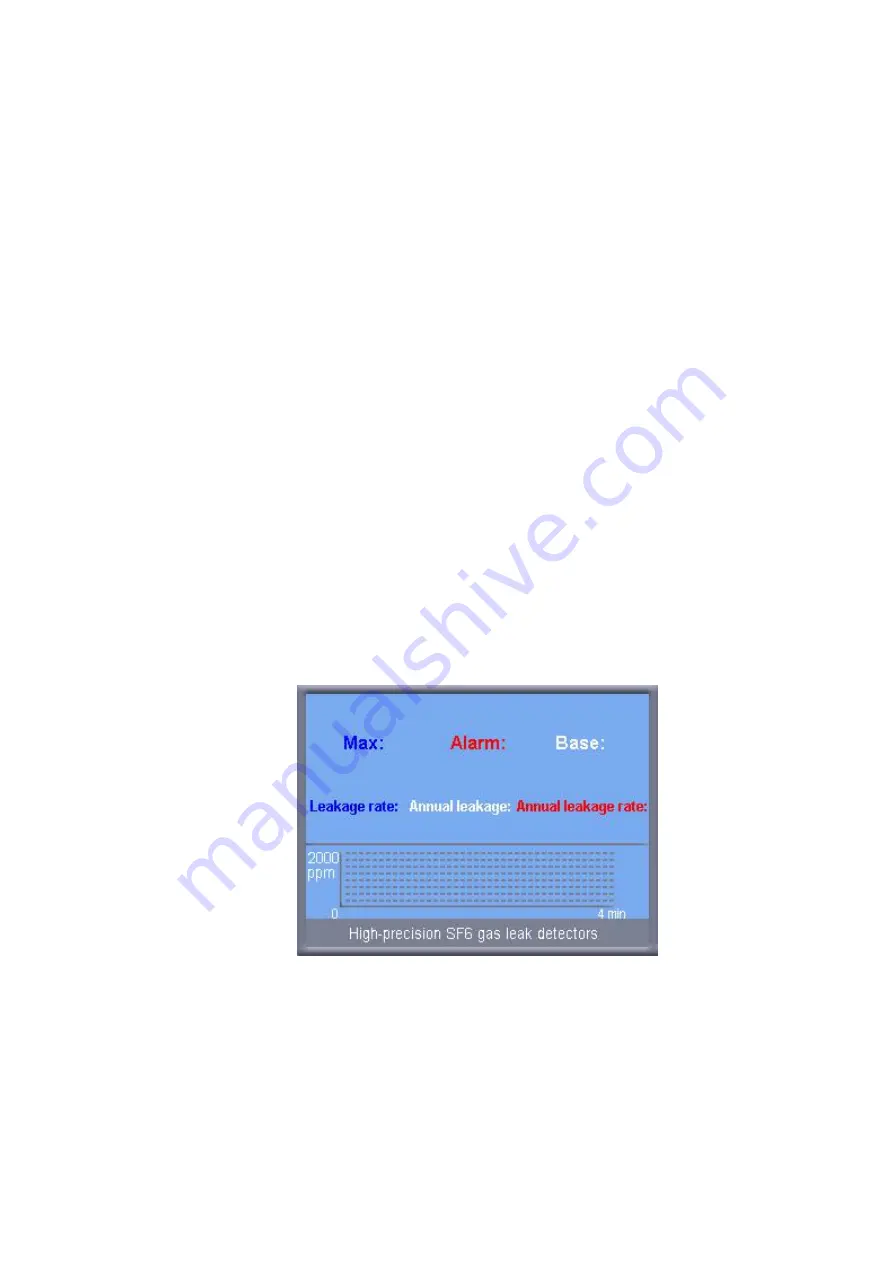
3.10 When a measuring process is finished, the instrument panel will show the “Data Viewing
Interface”, which includes two pages, one for density data (Refer to Figure 9 below), and
the other for quantitative calculation (Refer to Figure 10 below). Touch “Up” or “Down” key
to view the pages:
Figure 10
3.11 If the preference of gas weight has not been set in Preference Settings (Refer to 3.17), no
data will be shown for Annual Leakage Percentage, and a reminder of “Please set the
preference” will be displayed.
3.12 In Figure 10, touch “Up” or “Down” key on the interface to choose “Save” or “Back” key.


