6
Glass Installation/Balancing
Glass Adjustment
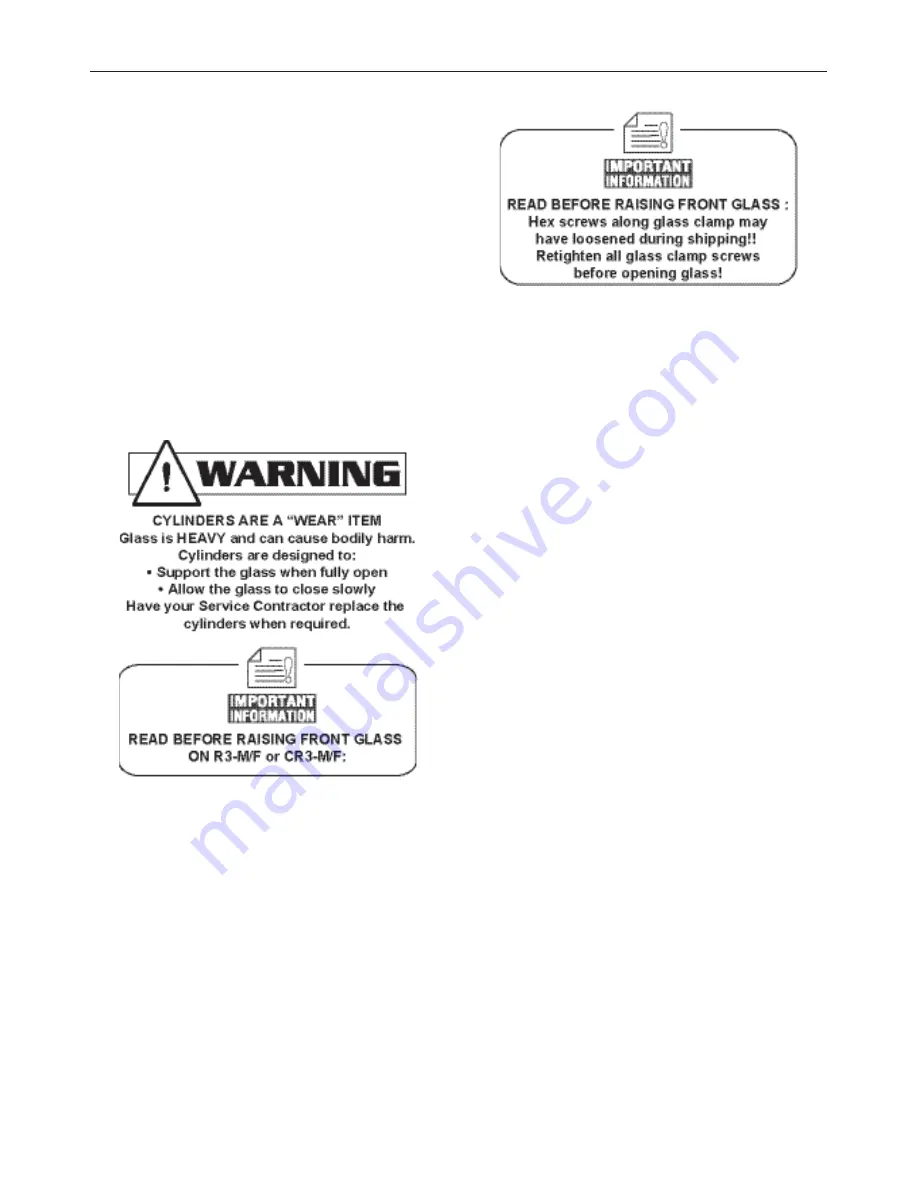
The top cylinders, which allow the raising and lowering of
the glass, have been carefully tested for proper tension.
However, during shipment, the lubricant inside may have
settled. This settling may cause excessive or uneven
tension on the glass - to the point of breakage. Perform
the three easy steps listed below before completely raising
the front glass.
1. Slowly raise and lower each glass section 6 times to
a height of 6 inches.
2. Increase the height to 12 inches, and raise and
lower the glass 6 more times.
3. Finally raise the glass to its full extension, and lower.
These steps should release any settled lubricant within the
cylinders and prevent any stress on the front glass.
Additionally, after installing NEW cylinders,
it is
advisable to perform these three easy steps before
completely raising the front glass.
Level Minitop Hardware
IF GLASS DOES NOT CLOSE/STAY OPEN
PROPERLY - Level MINI TOP HARDWARE
During shipping, it is possible that the mini top hardware
housing the pistons and armature has been jostled out of
position. This affects the opening angle of the glass.
1. Be sure mini top hardware is level front to back by
placing a level along the top of the mini top housing
at each hinge location.
If it is not, you will need
a shim kit before you can correct. Order from
Hussmann.
2. Remove top glass and panel at top of hardware
housing.
3. Mark position of hardware (glass) in relation to case
before loosening hex screw using masking tape
applied on mini top hardware and case, and pen.
Hex screw allows realignment of glass angle and
position front to back.
4. Raise glass and loosen hex screw. (See diagram on
page 9.)
5. Shim to adjust until level using shims available from
Hussmann (16 or 20 gauge stainless steel).
6. Check angle by using level placed on top of mini
top hardware. Note:
a 6" level will fi t perfectly within
access area.
7. Tighten hex screw.
8. If there is still a problem with glass staying open
over-level by adding an addition shim under front of
case.
NOTE: Before making any of the recommended adjustments,
Verify that the case(s) have been leveled properly.
Installation (Cont'd)
Summary of Contents for CR3HV-F
Page 3: ...3 Cut and Plan Views...


