User’
s Manual for Agera and EasyMatch Essentials v 1.0
45
•
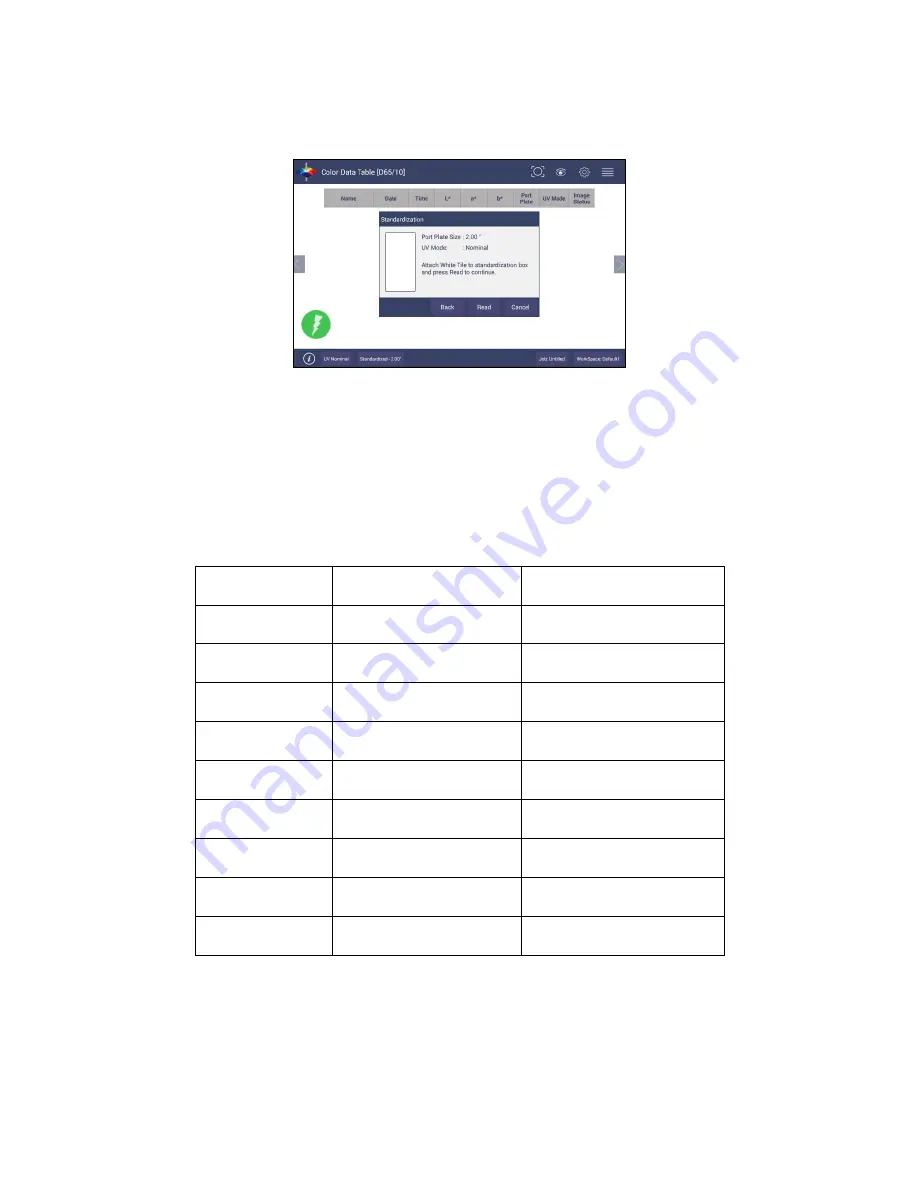
READ WHITE TILE
: Remove the black glass and place the Agera white tile at the port. Press
READ
to continue.
Figure 63. Change to White Tile
•
Remove the calibrated white tile when standardization is complete. The instrument is ready
to Read Samples.
Multi-Standardization Mode
Agera can save multiple modes with UV Modes and Area of View (Port Plate Settings).
Based on the UV-
status and the port plate standardization, the nine modes can be stored and recalled for measurement.
Table 5. Multiple Modes
Mode
UV
Port Plate
1
Nominal
LAV 1: 51mm (2.0 in)
2
Nominal
LAV2: 25.4mm (1.0 in)
3
Nominal
SAV: 16.9mm (0.625 in)
4
Calibrated
LAV 1: 51mm (2.0 in)
5
Calibrated
LAV2: 25.4mm (1.0 in)
6
Calibrated
SAV: 16.9mm (0.625 in)
7
Excluded
LAV 1: 51mm (2.0 in)
8
Excluded
LAV2: 25.4mm (1.0 in)
9
Excluded
SAV: 16.9mm (0.625 in)
To update Standardization Status for a new mode, place the new port plate on the instrument and/or
change UV status by UV button and click the
READ
button. The standardization status will be updated. If
the standardization of this new mode is valid, then the sample will be read. If the standardization is not
valid, a dialog box will be shown so prompt for new Standardization.
Summary of Contents for Agera
Page 12: ...User s Manual for Agera and EasyMatch Essentials v 1 0 12 ...
Page 58: ...User s Manual for Agera and EasyMatch Essentials v 1 0 58 ...
Page 77: ...User s Manual for Agera and EasyMatch Essentials v 1 0 77 Regulatory Notice ...
Page 78: ...User s Manual for Agera and EasyMatch Essentials v 1 0 78 ...
Page 88: ...User s Manual for Agera and EasyMatch Essentials v 1 0 88 ...


