Getting Started
3
IMPORTANT:
All gateways (regardless of
how many are in a project) are set up solely
through the PowerView
®
App. To download
the PowerView App from the Google Play
or App Store, go to
scan this QR code:
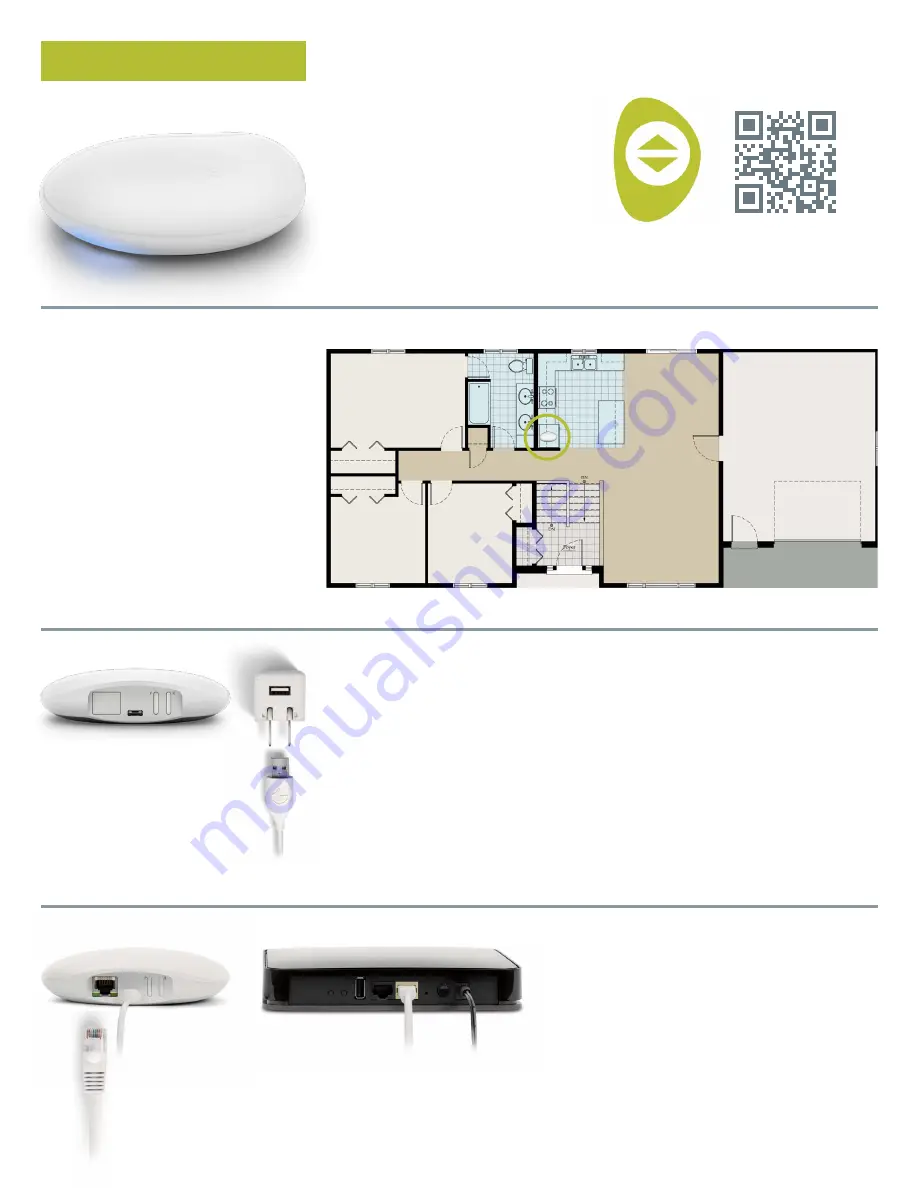
PLACEMENT IN THE HOME
Place your gateway in a central location to
all shades in the home. If you have more
than one gateway, space them out in the
home. This will help ensure your gateway
connects to every shade.
PowerView
CONNECT POWER TO GATEWAY
1.
Connect one end of the USB power
cable to the USB power adapter.
2.
Plug the USB power adapter into
an AC outlet or power strip.
3.
Plug the other end of the USB
power cable into the power port
on the back of the gateway.
NOTE:
During the boot-up process,
the gateway’s LED will display different
behavior to visually communicate its
status. Please refer to the LED Chart in
the PowerView App. Navigate to
“More”
“Accessories”
“Gateways”
“LED Chart” to view this chart. Do not
interrupt the gateway boot-up process
until the gateway is ready to be added to
the PowerView Home.
CONNECT USING AN ETHERNET
CABLE (OPTIONAL, AVAILABLE
FOR GATEWAY PRO ONLY)
Connect the Ethernet cable from the
PowerView Gen 3 Gateway Pro to an open
LAN port on your router.
NOTE:
The PowerView Gen 3 Gateway Pro
offers Power-over-Ethernet (PoE). You
must have a separate PoE injector or
PoE capable switch for your router.


