background image

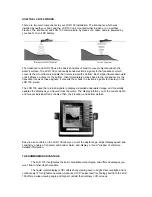
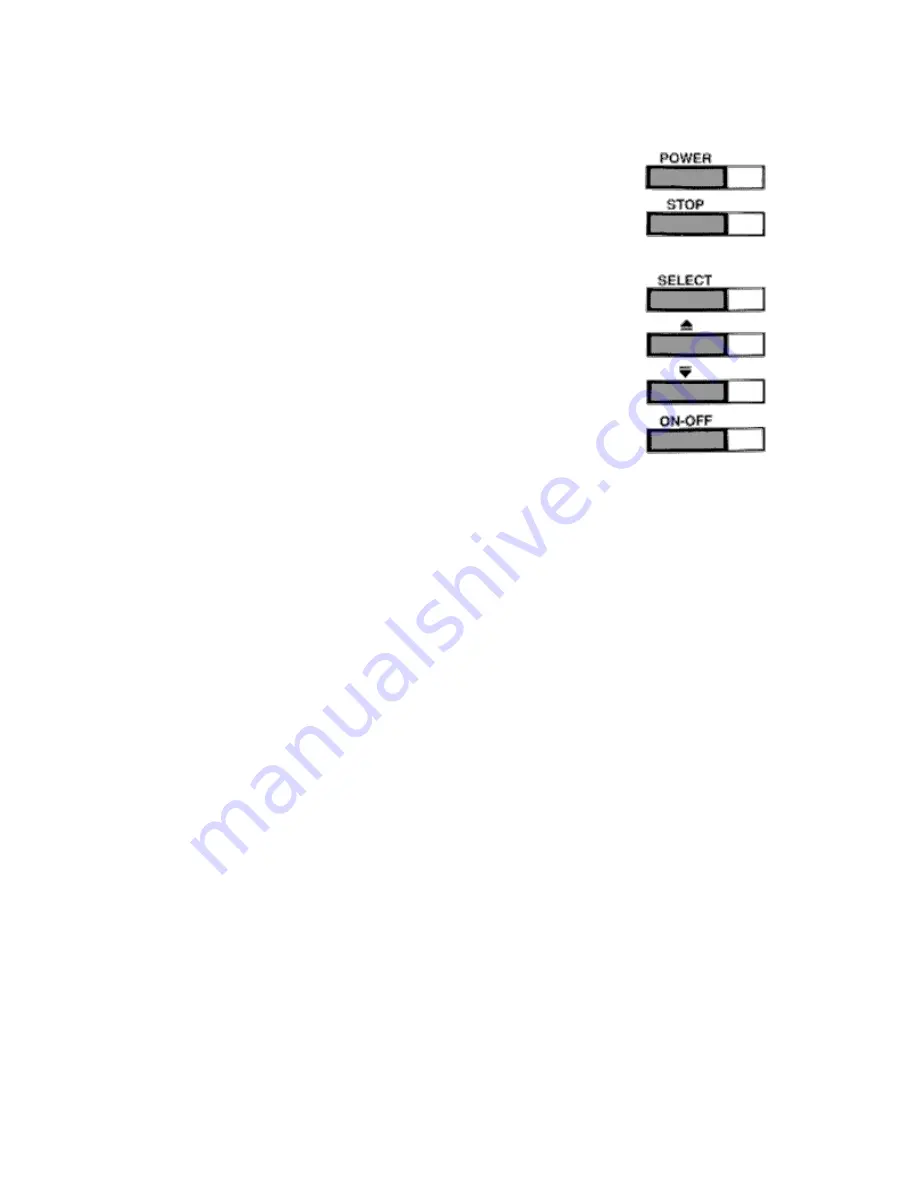
OPERATING THE LCR-100 


The LCR 100 offers several functions that you can adjust with the 

front panel buttons. (Note that to select something with a button, you 
must press it fully so that you hear a "chirp" sound.) 
 

You can get acquainted with these features by actual operation, 

or when using the simulator. 
 
POWER: Press this once to turn the LCR 100 on. Pressing it again turns 
the LCR 100 off. (Any adjustments you make with other front panel 
buttons are retained, even when the unit is turned off.) When the unit is 
off, keeping POWER pressed for about 2 seconds starts the built-in 
simulator. 
 
STOP: Press this to "freeze" the display so you can study it. Press it 
again to restart the display movement. 
 
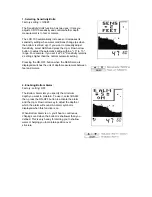
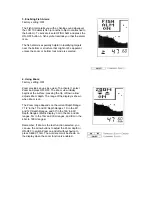
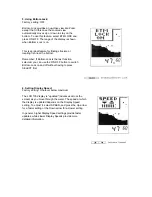
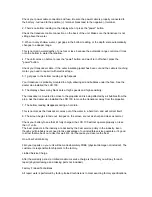
SELECT: This button is used to access the following functions for further 
adjustment: 
 
Sensitivity/Units 
Bottom Alarm 
Fish Alarm 
Zoom 
Bottom Lock 
Display Speed 
Depth Range 
 
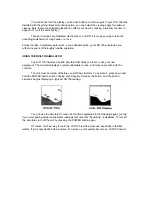
To adjust any of these, press SELECT until the function you want appears. Each function's 
display tells you how to use the arrow buttons and ONOFF for adjustment; These functions 
should be apparent, but when first learning, you may want to refer to the following instructions. 


After you adjust any function, the display returns to its full- screen reading. 

 
NOTE: The last function you select remains "active" - that is, you can adjust it without having to 
press SELECT again. You can use this to simplify operations. 


For example, if the bottom alarm was the last function used, you can readjust the alarm 

by pressing one of the arrow buttons. Or if you often use Zoom, you can select it once, then 
switch it on and off by simply pressing ON-OFF. 


The following pages describe each function, in order of appearance as you first press 

SELECT. 


Summary of Contents for LCR 100

Page 1: ......

Page 2: ...to electronic signals for display on the LCR 100 screen The LCR 100 uses the returned signals to display a detailed underwater image and constantly updates the display as you travel across the water...

Page 3: ...udes a built in simulator that helps you learn to use your new equipment The simulator displays a typical underwater scene and lets you practice with the controls The unit must be turned off before yo...

Page 4: ...functions for further adjustment Sensitivity Units Bottom Alarm Fish Alarm Zoom Bottom Lock Display Speed Depth Range To adjust any of these press SELECT until the function you want appears Each func...

Page 5: ...remains 2 settings higher than the normal automatic setting Pressing the ON OFF button when the SENS menu is displayed switches the unit of depth measurement between feet and meters 2 Enabling Bottom...

Page 6: ...To activate it select Zoom and press ON OFF The Zoom view initially begins at the surface pressing the Up or Down arrow adjusts Zoom depth The range of the display is shown when Zoom is on The Zoom ra...

Page 7: ...is the last function selected you can use the ON OFF button to switch Bottom Lock on and off without having to press SELECT first 6 Setting Display Speed Factory setting One level below maximum The LC...

Page 8: ...h water When cleaning the LCD screen use a chamois and non abrasive cleaner such as Windex Do not wipe while dirt or grit is on the screen Be careful to avoid scratching the screen The transducer face...

Page 9: ...and high sensitivity The transducer is mounted too close to the propeller and is being affected by air bubbles from the prop Ask the dealer who installed the LCR 100 to move the transducer away from t...

Page 10: ...rts 2 You will be charged for repair of any physical damage 3 Transportation charges will be the responsibility of the purchaser THIS IS A FULL WARRANTY AS DEFINED BY THE FEDERAL WARRANTY ACT EFFECTIV...

Page 11: ...d it to us Refer to Humminbird s Guaranteed Service Policy at the end of this manual All units out of warranty will be returned C O D If you are including a check please attach it to the unit Techsoni...

Reviews: