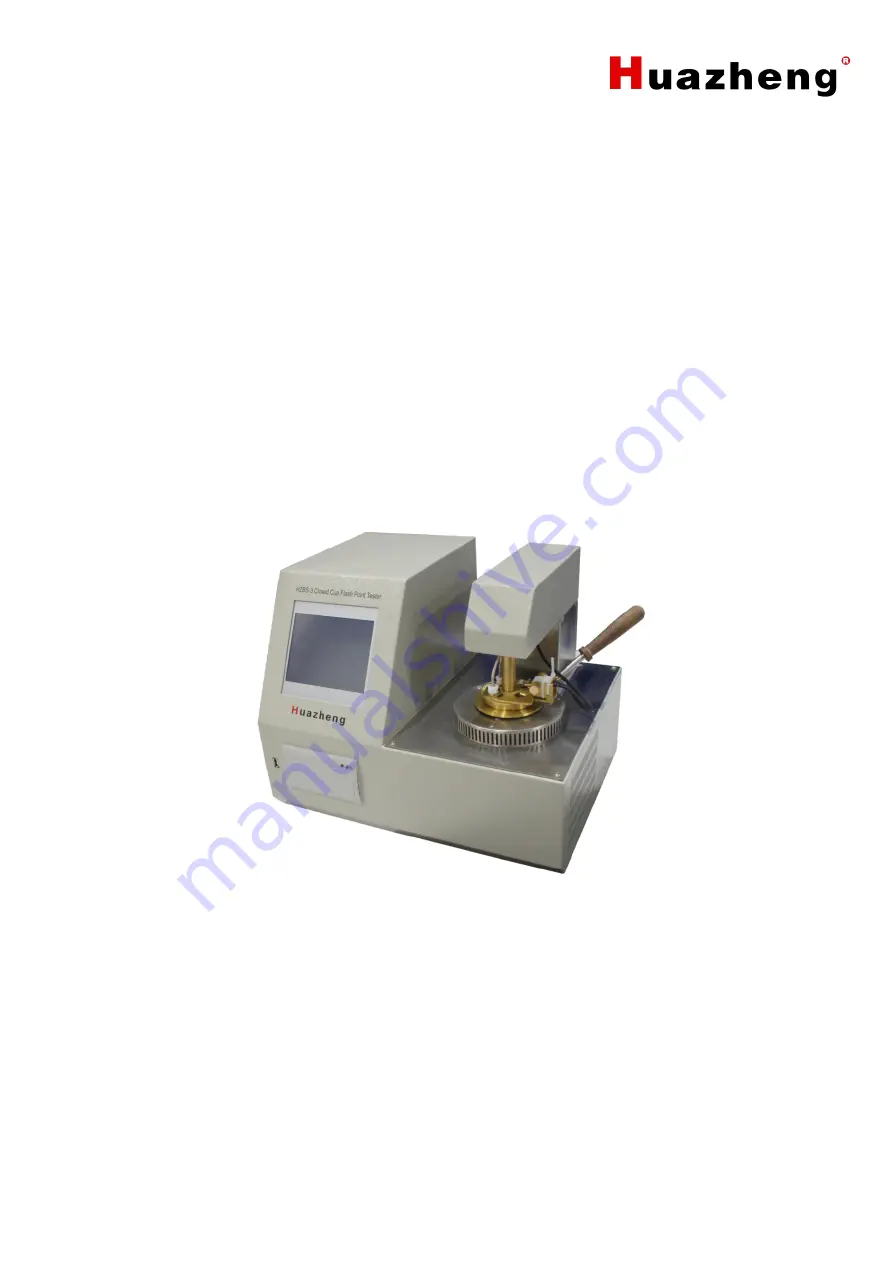
HZBS-3
Closed Cup Flash Point Tester
Huazheng Electric Manufacturing (Baoding) Co., Ltd
Page 1: ...HZBS 3 Closed Cup Flash Point Tester Huazheng Electric Manufacturing Baoding Co Ltd...
Page 2: ...and operate and maintain the instrument according to the manual to prolong its service life Just a light press the test will be completed automatically is the operating characteristics of this instru...
Page 3: ...d its nearby parts during test in case of scald 3 There must be someone on duty during the test Cover oil cup lid in time if the sample is burning after the test is completed 4 No touch the oil lid be...
Page 4: ...atures 1 II Working principle 1 III Main Technical index 2 IV Instrument Structure And Installation 3 V Usage And Operation Procedures 3 VI Precautions And Instrument Maintenance 15 VII Failure And Tr...
Page 5: ...pheric pressure and automatic correction of test results 5 Using the newly developed high power high frequency switching power heating technology the heating efficiency is high and the adaptive PID co...
Page 6: ...suring range 49 9 C 400 0 C Temperature control range room temperature 250 Repeatability 0 029X x twice successive test average value Resolution 0 1 C Precision 0 5 Temperature Sensor Platinum Resisto...
Page 7: ...ent after inspection step 1 2 2 Starting up Preparation A Connect the instrument to the AC 220V power supply Note Always use a power outlet with a reliable ground to power the instrument B Clean the o...
Page 8: ...er the main interface of the instrument as shown in figure 5 2 Main interface screen of the instrument Figure 5 2 Main interface diagram of the instrument Press the instrument self inspection button t...
Page 9: ...he data browse and query button to enter the historical data query screen as shown in figure 5 11 Function screen of instrument self check FIG 5 3 Main interface diagram of the instrument Test the per...
Page 10: ...keys and the instrument will respectively carry out the operations of lifting the cup cap lowering the cup cap stopping the lifting and returning Other self check items can be operated according to t...
Page 11: ...7 FIG 5 5 Parameter setting Touch with your finger or with a touch pen the item you want to modify Click on the time screen to bring up screen 5 6...
Page 12: ...in order Click OK to complete the time change Otherwise click ESC to return Click automatic printing directly to change the printing mode that is whether to automatically print the experimental result...
Page 13: ...ng of Test setting Touch with the finger or with the touch pen the corresponding parameter display box to change the corresponding parameters When clicking the sample method enter the test standard se...
Page 14: ...10 FIG 5 8 Current standard selection You can choose custom set various parameters according to your own needs and click OK save Settings Such as picture 5 9...
Page 15: ...t parameter setting interface Press the button of Cup cap rising take out the sample cup and put in the oil sample press the button of Cup cap falling to drop the lid to prepare the test press the but...
Page 16: ...G 5 10 Sample testing In the state of trying to fire the button is invalid and in other states the button is valid After the successful test the instrument displays the test results as shown in figure...
Page 17: ...fault prompts Estimated flash value setting method When the oil sample flash point is known the flash point value of the oil sample can be set as the estimated flash value When the oil sample flash p...
Page 18: ...G 5 12 FIG 5 12 Test result screen Press page up and page down to view records Press the print button to print the record through the instrument s mini printer Press delete to delete the record from t...
Page 19: ...tion or it will affect the detection sensitivity 4 No touch ignition head oil cup and its surrounding parts to avoid scorching during the test 5 For instruments that use electric ignition the electric...
Page 20: ...2 Oil may effect on thermocouple sensitivity plz dry it by filter paper 3 No heating Replaced Electric wire 4 Lift arm rise or fall failure 1 To replace Limit optocoupler damage 2 The screw between ma...