3
test results.
2. High voltage side: Connect with instrument terminal. The yellow, green, red and black
on the other end that correspond with A, B, C, O three bushings.
3. Low voltage side: Connect with instrument terminal. The yellow, green, red and black
on the other end that correspond with a, b, c,o three bushings.
4. AC 220V: the whole power input, then AC 220V frequency power supply.
5.
: Protective grounding column
6. Communication: serial communication
7. USB: U disk storage
8. Printer: Print the testing results after tested.
V.Instructions
(一)
Menu description
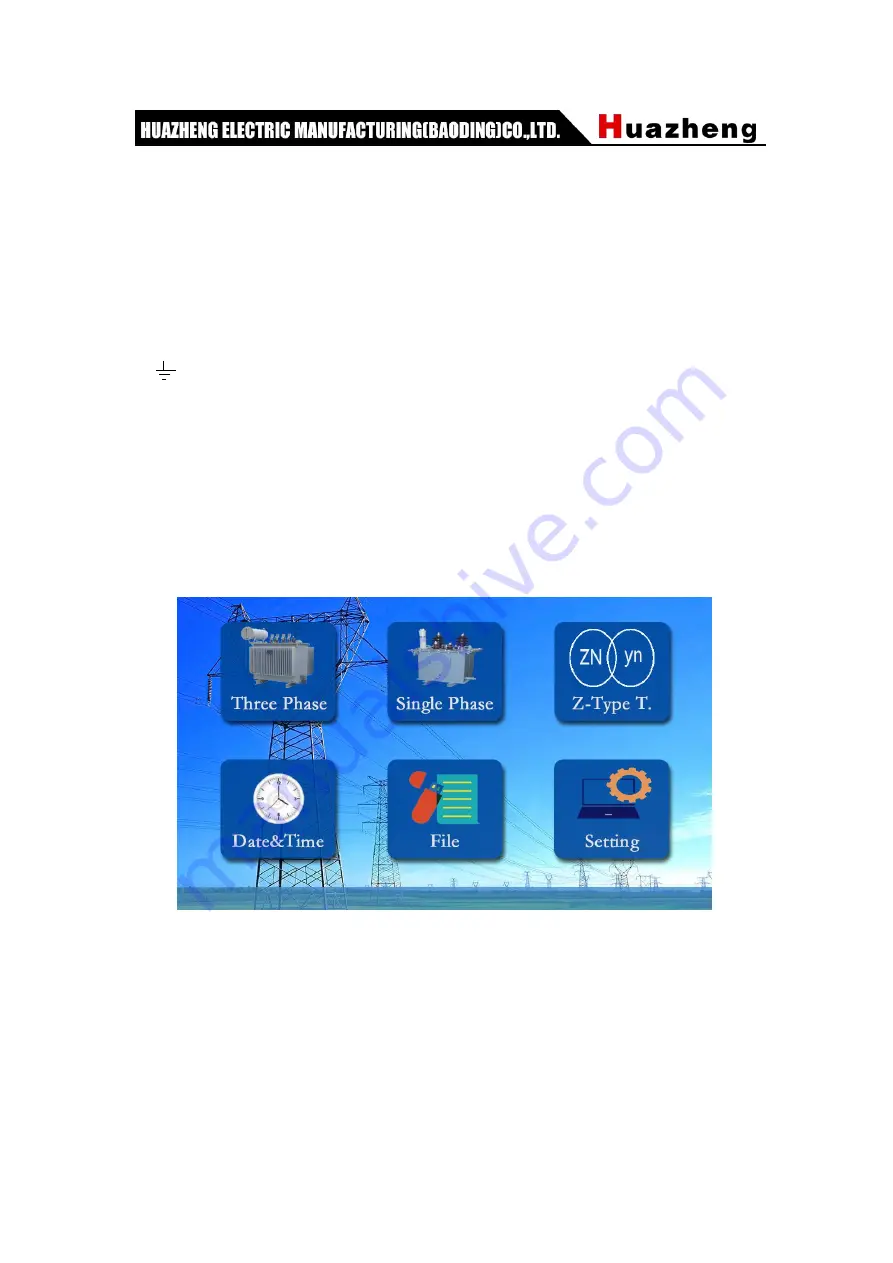
Figure 1
After starting up the instrument, the startup interface is shown as figure 3. There are six
functional options in the startup interface, including: [three-phase measurement],
[single-phase measurement], [z-type transformer], [Scott transformer], [file recording] and
[system setting]. Click any function button to enter the setting.
(二)
Three-phase test interface
:


