27
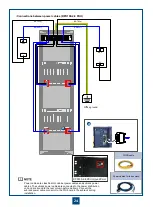
Route the power cables and PGND cables into the cabinet through the lower enclosure frame. Route the
PGND cables along the cable area of the cabinet, route them through the power cable hole on the top of
the cabinet, and then connect the PGND cables to the ground screws on the top of the cabinet.
Plug the two-hole OT terminals of the power cables, from top downwards, with the fluted sides facing the
front side of the cabinet, into the wiring terminals marked with RTN(+) and NEG(-) respectively on the DC
power distribution box.
Install OT terminals correctly according to the wiring terminal labels on the plastic
cover of the DC power distribution box.
Power Cables and PGND Cables -- Downward cabling
c
Phillips screwdriver
Adjustable wrench
Diagonal pliers
Connect the power cable and
PGND cable in the similar
way for upward cabling.
Cabling
tough
Cable type
Color
BGND cables
Black
PGND cables
Yellow and green
-48V power cables
Blue
a
a
•
Power Cables and PGND Cables -- Downward cabling (N1PDU)
Summary of Contents for OptiX OSN 2500
Page 1: ...HUAWEI TECHNOLOGIES CO LTD OptiX OSN 2500 Quick Installation Guide Issue 12 Date 2017 09 30 ...
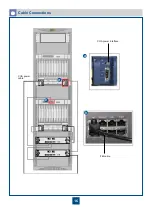
Page 19: ...16 Cable Connections c COA power interface F f cable a b a b COA power cable ...
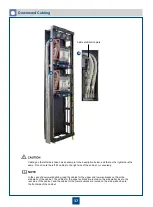
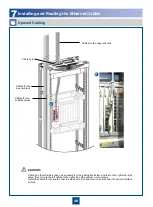
Page 36: ...33 Upward Cabling c Cable distribution plate To the alarm monitor SEI board ...
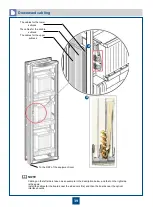
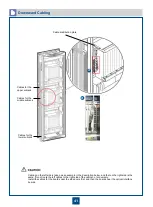
Page 37: ...34 Downward cabling d Cable distribution plate SEI board To the alarm monitor a a ...


