TP585L User Manual
63
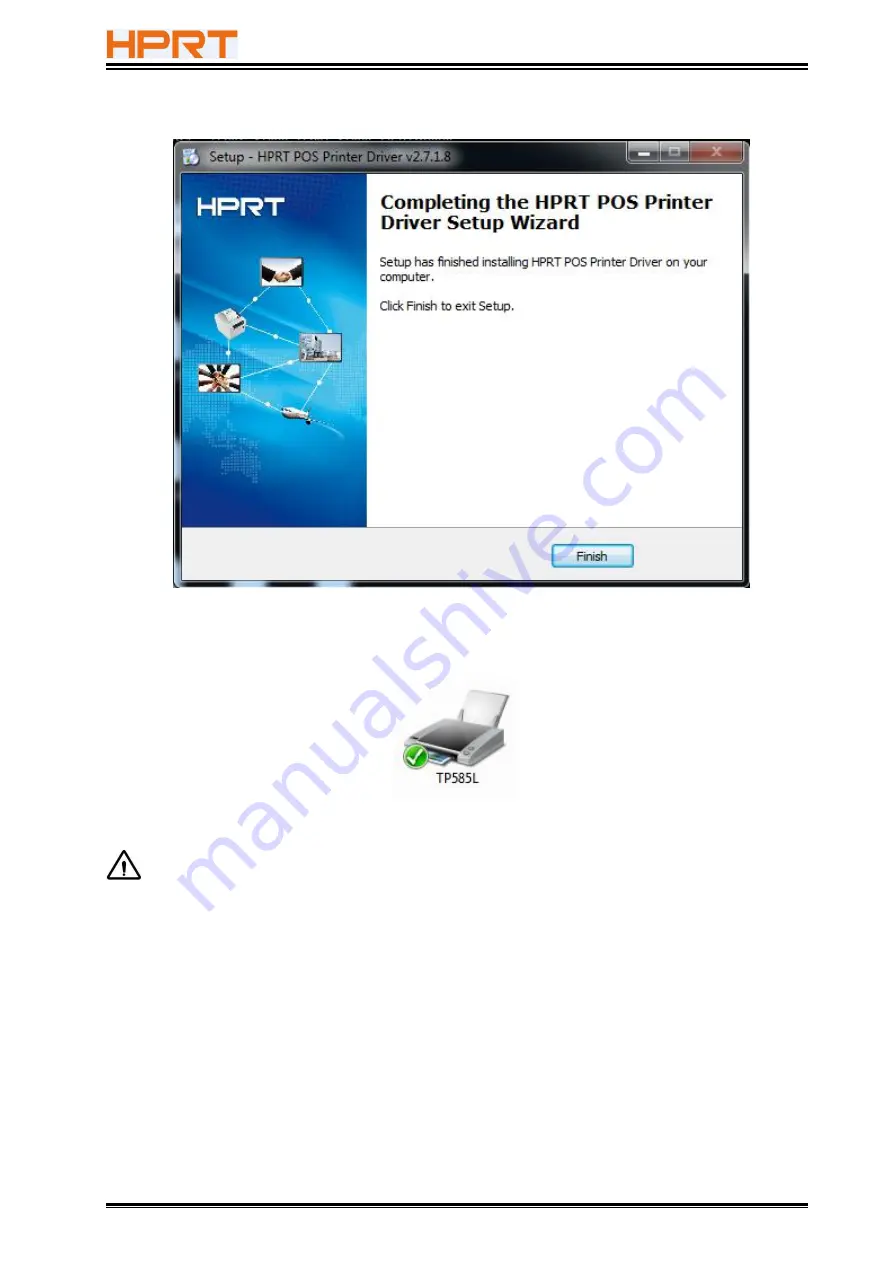
6) Click "Finish". POS printer driver is installed successfully.
7) After installation, the icon will be found in "Start"→"Devices and Printers".
Note: If you already installed the driver (No matter what kind of port), when you
connect the printer with computer, it will create a USB port automatically.
Summary of Contents for TP585L
Page 26: ...TP585L User Manual 26 4 Click Next 5 Select start menu folder Click Next ...
Page 27: ...TP585L User Manual 27 6 Click Install 7 Click Finish Utility is installed successfully ...
Page 32: ...TP585L User Manual 32 8 2 1 4 Connection Test 1 Choose the printer Click Connection Test ...
Page 49: ...TP585L User Manual 49 Auto Line Feed DPI Mode Default 203DPI USB Port Mode ...
Page 51: ...TP585L User Manual 51 Return to the printer utility and click Modify Printer ...
Page 52: ...TP585L User Manual 52 Change the port to COM2 COM2 ...
Page 57: ...TP585L User Manual 57 8 3 Firmware Update 1 Click FW Update ...
Page 61: ...TP585L User Manual 61 4 Click Next ...
Page 68: ...TP585L User Manual 68 Feed Paper Feed Distance 0 5 10 15 20mm End Document ...
Page 69: ...TP585L User Manual 69 Cash Drawer Custom Command ...
Page 71: ...TP585L User Manual 71 Click Download Click Add to add a logo BMP format is recommended ...
Page 73: ...TP585L User Manual 73 Select Printer properties in Devices and Printers then click Preference ...
Page 74: ...TP585L User Manual 74 Click the Advanced then click Logo ...
Page 76: ...TP585L User Manual 76 Then click OK ...
Page 77: ...TP585L User Manual 77 Click Print Test Page to view the printing effect ...
Page 79: ...TP585L User Manual 79 Code Page ...
Page 80: ...TP585L User Manual 80 3 Click Watermark Set watermark to print ...
Page 81: ...TP585L User Manual 81 4 Click Halftone to set the halftone ...
Page 84: ...TP585L User Manual 84 Add Barcode firstly ...
Page 85: ...TP585L User Manual 85 Set the Font Name and the Barcode Option ...
Page 86: ...TP585L User Manual 86 Click the Printer Setting Choose the Display Language for Properties ...
Page 88: ...TP585L User Manual 88 ...
Page 89: ...TP585L User Manual 89 ...
Page 90: ...TP585L User Manual 90 ...
Page 93: ...TP585L User Manual 93 Select the System Font for example Arial ...
Page 94: ...TP585L User Manual 94 Select the font to that you want to replace Click Set ...
Page 95: ...TP585L User Manual 95 ...
Page 97: ...TP585L User Manual 97 3 Set the Ports 4 Click Advanced to set the printing time ...


