TP585L User Manual
33
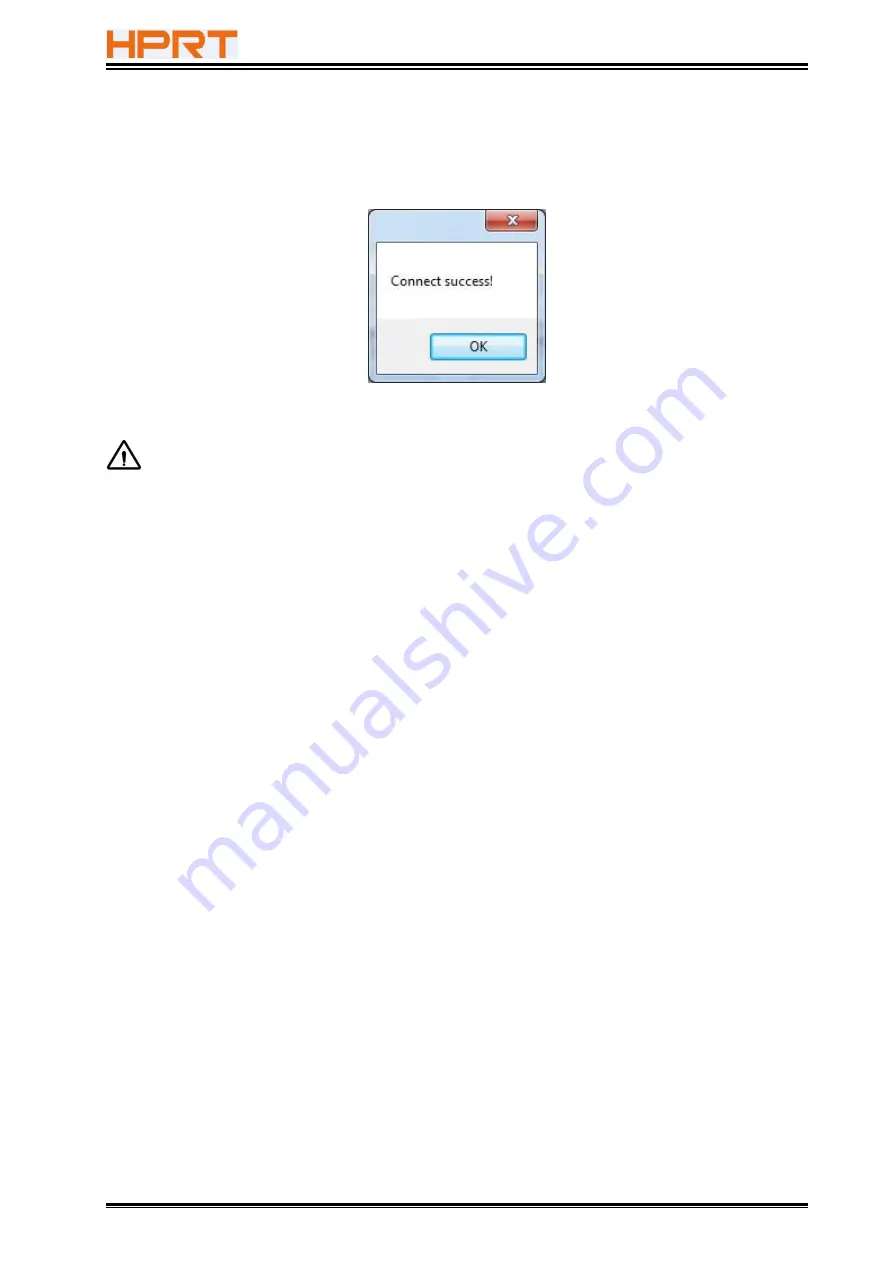
2) If the connection is successful, it will appear the following window. If the connection is
unsuccessful, please connect the printer with computer.
Notes:
1) Make sure printer is connected with computer and power on.
2) Make sure printer is loaded with paper.
3) Before using the following function, carry out the “Connection Test” first.
Summary of Contents for TP585L
Page 26: ...TP585L User Manual 26 4 Click Next 5 Select start menu folder Click Next ...
Page 27: ...TP585L User Manual 27 6 Click Install 7 Click Finish Utility is installed successfully ...
Page 32: ...TP585L User Manual 32 8 2 1 4 Connection Test 1 Choose the printer Click Connection Test ...
Page 49: ...TP585L User Manual 49 Auto Line Feed DPI Mode Default 203DPI USB Port Mode ...
Page 51: ...TP585L User Manual 51 Return to the printer utility and click Modify Printer ...
Page 52: ...TP585L User Manual 52 Change the port to COM2 COM2 ...
Page 57: ...TP585L User Manual 57 8 3 Firmware Update 1 Click FW Update ...
Page 61: ...TP585L User Manual 61 4 Click Next ...
Page 68: ...TP585L User Manual 68 Feed Paper Feed Distance 0 5 10 15 20mm End Document ...
Page 69: ...TP585L User Manual 69 Cash Drawer Custom Command ...
Page 71: ...TP585L User Manual 71 Click Download Click Add to add a logo BMP format is recommended ...
Page 73: ...TP585L User Manual 73 Select Printer properties in Devices and Printers then click Preference ...
Page 74: ...TP585L User Manual 74 Click the Advanced then click Logo ...
Page 76: ...TP585L User Manual 76 Then click OK ...
Page 77: ...TP585L User Manual 77 Click Print Test Page to view the printing effect ...
Page 79: ...TP585L User Manual 79 Code Page ...
Page 80: ...TP585L User Manual 80 3 Click Watermark Set watermark to print ...
Page 81: ...TP585L User Manual 81 4 Click Halftone to set the halftone ...
Page 84: ...TP585L User Manual 84 Add Barcode firstly ...
Page 85: ...TP585L User Manual 85 Set the Font Name and the Barcode Option ...
Page 86: ...TP585L User Manual 86 Click the Printer Setting Choose the Display Language for Properties ...
Page 88: ...TP585L User Manual 88 ...
Page 89: ...TP585L User Manual 89 ...
Page 90: ...TP585L User Manual 90 ...
Page 93: ...TP585L User Manual 93 Select the System Font for example Arial ...
Page 94: ...TP585L User Manual 94 Select the font to that you want to replace Click Set ...
Page 95: ...TP585L User Manual 95 ...
Page 97: ...TP585L User Manual 97 3 Set the Ports 4 Click Advanced to set the printing time ...


