


2.
Reboot the server blade to either the USB flash device or USB DVD drive.
The system BIOS attempts to boot to the USB device first by default. Watch the monitor output
during the boot as you may need to press a key to boot to the USB media.
NOTE:
If directly connected, you may have to change the BIOS settings to ensure proper
boot sequence. If connected remotely, you may have to change some iLO settings to ensure
proper boot sequence.
3.
Select
Windows Recovery Environment
.
The recovery environment is loaded.
4.
Once the recovery environment is loaded, the System Recovery Options wizard opens. On
the first window, select the keyboard input method, which is based on your location (for
example, select
US
for United States) and click
Next
.
5.
Select one of the following options and click
Next
:
•
Use recovery tools that can help fix problems starting Windows. Select an operating
system to repair
. If you select this option, then select the active partition from which to
perform a scan and complete the recovery. Continue with step 8.
•
Restore your computer using a system image that you created earlier
. Select this option
to completely delete the operating system drives from the RAID controller, reconfigure the
storage, and recover using a backup image. Continue with step 6.
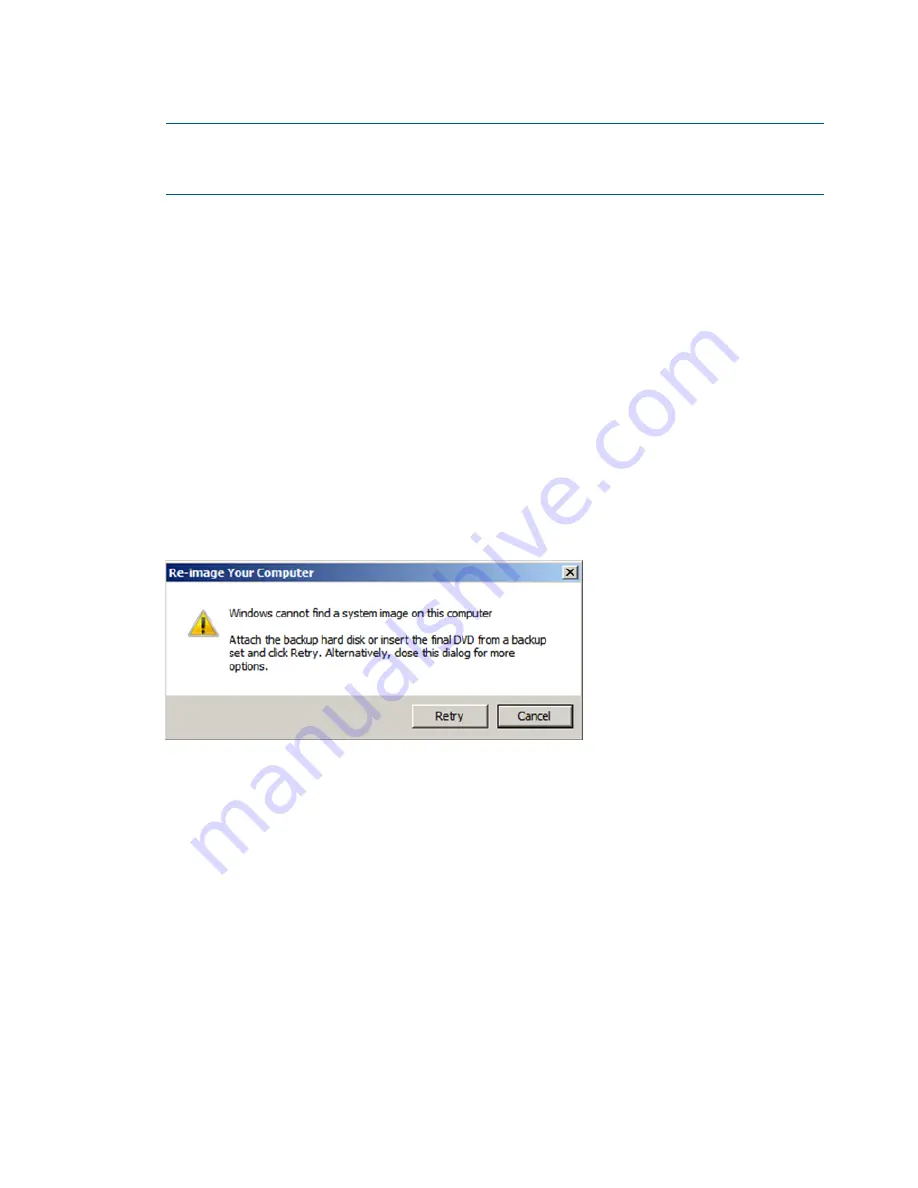
6.
The System Recovery Options wizard scans the computer for a system image. If it is unable
to locate a system image, the following message is displayed:
Figure 144 System image not found
Either attach an external drive or insert a DVD that contains the backup files and click
Retry
.
If you want to recover from the network, click
Cancel
.
7.
Select one of the following options and click
Next
:
•
Use the latest available image
. Select this option to use the backup image that was recently
created. If you are restoring from the network, this option is grayed out.
•
Select a system image
. Select this option to choose a different image to restore from or
will allow you to restore from the network.
8.
Select the backup image from which you want to restore the system and click
Next
.
9.
If you are restoring from the network, click
Advanced
and then select
Search for a system
image on the network
:
a.
The utility automatically connects to an existing network (DHCP enabled).
b.
Once connected to the network, enter the directory where the system image is located
on the network and click
Next
.
10. Select the disks to which you want to restore data and click
Next
.
11. The summary window opens. Verify the information is correct and click
Next
to start the
recovery process.
126
Storage system recovery


