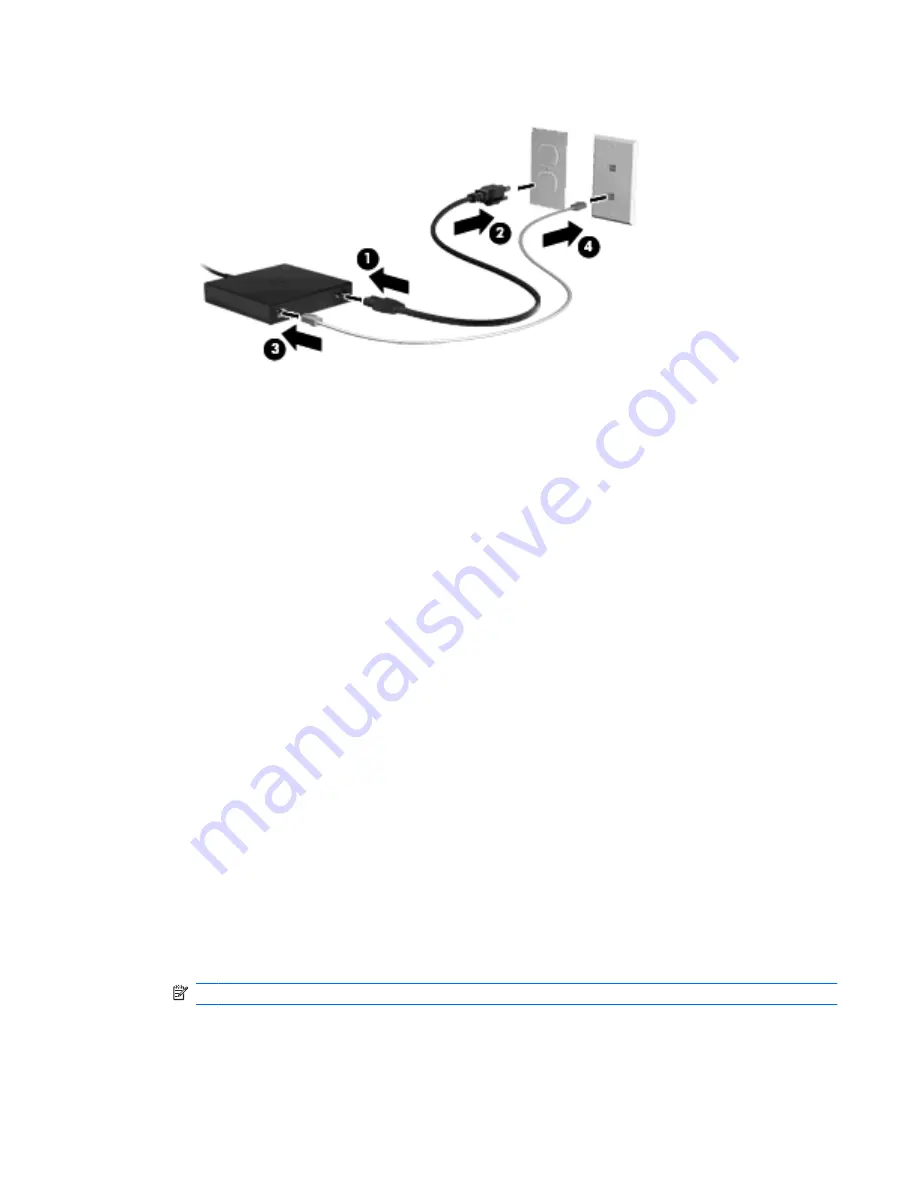
4.
Plug the other end of the cable into a network wall jack
(4)
.
5.
Turn on the computer.
6.
Be sure that wireless is on (wireless light is off).
After about one minute, the adapter light blinks once to signal the start of wireless broadcasting.
The light then blinks periodically every few seconds until the pairing between the computer and the
Voodoo Power Adapter occurs. After contact is established, the light stays on. A message may be
displayed in the taskbar to confirm the status of the connection.
7.
Click
Start
>
Control Panel
>
Network and Internet
>
Network and Sharing Center
.
8.
Click
Manage wireless networks
in the left panel to confirm your Internet connection through the
adapter.
After the initial setup, you can disconnect the adapter from your computer to work wirelessly or you can
stay connected to the adapter to maintain a wired connection to the network.
Troubleshooting the Voodoo Power Adapter
If the Voodoo Power Adapter is not visible in the list of wireless network connections, follow these steps:
1.
Be sure that you have not removed the Voodoo Power Adapter wireless profile from your predefined
wireless connection list. To verify, click
Start
>
Control Panel
>
Network and Internet
>
Network
and Sharing Center
.
2.
Click
Manage wireless networks
in the left panel to confirm your Internet connection through the
adapter.
3.
If the profile is not listed, then you will need to re-install. Click
Start
>
All Programs
>
Software
Setup
to re-install the default profile.
4.
If you still experience connectivity issues, press and hold the reset button for at least five seconds
using a small thin wire or paperclip.
5.
The adapter light will blink 3 times, signaling the re-synchronization has taken place.
NOTE:
If you re-synchronize the adapter, you must repeat the initial setup steps.
Using the Voodoo Power Adapter (select models only)
19
Summary of Contents for VM173UA#ABA - ENVY 13-1030NR Magnesium Alloy Laptop
Page 1: ...HP Envy 13 User Guide ...
Page 4: ...iv Safety warning notice ...
Page 10: ...x ...
Page 47: ...For more information about using the webcam select Start Help and Support Webcam 37 ...
Page 72: ...3 Pull the digital card from the slot 62 Chapter 7 Drives and external devices ...
Page 94: ......


