


B-35
7.
Reconnect the SCSI and power cables from the back of the drive
to the side of the drawer assembly.
8.
Slide the drawer back in and secure.
9.
Close the system unit and reconnect all cables as described in the
“Closing the System Unit” section in this appendix.
10.
Follow the instructions in the “Checking the SCSI IDs” subsec-
tion to verify that your workstation can see the hard drive.
Configuring a Hard Drive
This section describes how to add a hard disk drive to your system as
a file system using SAM. For more information about configuring a
hard disk drive, refer to the System Administration Tasks manual.
The procedures in this chapter require you to log in as root. If you
cannot log in as root, contact your system administrator.
1.
Log in as root.
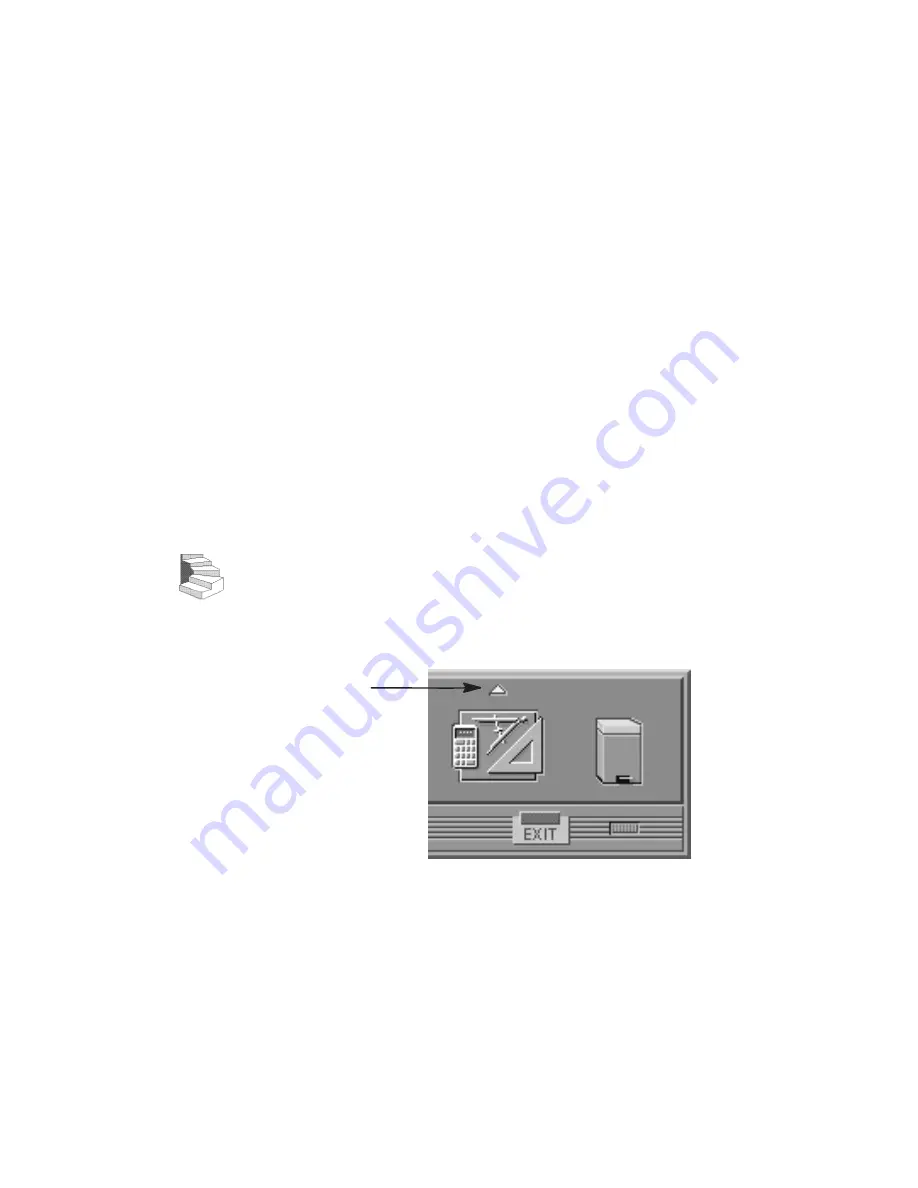
2.
Move the mouse pointer to the up arrow above the Toolbox
control and click the left mouse button.
Toolbox
Control
Up Arrow
Summary of Contents for J282
Page 9: ...viii Glossary Index ...
Page 13: ...xii ...
Page 14: ...xiii Preface ...
Page 28: ...1 9 Removable Device Bays 2 Figure 1 3 System Unit with Removable Device Door Open ...
Page 112: ...A 2 ...
Page 118: ...A 8 ...
Page 131: ...B 13 Figure B 5 Removing EMI Plate 8 Remove the two M 3 screws from the fan ...
Page 148: ...B 30 6 5 4 3 2 1 0 15 14 13 12 11 10 9 8 Figure B 17 Typical Hard Drive Jumper Settings ...
Page 162: ...B 44 Figure B 26 Replacing the CPU Assembly ...
Page 173: ...B 55 Figure B 35 PCI EISA I O Assembly ...
Page 183: ...B 65 ...
Page 210: ...C 27 Figure C 1 Rear Panel SCSI Connectors with Terminators Attached ...
Page 278: ...Index 6 0 0 0 0 0 0 0 0 0 0 0 0 0 T See also 0 U 0 V W ...