


11.
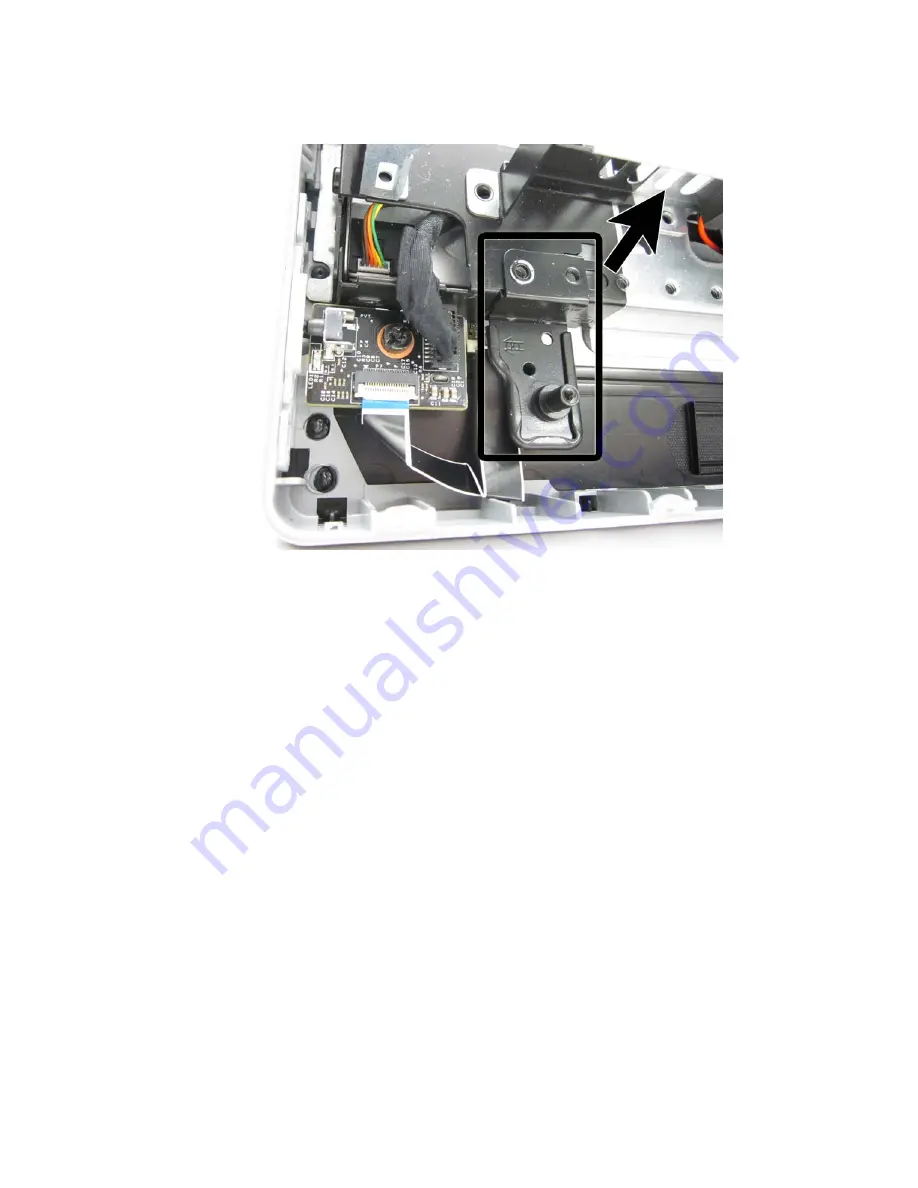
Lift the bracket from the bottom-left side of the computer.
Figure 7-73
Removing the bracket
12.
Remove the Torx screws that secure the bezel to the main system bracket assembly, as follows:
●
Model 6300: 11 total screws
◦
Left: 2 screws
◦
Top: 4 screws
◦
Right 2 screws
106
Chapter 7 Removal and Replacement Procedures All-in One (AIO) Chassis