


10-10
Saving and Printing your Photos
Printing a Photo
You can print completed photos or projects with your printer. To prevent
mistakes and
save paper, use Print Preview to check the size of the photo
on the paper you
selected and confirm settings in Page Setup before you
actually print.
To check the photo size in Print Preview:
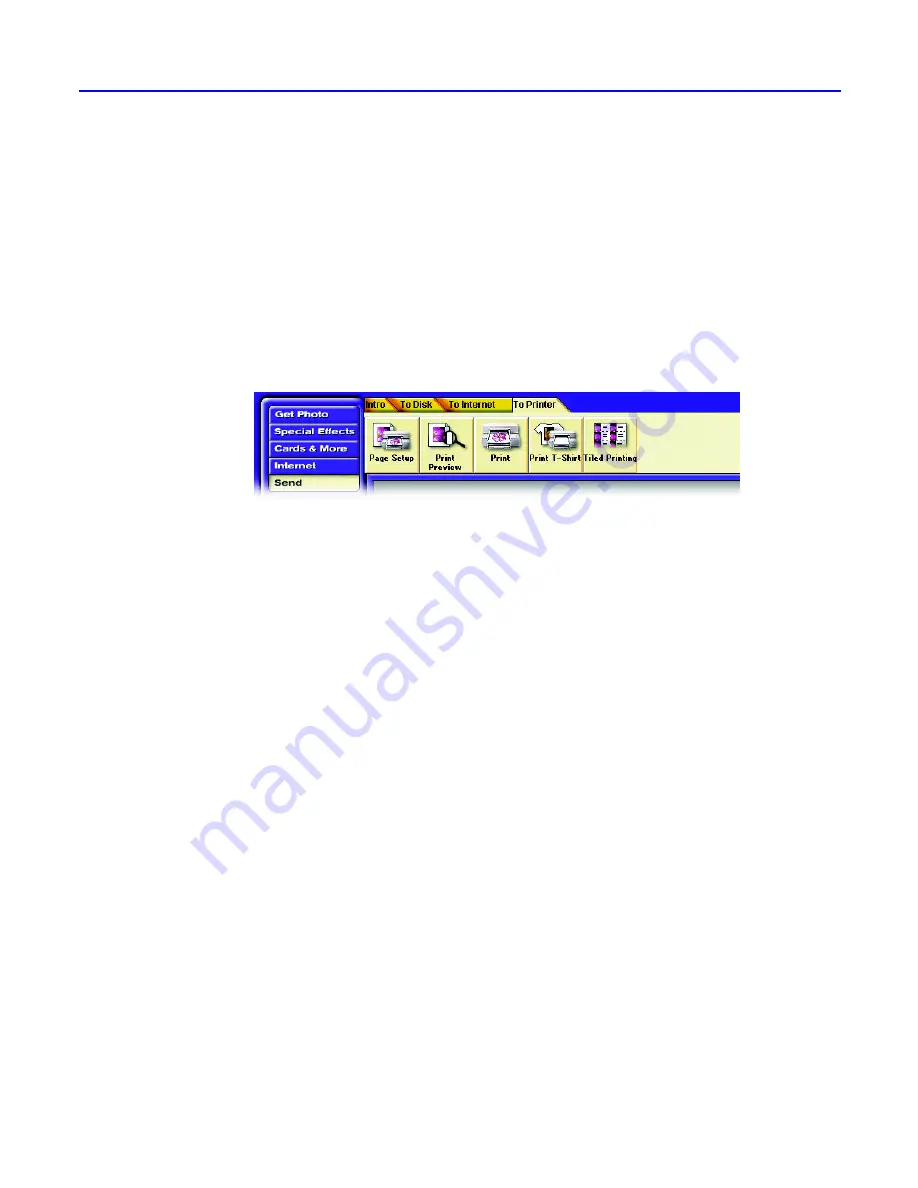
1. Click the
Send
button at the upper left corner of the screen. Click the
To
Printer
tab and then click the
Print Preview
button.
2. After the photo appears on the preview of the printed page, see if the
entire photo fits within the page boundary. If it doesn’t, you may want to
use Page Setup to change the page size or orientation or use PhotoDeluxe
to resize
or rotate the photo so it fits.
To check Page Setup options:
1. Click the
Send
button at the upper left corner of the screen. Click the
To
Printer
tab and then click the
Page Setup
button.
2. Specify the options you want and then click
OK
.
To print a photo:
1. Click the
Send
button at the upper left corner of the screen, click the
To
Printer
tab, and click the
button.
2. Select the options you want from the top half of the Print box.
NOTE: The Print Range option applies only to
guided activities that create more
than one page.
3. Select a PhotoDeluxe Output Quality setting from the bottom half of the
Print box and click
OK
.


