2-40 HP Portable Chillers
Chapter 4: Operation
35 of 78
4-2 Start-up
1.
Turn on the chiller and put it under a process load.
2.
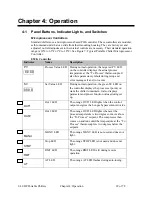
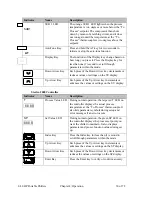
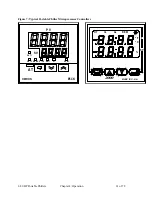
Set the controller for the To Process temperature you want, using the Up
Arrow button or the Down Arrow button located on the face of the controller.
3.
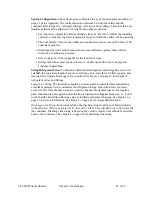
Adjust the High/Low thermostat, located in the electrical enclosure, to 8°F
(4.4ºC) below the To Process temperature you want. The High/Low
thermostat is factory-set at 42ºF (6ºC). See page 36 for information on
resetting the High/Low thermostat.
4.
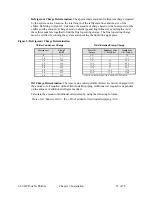
Check the pump amp draw and pump pressure. Make sure that the amp draw
reading is within the running load and service factor amps.
5.
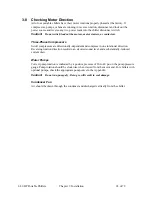
Operate the chiller, looking for any leaks and listening for unusual noises or
vibrations that could indicate improper operation.
Note:
Elevated sound level and substantially reduced current draw indicate reverse
rotation. After several minutes of operation, the compressor internal protector
trips.
4-3 Setting the Process Water Temperatures
E5CK Controller
To change the process water temperature set point, press the Up Arrow button to raise the set
point, and press the Down Arrow button to lower the set point.
Sterlco 2000 Controller
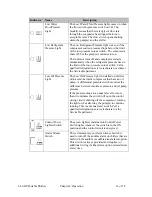
To change the process water temperature set point, press the Index key, then press the Up
Arrow button to raise the set point or the Down button to lower the set point. Press the Enter
key for the controller to accept the new values. Press the Index key to return to the Home
position.
4-4 Auto-Tuning
E5CK Controller Only
The Auto-Tune function lets you fine-tune the control PID to process requirements. Activate
the Auto-Tune function whenever the process under control changes. Don’t be alarmed by
control response. It may take the process temperature above and below the set points as many
as three times before leveling off and controlling the process set point. Auto-Tuning can take
up to 45 minutes and is best done before any product is being run.
1.
Press and hold down the AT key for several seconds until the AT indicator
flashes.
2.
When the AT LED light stops flashing, the controller is tuned and ready for
operation.
4-5 Optional
Communications
The communications function allows you to monitor and set controller parameters by a
program prepared and running on a host computer connected to the controller.
When using the communications function, you must add on the unit for RS-232C or RS-485
communications. The controller communications function allows you to read/write
parameters, do operating instructions, and select the setting level.

