background image


Bearing Security Warning


The mounting bracket should use the rack or mount designated by the manufacturer. 
If the mounting bracket is not from the manufacturer, the bearing capacity should be 
ensured and not less than 4 times that of its actual bearing weight. The bearing 

capacity of the supporting disk bearing the rack should not be less than 4 times of its 
actual bearing weight. 
 
The mounting surface bearing the CenterStage should be firm with enough bearing 

capacity. This capacity should not be less than 4 times that of the actual bearing 
weight. When the mounting surface is the wall or rooftop of a building, it must be 
solid brick, concrete or other strength equivalent. If the mounting surface is made of 
loose materials (old building brick wall, loose wood, solid brick wall etc.), metal or 
non-metal structures, a decoration layer, or if the mounting surface is too thick, the 

strength of the surface, corresponding reinforcement and support measures should 
be taken into account to avoid safety hazards.   


Lifting Security Warning


Do not attempt to lift your CenterStage by yourself. To ensure security and avoid 
product damage, it’s recommended to have at least two (2) people when handling 

and moving the CenterStage.     


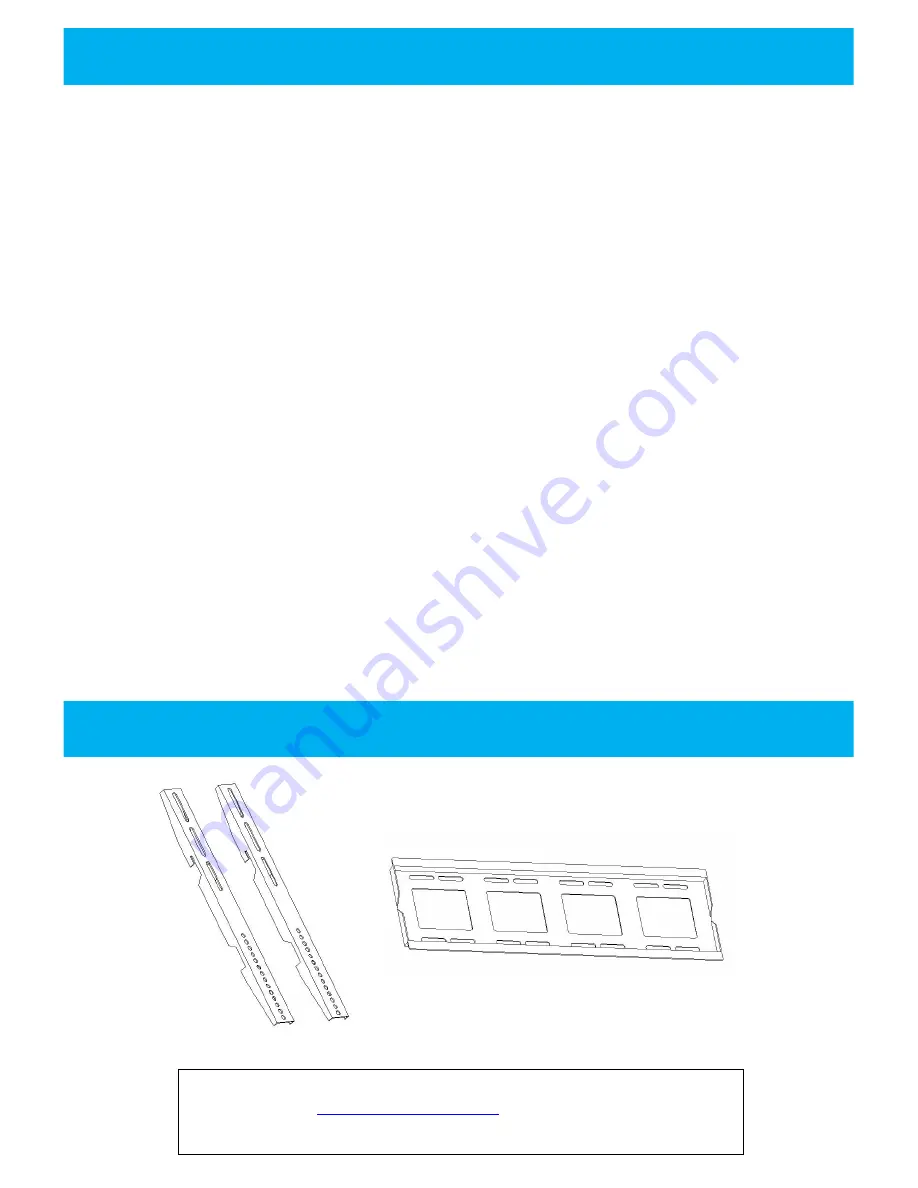
WALL MOUNTS 

  INSTALLATION NOTICE 

For support please contact: 

[email protected]

 | 866-201-2056 

www.thehovercam.com 

Summary of Contents for CenterStage 6510

Page 1: ...CenterStage 6510 User Manual For support please contact support thehovercam com 866 201 2056 www thehovercam com...

Page 2: ...nstructions 5 Installation Instructions cont 6 Ports 7 Control Panel Operation Instructions 8 Remote Specifications Control 9 Android Operations Android Main Menu 10 Settings Menu Applications Menu 11...

Page 3: ...l Do not use chemical reagent to wipe the machine solvent may cause deterioration or damage to the paint surface To clean disconnect the power supply and wipe it with a cloth if there is dust or dirt...

Page 4: ...ting surface is the wall or rooftop of a building it must be solid brick concrete or other strength equivalent If the mounting surface is made of loose materials old building brick wall loose wood sol...

Page 5: ...User Manual Warranty Card M8 Screws Power Cable Touch Screen Stylus x2 Extended Screws Remote Control HDMI Cable Touch USB Cable For support please contact support thehovercam com 866 201 2056 www the...

Page 6: ...to the back of the CenterStage using provided screws and proper screwdriver Step 2 Install the bracketing mount onto the wall INSTALLATION INSTRUCTIONS For support please contact support thehovercam c...

Page 7: ...the CenterStage onto the wall mount Step 4 Ensure the bracketing is properly aligned and fits securely For support please contact support thehovercam com 866 201 2056 www thehovercam com INSTALLATION...

Page 8: ...PORTS Panel Front Panel Back For support please contact support thehovercam com 866 201 2056 www thehovercam com...

Page 9: ...ff l Press the power button on the CenterStage when you want to shut down l A Shut Down screen will display on the CenterStage Once completely shut down the light on the front of the CenterStage will...

Page 10: ...on 9 Enter Sleep Mode 10 Exit Menu 11 Volume Control 12 Picture Mode Selection 13 Channel Selection 14 Sound Mode Selection 15 Video Controls 16 PRSCRN Screen Capture 17 CHLIST Channel List 18 Return...

Page 11: ...oid Operations Navigation ANDROID OPERATIONS ANDROID MAIN MENU To access the Android OS main menu select the HOME option at the bottom edge of the panel select in the Android system operations navigat...

Page 12: ...3 Calculator 4 Downloads Manager 5 Local Media Manager 6 DrawViewer Whiteboarding Software SETTINGS MENU APPLICATIONS MENU Launch the applications menu by selecting the Applications option on the Home...

Page 13: ...erCam CenterStage 6510 series has a built in downloads and media manager to organize images music movies documents and apps From here you can copy paste export email and sort files saved locally or in...

Page 14: ...6 Tools 23 Embed Video 7 Viewing Options 24 Add Slide 8 Import Clip Art 25 Zoom 9 Line Tool 26 Straightedge Tool 10 Triangle Tool 27 Protractor Tool 11 Ellipse Tool 28 Mask Tool 12 Square Tool 29 Pai...

Page 15: ...Basic Operation 1 Switch On a Use alternating current power suplly of 100 240V to insert into the TV outlet switch the power switch to ON b Use the POWER key on the remote control or AIO to switch on...

Page 16: ...ng requests submit a service ticket at the HoverCam Support Center https thehovercam desk com customer portal emails new SERVICING SUPPORT For support please contact support thehovercam com 866 201 20...

Reviews: