Page 3 of 4
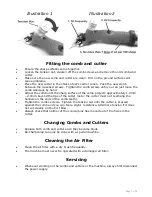
Fitting the comb and cutter
•
Ensure the sharp surfaces come together.
•
Loosen the tension nut, slacken off the comb screws and remove the old comb and
cutter.
•
Make sure the new comb and cutter are clean. Dirt on the ground surfaces will
cause problems.
•
Place the new cutter in the chicken feet’s carrier cones. Push the new comb
between the loosened screws. Tighten the comb screws until you can just move the
comb sideways by hand.
•
Adjust the comb until the sharp surface of the comb projects approximately 1.2mm
– 2.0mm beyond the tips of the cutter (note: the cutter must not overhang the
hollows on the ends of the comb teeth).
•
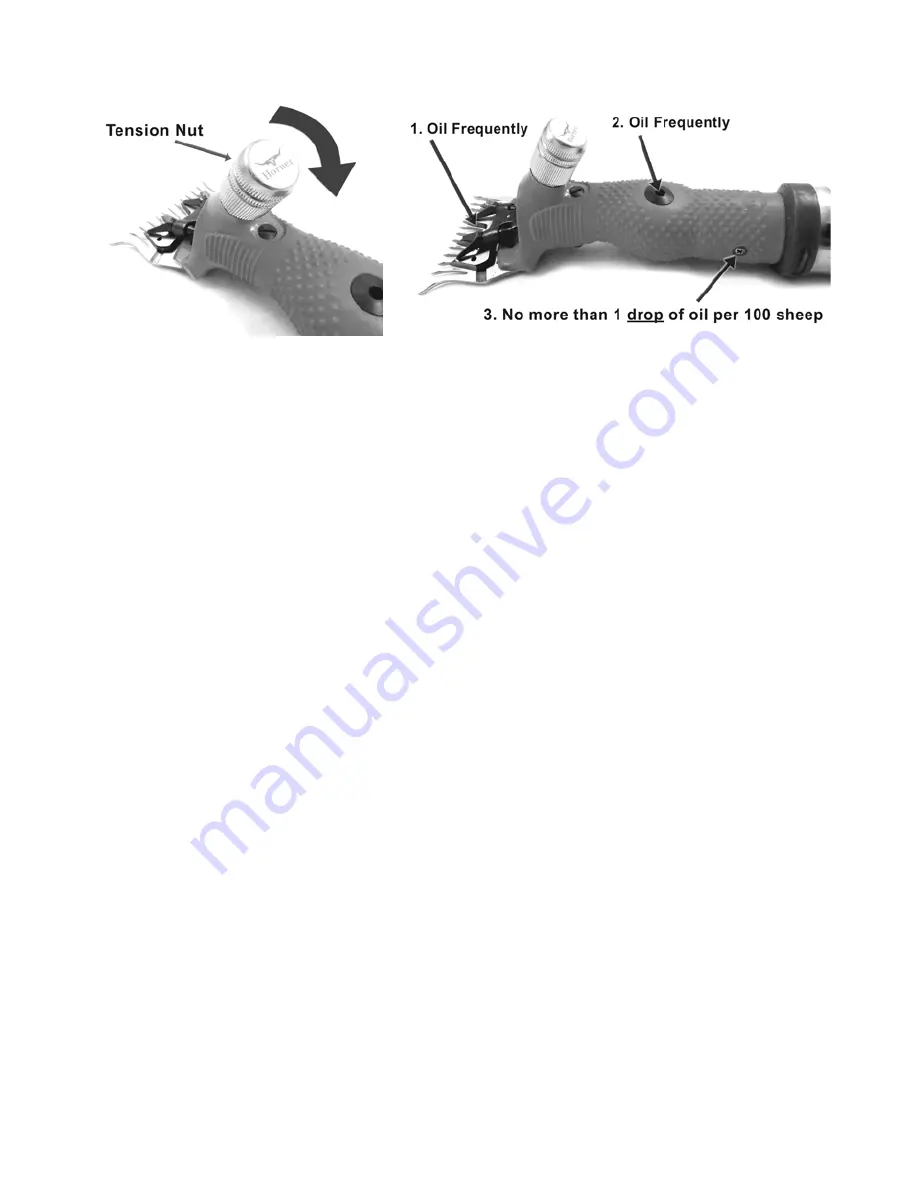
Tighten the combs screws. Tighten the tension nut until the cutter is pressed
against the comb and you can feel a slight resistance. Add more tension if it does
not cut cleanly on the first blow.
•
Always check that neither of the conical pins has moved out of the holes in the
cutter.
Changing Combs and Cutters
•
Replace both comb and cutter once they become blunt.
•
Re-sharpening can only be done with a special machine.
Cleaning the Air Filter
•
Clean the air filter with a dry brush frequently.
•
The machine must never be operated with a damaged air filter.
Servicing
•
Whenever working on the combs and cutters or the machine, always first disconnect
the power supply.
Illustration 1
Illustration 2

