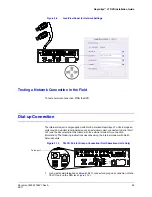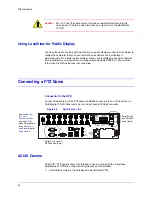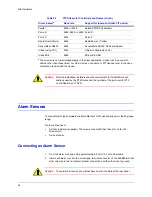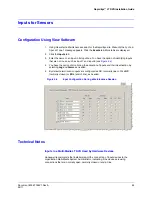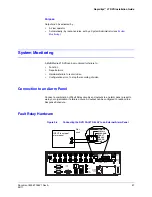
46
Audio
Selecting a Microphone
Choosing a microphone type (condenser, canon, Lavaliere, and so on), pickup pattern
(cardioid, omni-directional, and so on), sensitivity, whether one needs phantom power, and
other considerations, are beyond the scope of these installation instructions. Unlike camera
domes, you can mix different models of microphone at a site. Please see your microphone
supplier.
Placing a Microphone
Microphone placement requires experience with noise sources, sound absorption and
reflections; these topics are beyond the scope of these instructions. Please see your
microphone supplier. See also
Checking For Audio Interference
.
Speakers
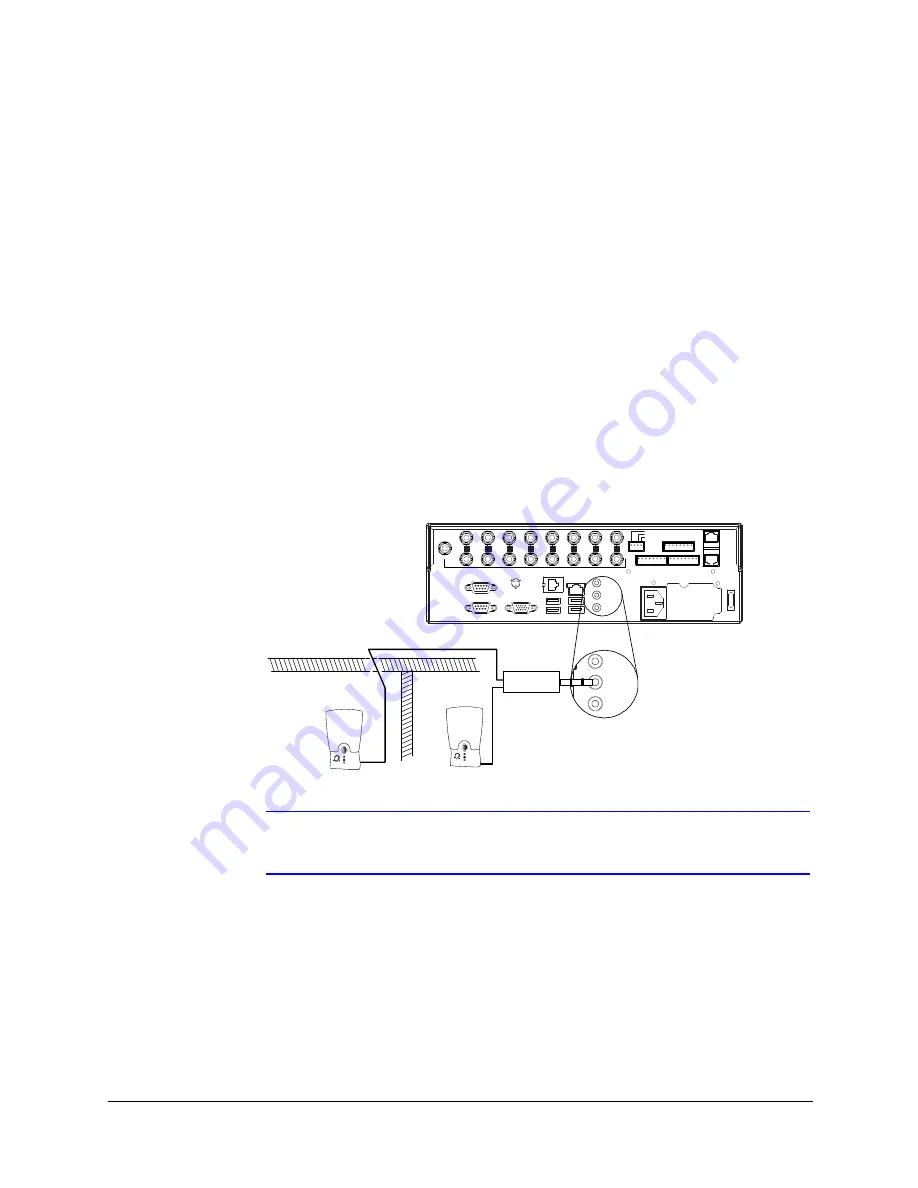
Connect powered speakers to AUDIO OUT connector on a Multi-Media LT DVR so that
people at the site can hear an operator (see
TIP!
Place speakers away from microphones, to avoid audio feedback.
Figure 4-2
Connecting Speakers
Note
The NOT USED connector is disabled. Use the AUDIO OUT connector to
connect an audio output device (speakers).
Checking For Audio Interference
Checking one’s installation for hard-to-predict situations includes spot-checking for:
Live audio
Coordinate the testing of audio with fire alarm and security alarm testing. Using
View, connect to that Multi-Media LT DVR and check audio for feedback and interference,
before and during alarms.
IN
OUT
NOT
USED
SERIAL PORT 2
SERIAL PORT 1
VGA
TELCO
USB
USB
LAN
IN
OUT
NOT
USED
1
2
3
4
5
6
7
8
SPOT
MONITOR
VIDEO
INPUTS
COMM ON
SYS FAIL
SYS GOOD
F
AULT
RELAY
28V, 3A
MAX
1 G
G
G
G
2
3
4
CONTROL
OUTPUTS
SERIAL
PORT 3
SERIAL
PORT 4
1 G
G
G
G
2
3
4
5 G
G
G
G
6
7
8
ALARM
INPUTS
ON/OFF
POWER
115-230V~
50/60 Hz
5-3A
Stereo
mini-plug
Area 2
Area 1
Powered
speaker
Channel 1 /
LEFT
Powered
speaker
Channel 2 /
RIGHT
Summary of Contents for Rapid Eye LT
Page 1: ...Document 800 07766V1 Rev A 02 11 Installation Guide Rapid Eye LT Digital Video Recorder ...
Page 2: ......
Page 3: ...Installation Guide ...
Page 14: ...14 Contents ...
Page 16: ...16 Figures ...
Page 18: ...18 Tables ...
Page 76: ...76 ...
Page 77: ......


