21
21
PROJECTION (PCR507W) Only
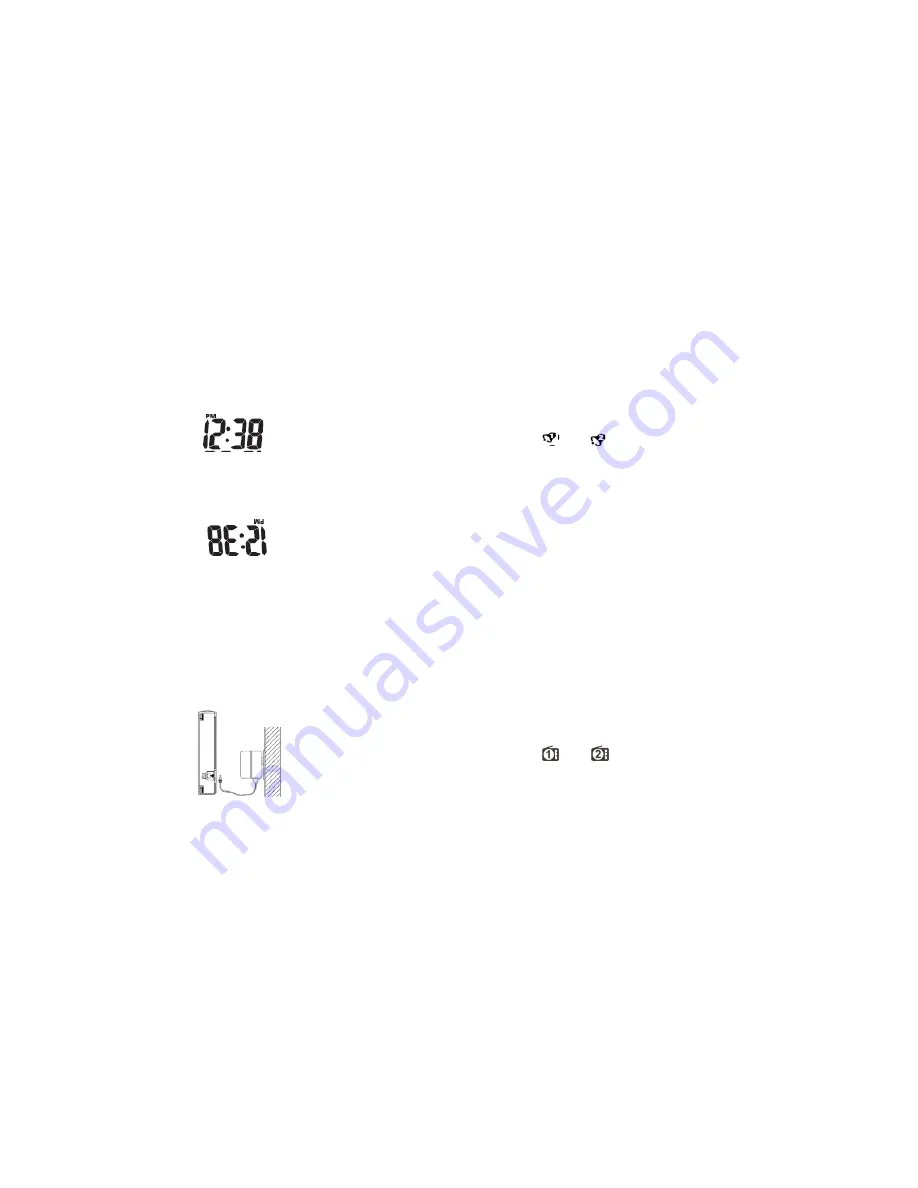
The Atomic Projection Clock is capable of projecting the information
immediately, as well as continuously.
IMMEDIATE PROJECTION
•
Press
SNOOZE/LIGHT
button once to project the current time
image for five seconds.
•
Press
FLIP
button to rotate projected image 180° clockwise
•
Press and hold
FLIP
button for 2 seconds again and the
projected image will rotate between the
time
and
indoor
temperature information every 5 seconds
CONTINUOUS TIME AND TEMPERATURE PROJECTION
•
Connect AC/DC adapter provided to the AC adapter input
•
Slide the
CONTINUE PROJECTION
switch to the arrow direction
shown on the unit’s side: the current time will be projected on the
wall or the ceiling continuously.
22
ALARM SETTING
The Atomic Clock Radio has two time alarms. If any of the alarms is
activated, it will sound at the set time and the alarm icon will flash. Also,
you can select the alarm in radio sound or beep sound by switching to the
desired position.
BELL ALARM SETTING
•
Slide the alarm switch to the
ALARM
position. The alarm icons of
and
will be shown on the display.
•
Press
MODE
button to view the
ALARM 1
or
ALARM 2
modes.
If the
ALARM 1
is selected, the default time “
6:00
” with the
AL
label will be displayed. If the
ALARM 2
is selected, the default
time
”8:00
”with the
AL 2
label will be displayed
•
Press and hold the
MODE
button for two seconds - the hour digit
will flash
•
Enter the hour parameter by using
DOWN
or
UP
button
•
Press the
MODE
button again, then the minute digits will flash
•
Enter the minutes parameter by using
DOWN
or
UP
button
•
Press the
MODE
button one last time to confirm the setting.
•
Use the same procedure for setting the time for
ALARM 2
RADIO ALARM SETTING
•
Slide the alarm switch to the
RADIO
position. The alarm icons of
and
will be shown on the display.
•
Press
MODE
button to view the
ALARM 1
or
ALARM 2
modes.
If the
ALARM 1
is selected, the default time “
6:00
” with the
AL
label will be displayed. If the
ALARM 2
is selected, the default
time
”8:00
”with the
AL 2
label will be displayed
•
Press and hold the
MODE
button for 3 seconds - the hour digit


