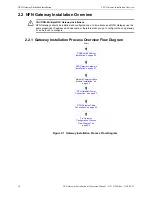


NFN Gateway Configuration
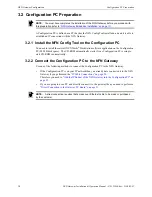
Configuration PC Preparation
32
NFN Gateway Installation & Operation Manual - P/N: 52306:Rev: D 06/01/07
3.2.3 Add the IP Subnet of the NFN Gateway into the
Configuration PC
Use the following steps as a guideline to add the NFN Gateway’s IP Subnet to your Configuration
PC’s IP Subnet.
Step 1. Start >Control Panel and then select Network Connections. The Network Connection
window displays.
Step 2. Right click on Local Area Connection and select Properties from the list of choices. The
Local Area Connections Properties window displays.
Step 3. Use the side scroll to display the Internet Protocol (TCP/IP) entry and then click on it.
Step 4. Click on the Properties button. The Internet Protocol (TCP/IP) Properties window
displays.
Step 5. Select the Advanced button. The Advanced TCP/IP Settings window displays.
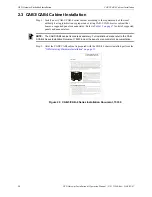
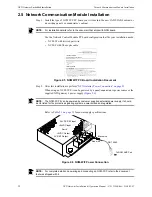
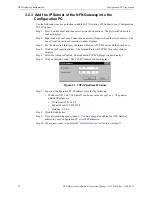
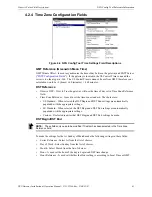
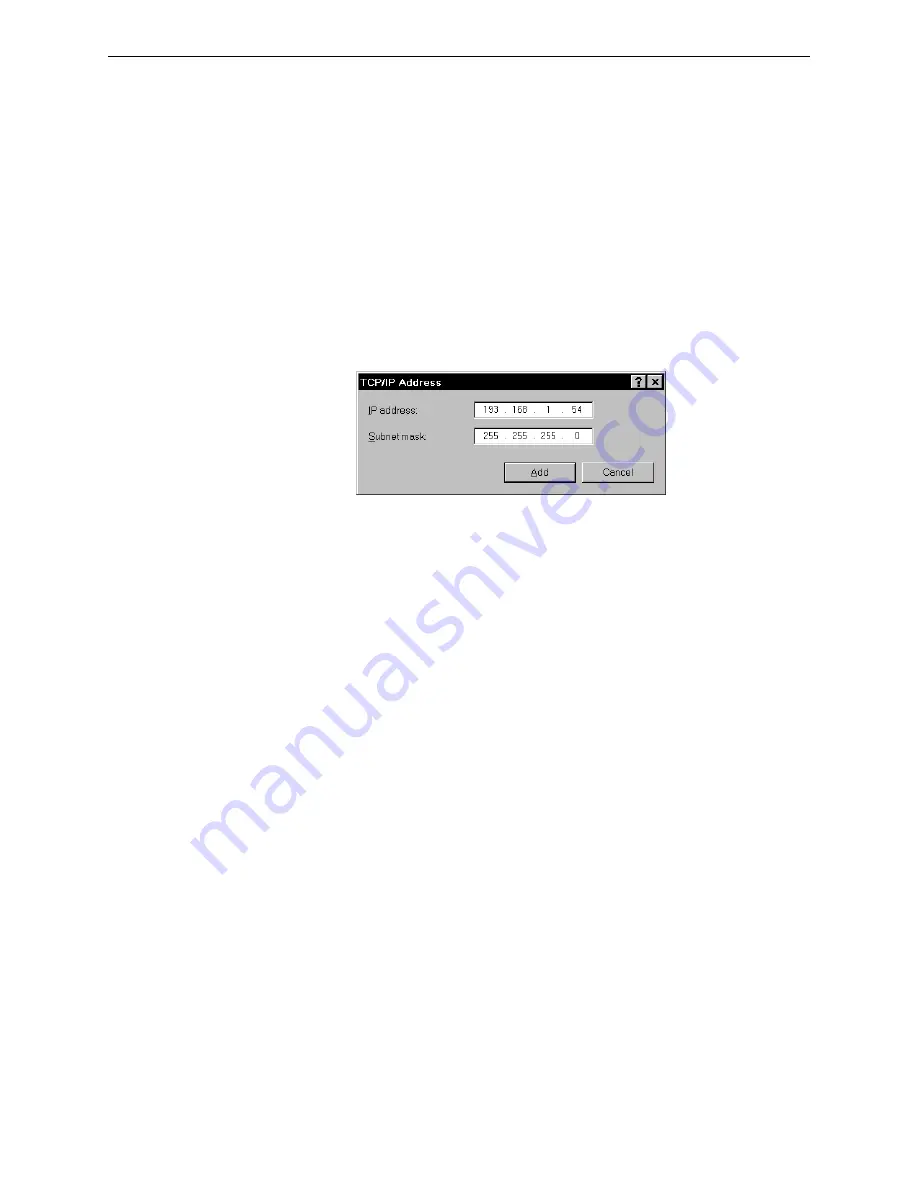
Step 6. Click on the Add button. The TCP/IP Address window displays
Figure 3.3 TCP-IP Address Window
Step 7. Type in a Configuration PC IP address value for the following:
• IP address (192.168.1.X) where X can be any value except 1 or 3. The gateway
default IP values are:
• IP Address: 192.168.1.2
• Subnet Mask: 255.255.255.0
• Gateway: 0.0.0.0
Step 8. Click the Add button.
Step 9. Close all remaining open windows. You have completed adding the NFN Gateway
address to your Configuration PC’s list of IP addresses.
Step 10. You are now ready to perform the